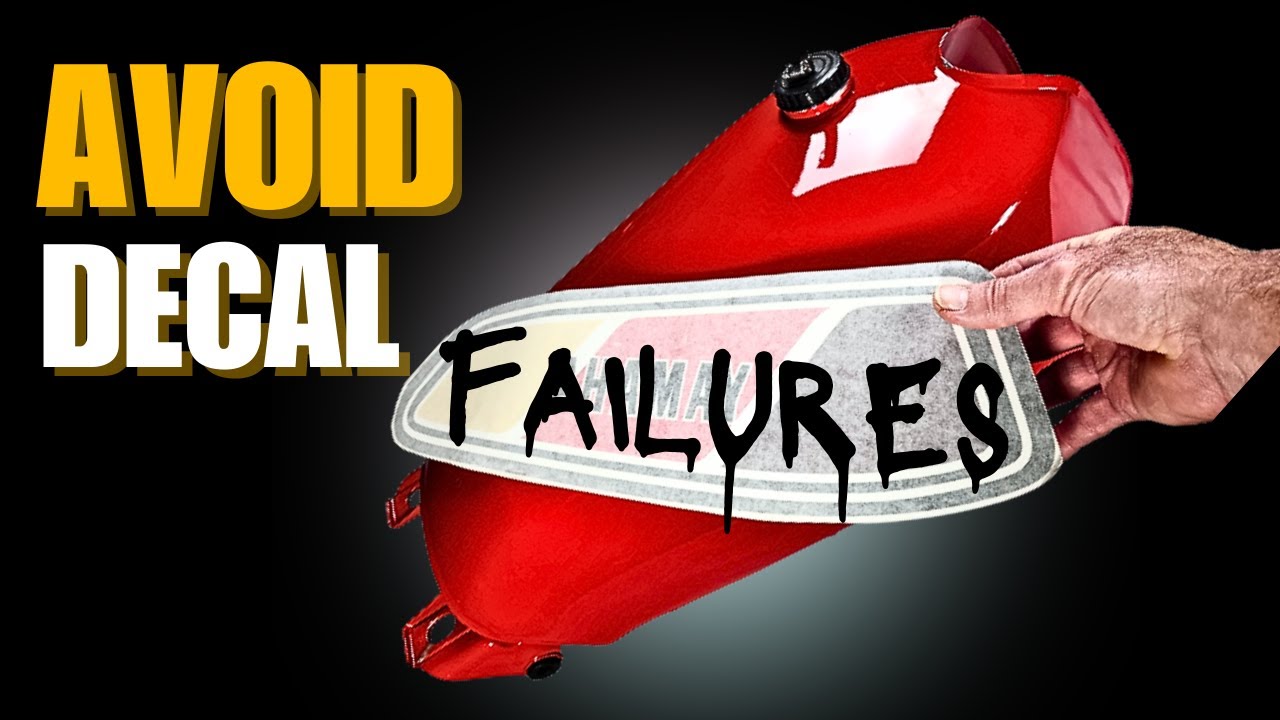
Installing Custom Motorcycle Tank Decals from Brave Wolf Customs
Автор: Brave Wolf Customs
Загружено: 2020-03-12
Просмотров: 11345
Hi guys, in this video I’m going to show you the method I use to install our decals. There are a lot of ways to do this: I wish I could say I’m a rocket scientist but this just isn’t that sophisticated. So the decals we offer on www.bravewolf.us are weatherproof self-adhesive 12 mil laminated vinyl. What that means is, you get awesome heavy duty decals that don’t require any special tools, heavy prep work, or post-installation coatings. You literally stick these on and go. They go right over any current tank logos that you have UNLESS, you have a badge or emblem, or you have that one art design Indian put on certain Scouts that covers the entire side of the gas tank. You know, that warbonnet design that “cuts off” in the bleed area? So yeah, pretty much any warbonnet or script design can be covered by our decals. Tank emblems or badges will need to be removed and that’s easy. Some dental floss or fishing line will let you get behind them and “saw” them off with a back and forth motion.
Before installing these decals, just wash your tank off. Make sure there’s no dust or oil on it and you’ll get the best stick.
Supplies I used: a bit of painters’ Masking Tape (any tape will do but this tape is just sticky enough to do the job without sticking too firmly), and a pair of scissors
The set of decals both come on one sheet. If you plan to use my method, you can peel the background off of the decal sheet leaving just the two decals stuck to the sheet. This makes it easier to cut out around the decal with scissors as the backing is much thinner.
Decals that you’ve cut out around are easier to “mock-up”, or place on your tank to see where exactly you want to stick them. The strip of masking tape is placed across the middle of the decal to hold it in place so that you can peel back the backing from the decal on one side and cut it off with scissors. This allows you to concentrate on sticking half of the decal to your bike first which is more manageable and allows you to make sure that you have it aligned precisely.
Once the first side is adhered, you can remove the strip of masking tape and proceed to finish up the other half.
If you make a mistake and get an air bubble under the decal, it is OK to slowly and deliberately peel back the decal and try again. If you are slow and careful, the decals are think and strong so you can do this without damaging them.
Once they’re stuck on, that’s it! You’re done. No need to apply clear coat or any other post-installation coating.
The only thing I’d say as far as being careful with them is that when you wash your bike with a washcloth, be careful not to catch sharp corners of the decal into the cloth if you are vigorously scrubbing. You wouldn’t want to somehow catch the laminate and peel it off.
If you have any questions or concerns that I didn’t answer in my video, leave me a comment or reach out to me on social media and I’ll get right back to you.
Be sure to check out all our designs on our website and follow us on all the social media platforms you use! Thanks for your interest!
Decal: "Nizhoni" Warbonnet - https://bravewolf.us/collections/fron...
Price: $65 for the set
MUSIC TRACKS:
Royalty Free Music graciously provided by:
1st Track:
Title: Hey Sailor
Artist: Letter Box
Music from YouTube Audio Library [Aka YAL]
Music provided by RFM: • Видео
2nd Track:
Title: Extreme Energy
Artist: Musictoday80:
/ musictoday80
/ musictoday80
/ musictoday80
https://www.youtube.com/channel/UCxsF...
Music from Soundcloud
Music provided by RFM: • Видео

Доступные форматы для скачивания:
Скачать видео mp4
-
Информация по загрузке: