Microsoft Project 2013 Tutorial: Customize the Toolbar - Part 4 of 55
Автор: Project Management Mastery
Загружено: 2015-03-30
Просмотров: 2291
GRAB this course 94% OFF - https://www.udemy.com/learn-microsoft...
a. APPROVED BY PMI® for 5 PDU POINTS CAT 'B'.
b. The BEST Microsoft Project 2013 course you will find anywhere on the net - OR YOUR MONEY BACK!
c. 60 lessons, 5 Hours - exercise files, templates, pitfalls
d. Lifetime Access to lessons
e. Students from 100+ countries!
In this lesson we explore some ways to customize the interface to our preferences.
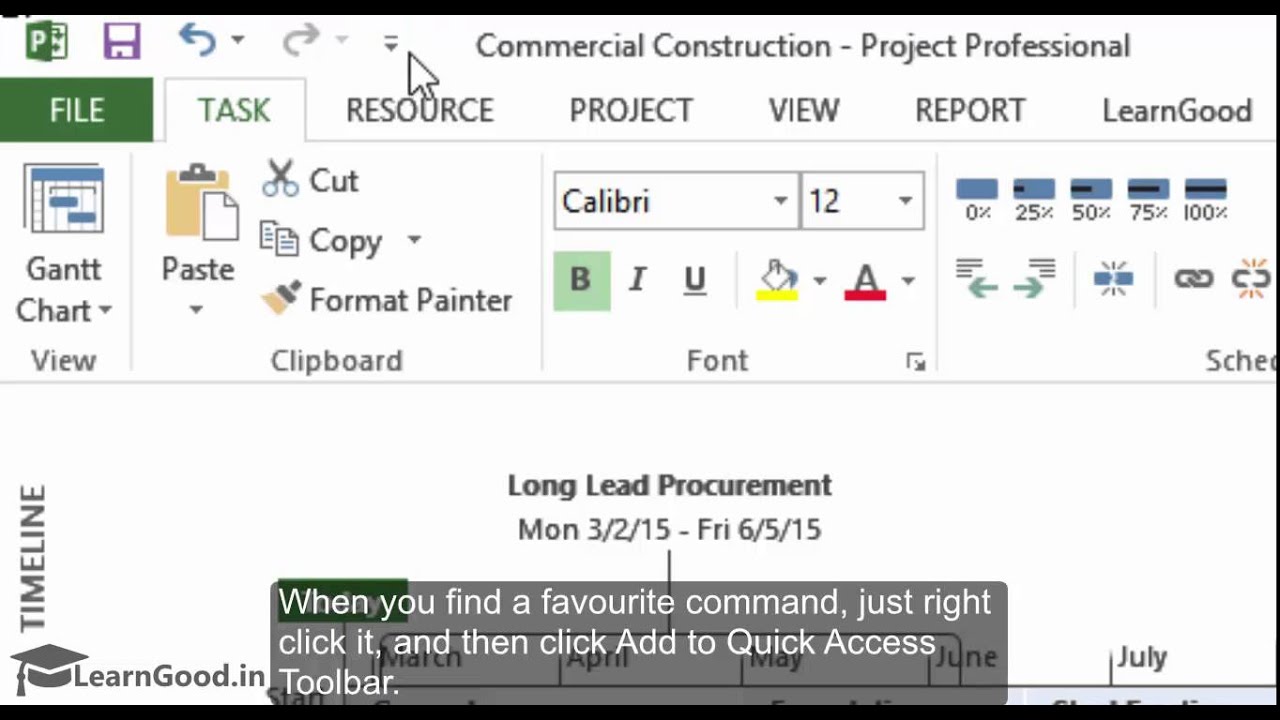
The first thing we will look at is to customize the ribbon. Let us look at a case where you want to modify the tab sequence on the ribbon. The current sequence of tabs is - Task - Resource - Report - Project. Now, say you don't want the Report tab here - and you want it placed further down the line.
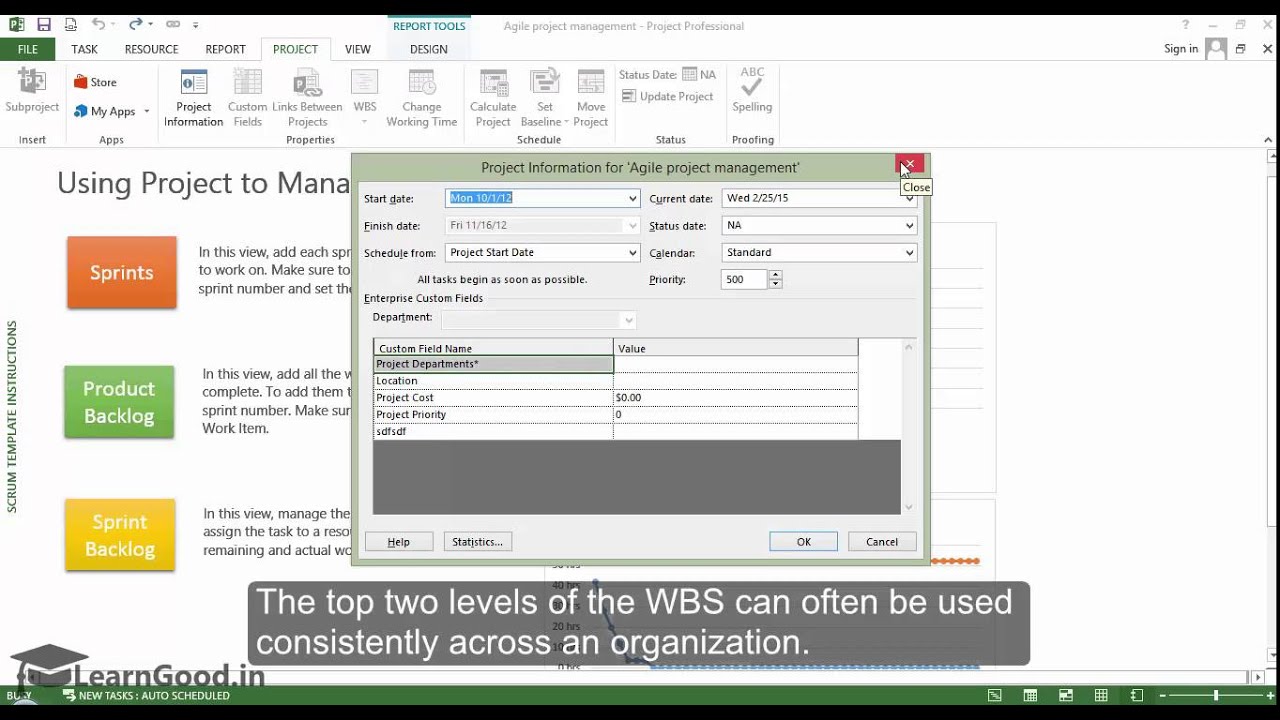
To do this change, you can first right click anywhere on the ribbon - and choose "Customise the Ribbon" - and the Project Options dialog box opens up. You can see in the right side box, is the listing of the Main Tabs on the Ribbon. All you have to do now is to select the 'Report' row and click the down arrow - bringing it to the location that you prefer.
Learn the complete 5+ hour course - 55 topic videos - 500+ students within 1 day of launch. Get 88% off for first 1000 students: https://www.udemy.com/learn-microsoft...
Доступные форматы для скачивания:
Скачать видео mp4
-
Информация по загрузке: