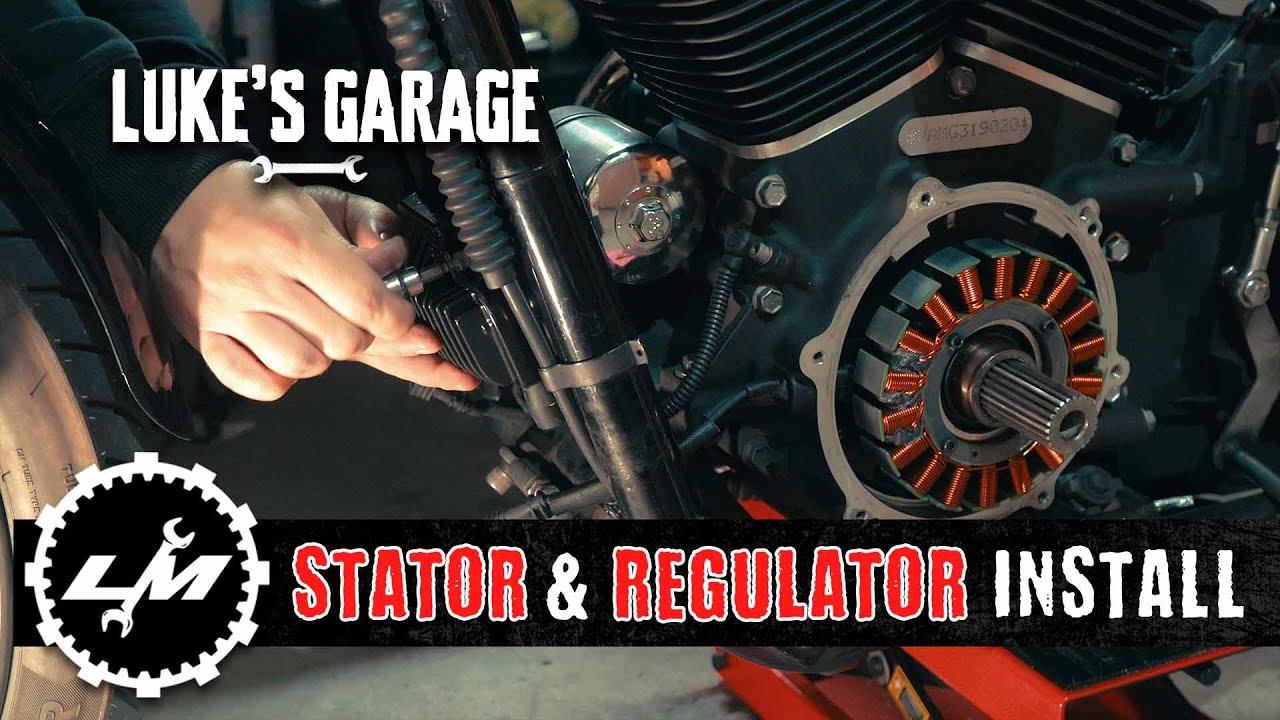
Harley Dyna Stator & Voltage Regulator Install | How To | 4k
Автор: Luke R.K. Malone
Загружено: 2025-01-25
Просмотров: 17041
#mechanic #harleydavidson #motorcycle
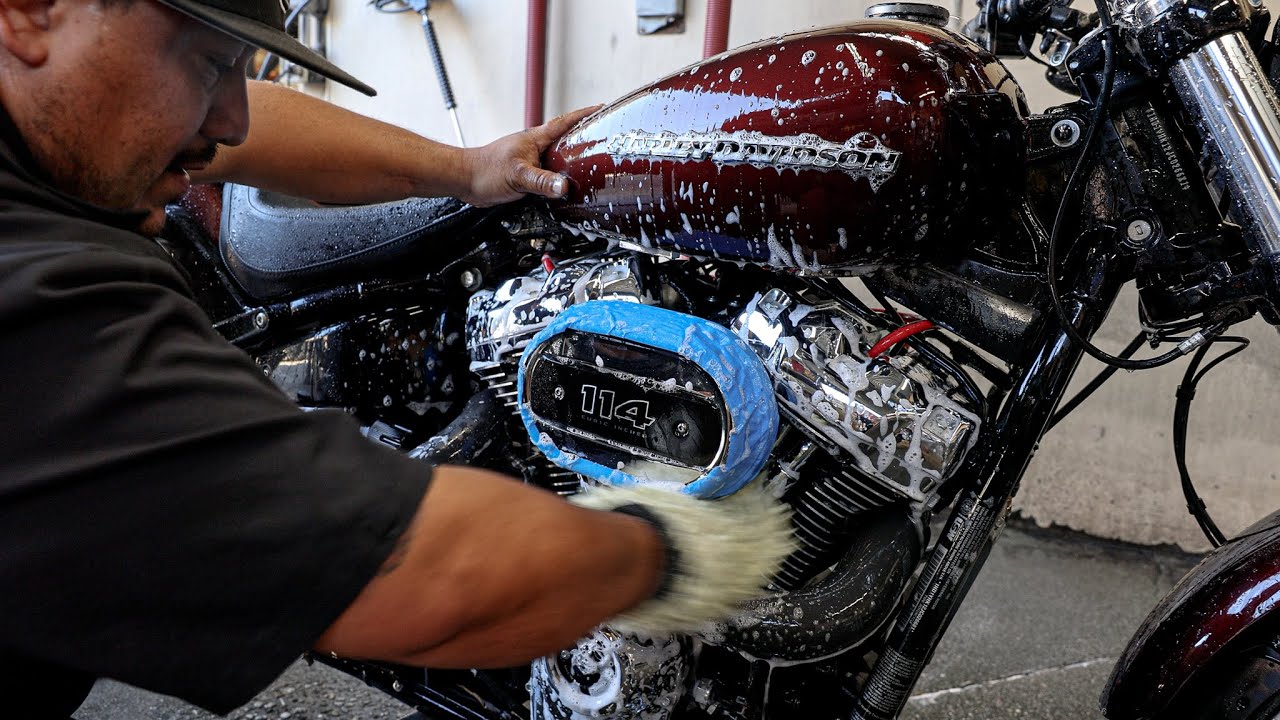
In this video, we show you how to install a brand new stator and voltage regulator for a 2016 Harley Davidson Dyna Street Bob.
TOOLS/ ITEMS NEEDED
T10, T27, torque bits
1/2, 9/16, & 11/16 wrench allen key set
Torque wrench
Breaker bar
Primary chain locking tool
Socket wrench
Oil drain pan
2 quarts of fresh oil
Rags to wipe up spills
REFER TO YOUR OWN SERVICE MANUAL FOR ALL YOUR SPECIFIC INSTRUCTIONS AND TORQUE VALUES
Disconnect and remove battery and main fuse
Remove Derby Cover & Drain Primary Chaincase Fluid
Remove Shifter and Left Footpeg mount
Remove Primary Chaincase
Break loose Clutch hub nut and Compensator bolt
Remove Primary chain adjuster
Remove Clutch Assembly and Compensator
Remove Inner Primary Bolts and Starter Motor Mount Bolts (Remove Battery Box to Access Starter Bolts at Rear of Inner Primary Case Safely)
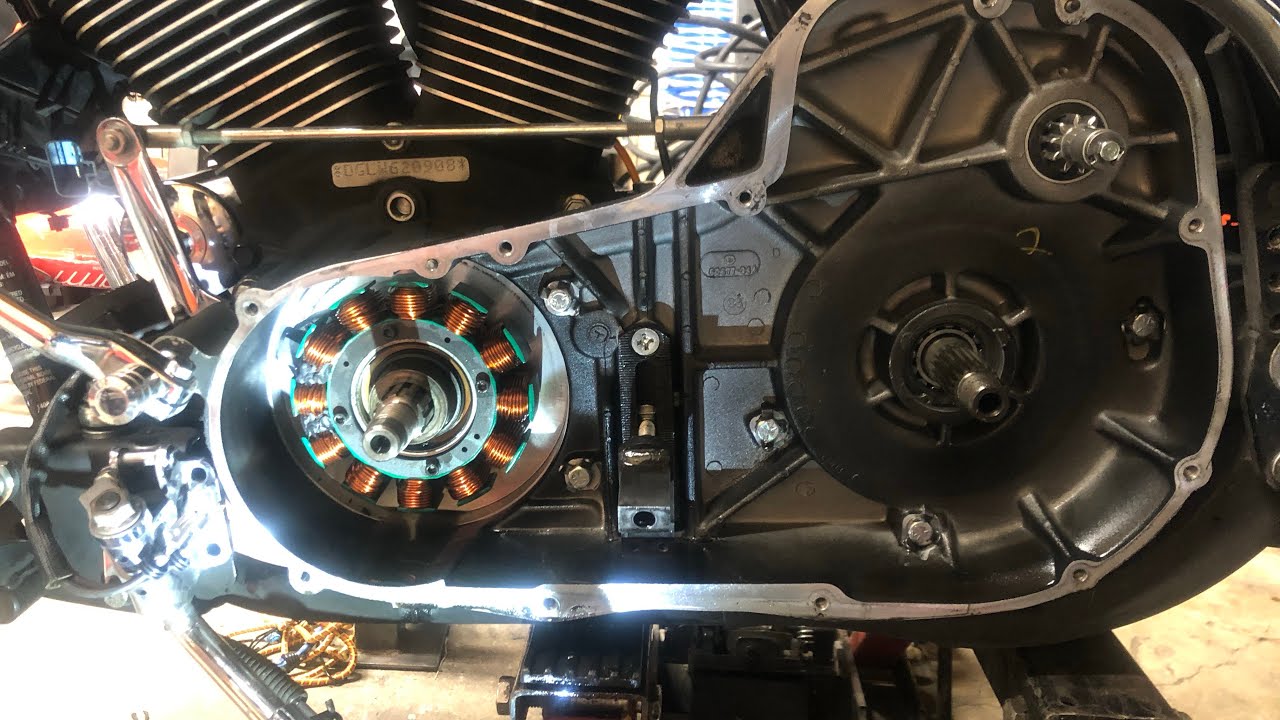
Remove Inner Primary Cover
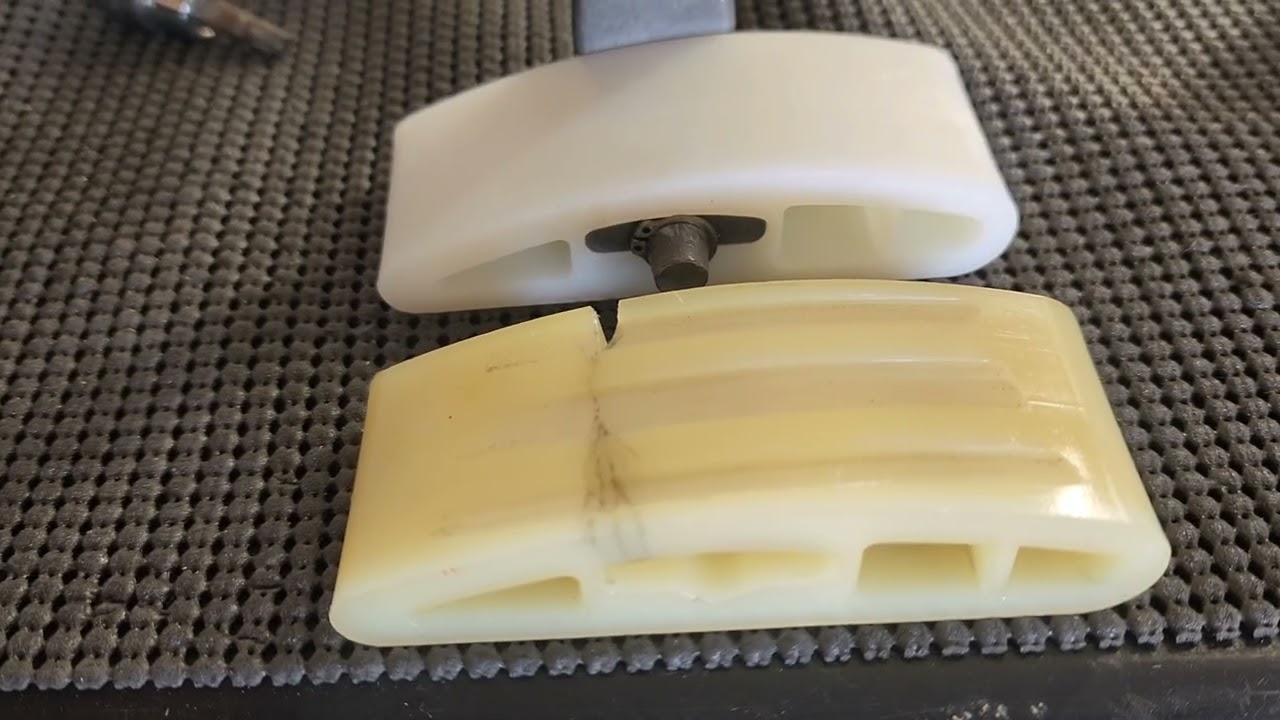
Remove Stator Magnet, clean and check for damage
Unplug Stator from Voltage Regulator & Remove Old Stator
Install New Stator and use new hardware with loctite and plug into Voltage Regulator
Reinstall Magnet Cover, Inner Primary Cover, Primary Drive System (Compensator, Primary Chain Adjuster, and Clutch Assembly, torque to spec )
Check Primary Chain Tension and Adjust if Necessary
Check Clutch Adjustment and Adjust if Necessary
Reinstall Primary Chain Case
Fill Primary Chain Case with 38 fluid oz (dry fill )
Reinstall Derby Cover, Shifter, Footpeg, Battery, and Main Fuse
Start Bike and check operation of Stator using a Voltmeter:
Bike Off Position: 12.7 and up
Bike On Position: 12 -12.4
Bike Running: 14 and up
Voltage should increase when rpms rise.
LUKE’S INSTAGRAM - / luke_rk_malone
Thanks for watching! Stay tuned for more videos!
Edited by Luker R.K. Malone
Доступные форматы для скачивания:
Скачать видео mp4
-
Информация по загрузке: