Is equipping Air Conditioning easy on an MR2?
Автор: Eccentric Autos
Загружено: 2023-02-15
Просмотров: 3408
This 1993 Toyota MR2 (SW20) Turbo was originally not factory equipped with A/C. In this video you will see what's involved with equipping an MR2 with the appropriate A/C components... The best thing about this was that the dashboard did not have to be removed, and that all the wiring connectors were already in the factory wiring harness - making it plug-and-play when it comes to the electronics.
0:00 - Intro
0:14 - Components needed
1:11 - Preparing A/C Lines
1:42 - Hardlines installed - installed A/C compression fitting
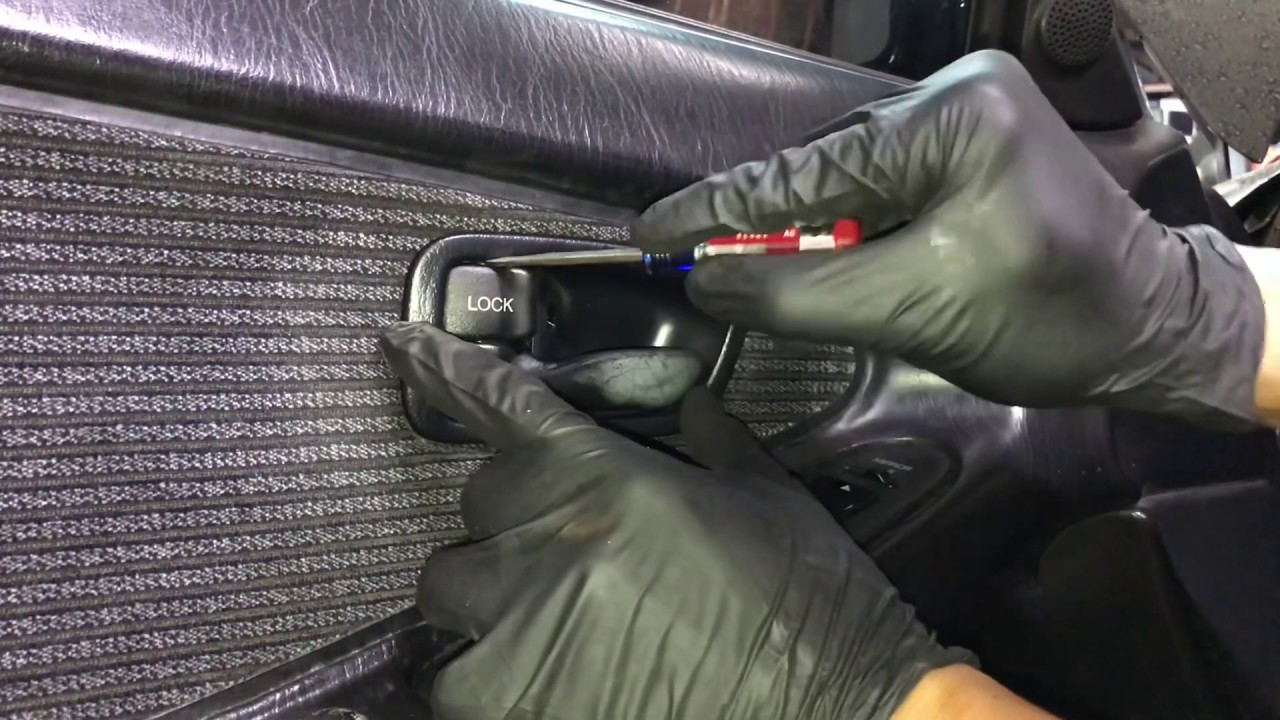
2:20 - A/C button install
3:01 - Behind glove box component install
5:18 - Installing front trunk (frunk) and front-end A/C components
7:00 - Component diagrams
7:57 - Outro
Parts required for this install - Note, parts may be specific to trim model of your MR2:
A/C Compressor
"Cooling Unit" which goes behind glovebox (i.e evaporator, expansion valve, main air duct, drain tube, a/c relay, thermostat)
A/C amplifier (mounted to bottom of cooling unit)
A/C dash button
Belt tensioner bracket/pulley
Receiver-Dryer and bracket
Condenser
A/C condenser fan (mounts right beside radiator cooling fan)
All aluminum A/C lines from compressor to front of car and into front trunk
Pressure switch (mounts to front a/c line in frunk on passenger side)
A/C Idle-up switch
New seals (o-rings)
Components used in this video:
O-Ring kit - GPD 1321284
AC Delco Parts Cleaner
Typhoon Blow Gun - TPY2500CS
Dorman A/C Compression fitting
Diagrams of required A/C components and locations:
Chassis - https://drive.google.com/file/d/15c4H...
Behind Dash - https://drive.google.com/file/d/17D1Y...
A/C Lines - https://drive.google.com/file/d/1BBFW...

Доступные форматы для скачивания:
Скачать видео mp4
-
Информация по загрузке: