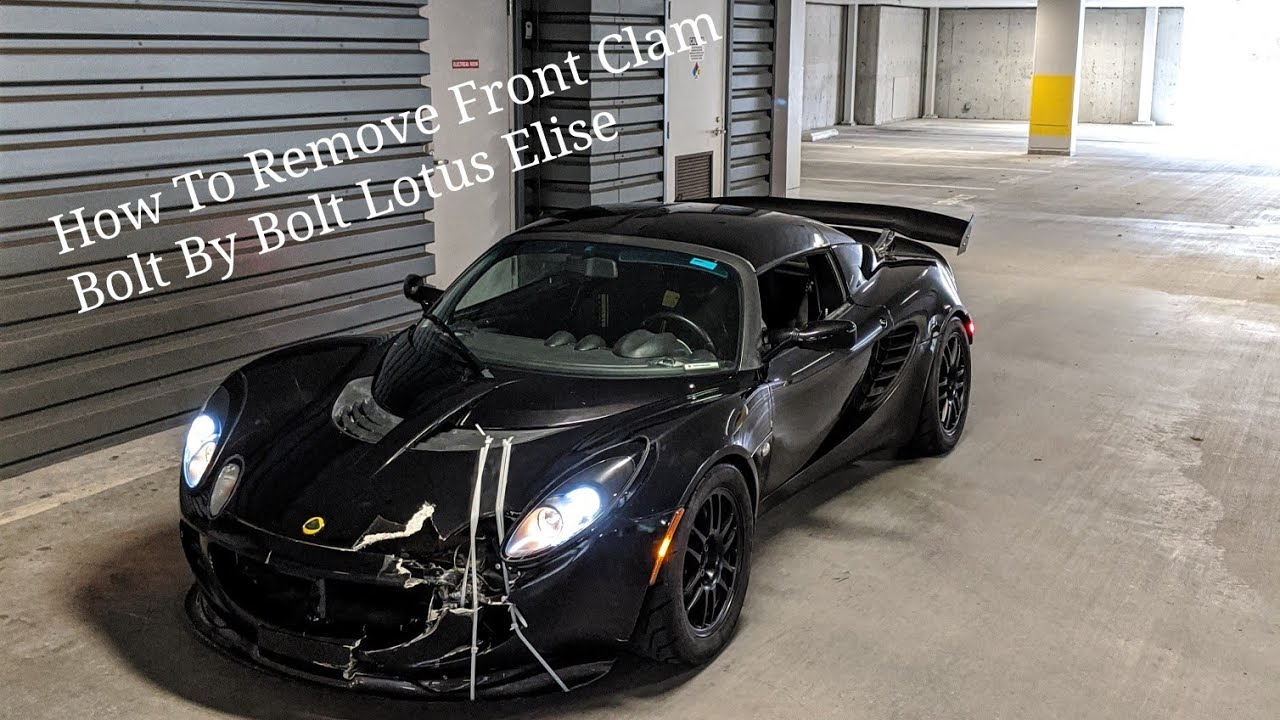
MITCH DORE | How To Remove Lotus Elise/Exige Front Clam
Автор: Mitch Dore
Загружено: 2020-04-29
Просмотров: 14899
BUY NOW:
http://mitchdore.com/
SUBSCRIBE TO MY YOUTUBE CHANNEL
/ @mitchdore
MITCH’S INSTAGRAM
MITCH_DORE
Where To Buy Turbo Kits!
DISCOUNT CODE %5 “MDORE”
https://www.turbokits.com/Toyota/Celi...
https://www.turbokits.com/Toyota/Celi...
https://www.turbokits.com/Toyota/MR2_...
SHIFT KNOBS:
Use code “Mdore” For %10 Discount
www.super-klasse.com
LOTUS ELISE | LOTUS EXIGE | LOTUS EVORA PARTS
https://www.gregsraceparts.com/
----------------------------------
SUBSCRIBE FOR VIDEOS OF MY:
2000-2005 MR2 SPYDER 2ZZ SWAP TURBO 350HP
2000-2005 CELICA GTS 180HP
2008-2015 MITSUBISHI EVO X 350HP
2005-2012 LOTUS ELISE & EXIGE TURBO 275HP
=====FOLLOW ME=============
INSTAGRAM: MITCH_DORE
BUSINESS EMAIL: MITCHDORE@GMAIL.COM
GOD BLESS
MITCH DORE'
BR 6 - Front Clamshell
The front clamshell is a bonded assembly of several glass fibre composite mouldings incorporating both front wings, the front access aperture, radiator air intake and head lamp housings. The clamshell is secured to the windscreen frame, radiator mounting panel and other panels using threaded fasteners for ease of removal and to facilitate service access and body repair.
To Remove the Front Clamshell
Raise front of car by jacking at the middle jacking point and placing jack stands at both of the front jacking points.
Remove both front wheels. (17mm socket and key tool)
step one is grille removal
step 5 (red) is security switch
step 5 (blue) is fastener
step 6 is hidden spine nuts
1. Remove both front body access panels. (Allen wrench, included in tool kit)
Remove radiator exit grilles. (3mm Allen wrench)
Remove left and right radiator shrouds.
step 1 is radiator shroud
step 6 (red) is wiper shroud
step 6 (green) is fuse box
step 6 (dark blue) are hidden spine nuts
2. Remove both front wheel arch liners.
Remove both the front and rear arch liner. There are six fasteners, five expansion screws and one metal screw. (Phillips screwdriver)
See pictures and fastener information for this step on the headlamp alignment page.
step 3 is hinge access panel to clam attachments
from front wheelwell opening towards hinge
step 3 hinge panel to front clam attachment
looking from door hinge towards front
3. From inside each wheelarch, remove the single screw securing the top edge of the door hinge cover panel to the clamshell. On cars fitted with front mounted oil coolers, release the hoses from any clamshell clips around the top of the wheelarch. (10mm hex head)
There are actually two screws with the second also being along the edge and accessed from the door hinge side. Take care to catch the shims that may be included in the fixing. If they fall, you will need to remove the door hinge cover. (10mm Allen wrench)
step 3 (behind hinge) is hinge access panel to clam attachment
step 4 is base of windscreen attachment bracket for clam
4. Via each door aperture, remove the single fixing securing a bracket at the top rear corner of the clamshell to the base of the windscreen pillar. (5mm Allen wrench)
This fastener is not visible and is hidden behind the bracket.
Count the number of shims between the bracket and the body. Take care not to let the shims drop between the body and the frame.
step 5 is clam attachment at windshield
5. Remove the fixing at each side securing the clamshell to the bottom of the windscreen frame. (5mm Allen wrench)
Unplug the security switches that detect the opening of the access panels.
step 6 remove wiper shroud to get access to spine nuts
step 8 is aerial connection
6. Elise: Remove the two nuts securing the clamshell spine bracket to the wiper motor bracket extension. (10mm socket) (The nuts are underneath the area where What
AsAdditional Comments
hand in past the fusebox, and my right hand in from the front, with my elbow over the radiator. The wrench handle was pointing toward the car's nose, and I held it in both hands.
Also, thanks to your warning, I threaded some masking
Доступные форматы для скачивания:
Скачать видео mp4
-
Информация по загрузке:


