Windsurf board repair - Starboard Futura 124 L
Автор: 🇳🇴Just Windsurf - Stig B. Svåsand
Загружено: 2021-06-18
Просмотров: 6764
Hi. From comments it’s asked for more details around the stages to do a proper board fix.
Ok, I will try, but remember I’m a self-declared handyman and fix almost everything myself. When that said, everyone can fix a board, there are a lot of ways/products to do so, quickfix and more ‘longfix’ I will only talk about my way as done in the videos.
Always use proper safety protection as per product.
See this movie and my other board fix movie in parallel with reading this text.
1. Ensure the board are dry, if you miss here then there are waist of time to proceed! A proper fix are only achieved through a proper base. Take out the vent screw and let the board in cold/warm (shade/sun), this to let any moisture out, warm bathroom are also nice. A way to help moisture to leave are to roll a piece of toilet paper and put it into the vent hole. Do not block the hole, just a piece are enough. Repeat with cold/warm, check toilet paper no and then, remember to check if the paper are dry in the end as well.
2. Remove all debris and old stuff, also from previous fix. This to get to the original board and ensure a good/clean repair without adding more weight than needed. Sandpaper by hand or machine, 80-120 paper are fine.
3. Mark up the fix, the fix needs a base to fade out, and you need a border to work with.
4. Time to shape the board with Epoxy filler, think like you are fixing a car. Ensure to fill the damages/holes properly and make a shaped surface. Do not add more epoxy than needed to avoid heavy sanding afterwards. Epoxy must always be completely hardened before sanding.
5. Sand with 80-120 paper to complete the shape, if the board are not in shape – repeat step 4.
6. Epoxy filler will not hold any structural damage, to make the board solid it’s time for Epoxy resin (Laminating epoxy) and carbon/fiberglass. This is the hardest point for most people to understand how to do, not easy to explain. Epoxy resin are the accurate mix of base and hardener. Mask out and cover the board so only the area to fix are visible. Precut the fiberglass.
Using a brush, wet the area with epoxy, lay on first layer with fiberglass, wet the fibers – I repeat with three layers of fiberglass. Ensure there are no trapped air and that all layers are fully wet with epoxy, it’s the epoxy that make it a solid fix – not the fiber.
The magic point are the (optional) use of gladpack (plastic wrap). It will help to make a smooth fix and to have the epoxy to stay in the fibers.
Option 1: Leave the gladpack on until epoxy have completed hardening time.
Option 2: Leave the gladpack on until approx half time of hardening time. The epoxy shall then be sticky. Hotcoat, this is adding a top layer with epoxy resin.
The goal here are to smooth out and ensure fibers are completely filled with epoxy, it can also make no more need for sanding.
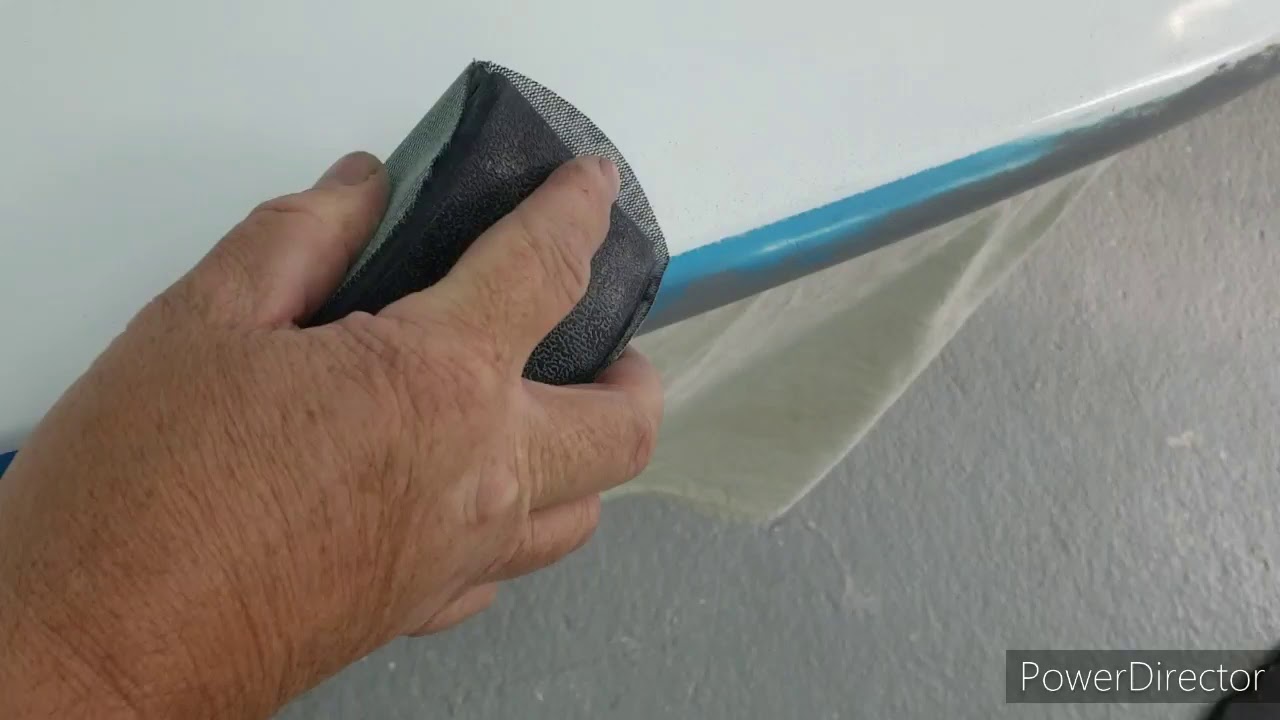
7. When sanding 120-180-220 paper, do not sand through the epoxy resin an into the fibers. The fix itself after epoxy shall more or less be perfect. Sand of degrees and fade out into the board. Do not sand more then needed and never into where there are no need for fix.
8. Paint work on top of the board. I use car paint in spray can for all paintwork on boards. Quick (bengalack) are also good.
Spray on paint as instructed on the box, remember that paint are always only for the visible finish.
For the most perfect finish, wetsand and spray top layer with clearcoat.
9. Under the board, small fix or the hole surface. Sand the area 180 paper. Epoxy filler where needed, see step-4.
Ensure a clean and very smooth surface. Mask properly. I never use clearcoat under the board, only the colored spray.
Wetsanding are needed to make the board fast and slipping the water when sailing. Wetsand 800-1000 paper the hole surface in the direction of the board.
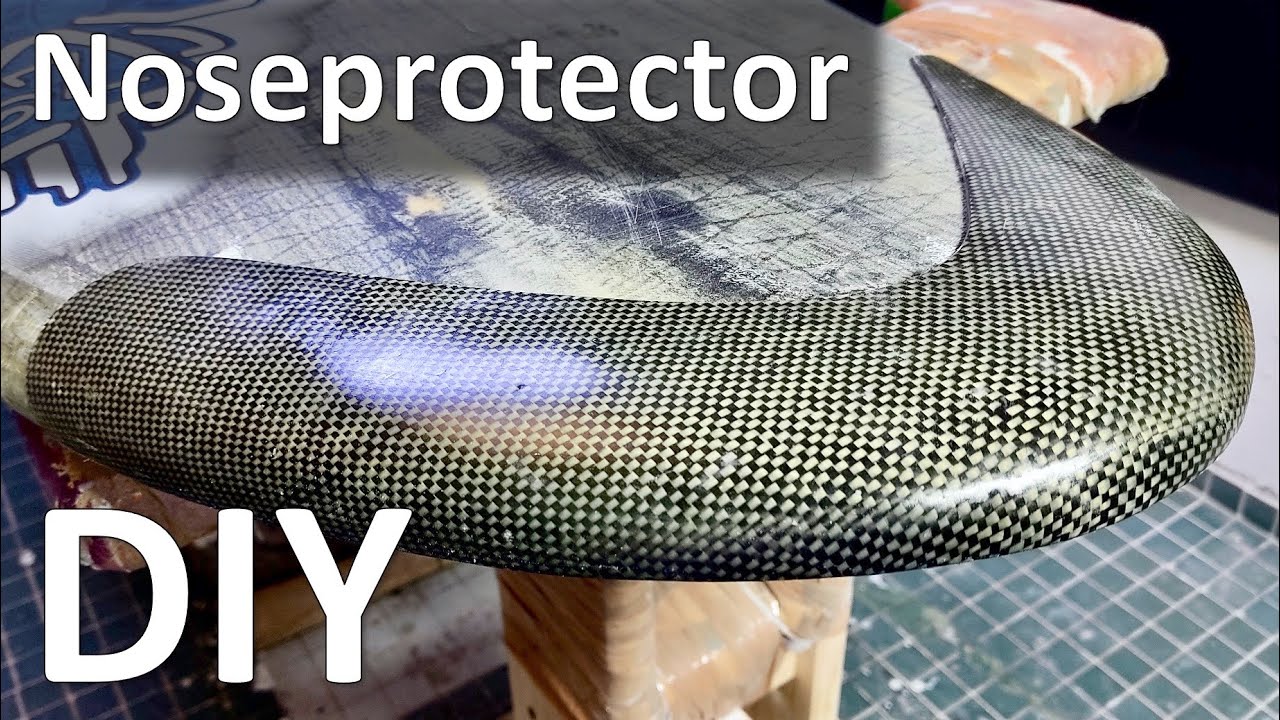
10. Adding nose protector. On the Futura I had the original protector. Sand off any old glue/debris from the protector (and board). I use Contact adhesive in 500ml box and add with a brush. Remember to follow instructions on the box.
Add pressure/weights when the surfaces are glued together. Contact adhesive are also used if adding/fixing i.e. padding.
11. If you have come this far then your board should be looking nearly perfect now. If not perfect it does not matter, the main goal are to have a dry board.
Install the vent screw, see you on the water.

Доступные форматы для скачивания:
Скачать видео mp4
-
Информация по загрузке: