Adding detail and effects to EVA foam cosplay
Автор: TonicTurtle
Загружено: 2019-03-09
Просмотров: 2501
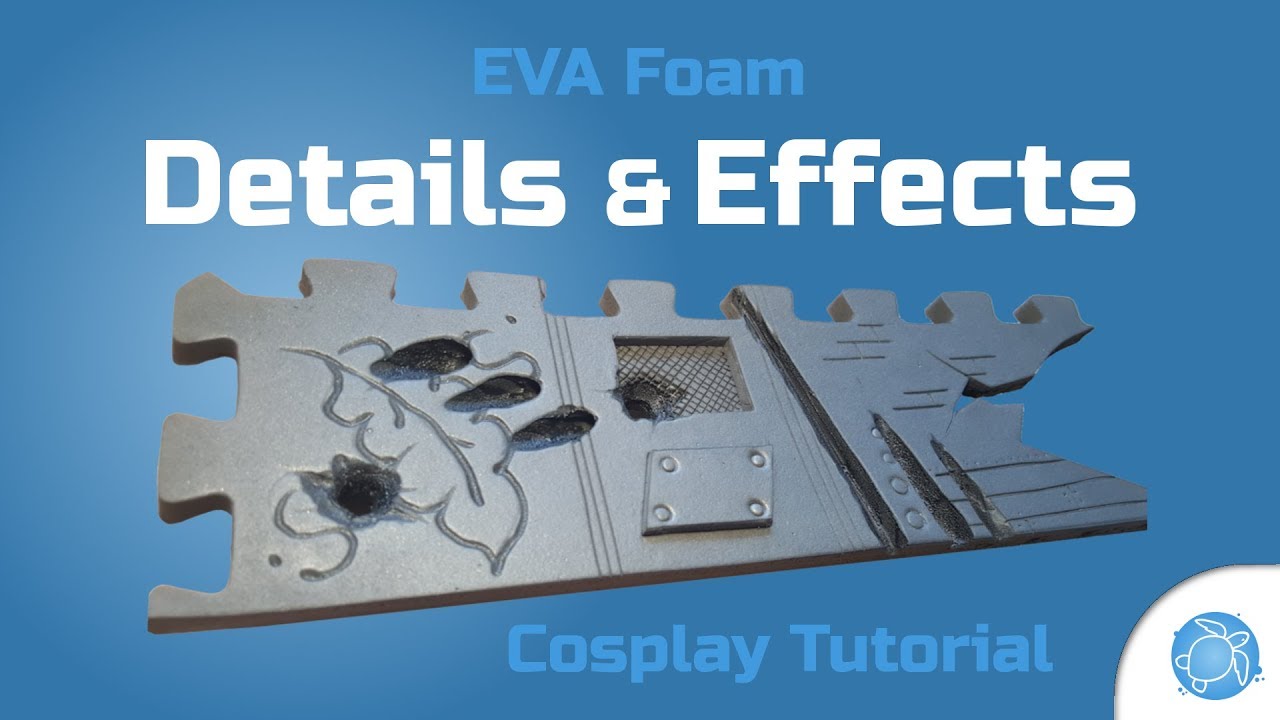
See how easily you can create awesome looking details and effects to your cosplay armor.
Disclaimer: In this video I use very sharp and very hot tools.
You can, and at some point, will, get cut/burned while crafting.
Please be careful, and craft responsibly.
In this video I demonstrate various simple techniques to add some depth to your creations. Note that this video only shows foam work. Keep in mind that through paint work you can also add more details and effects.
The techniques used in this video are reasonably simple, I would rate them 2/5 in difficulty (mostly because of the soldering iron part).
Here is the list of items actually used in this video:
Some EVA foam mats ((for example https://www.bunnings.com.au/polytuf-5...)
Some sharp cutting tools (cutter/xacto/scalpel)
A heat gun (mine is this one, but there are some cheaper options: https://www.bunnings.com.au/wagner-fu...)
a soldering iron (for example https://www.bunnings.com.au/tradeflam...)
You can find the video where I make the little castle gate/drawbridge here:
• EVA Foam Toy Castle - Lego size
Other cosplay videos you might like:
• Medieval Helm Cosplay Tutorial - Part 1: T...
• Two-Hand War Hammer Cosplay Tutorial
If you wish to contribute to the TonicTurtle videos, I thank and invite you to refer to my Patreon page:
/ tonicturtle
Subscribe to get notifications on the future videos, and in the meantime Keep Creating!
Thanks for watching,
-Tony
#cosplay #foam #detailing
Доступные форматы для скачивания:
Скачать видео mp4
-
Информация по загрузке: