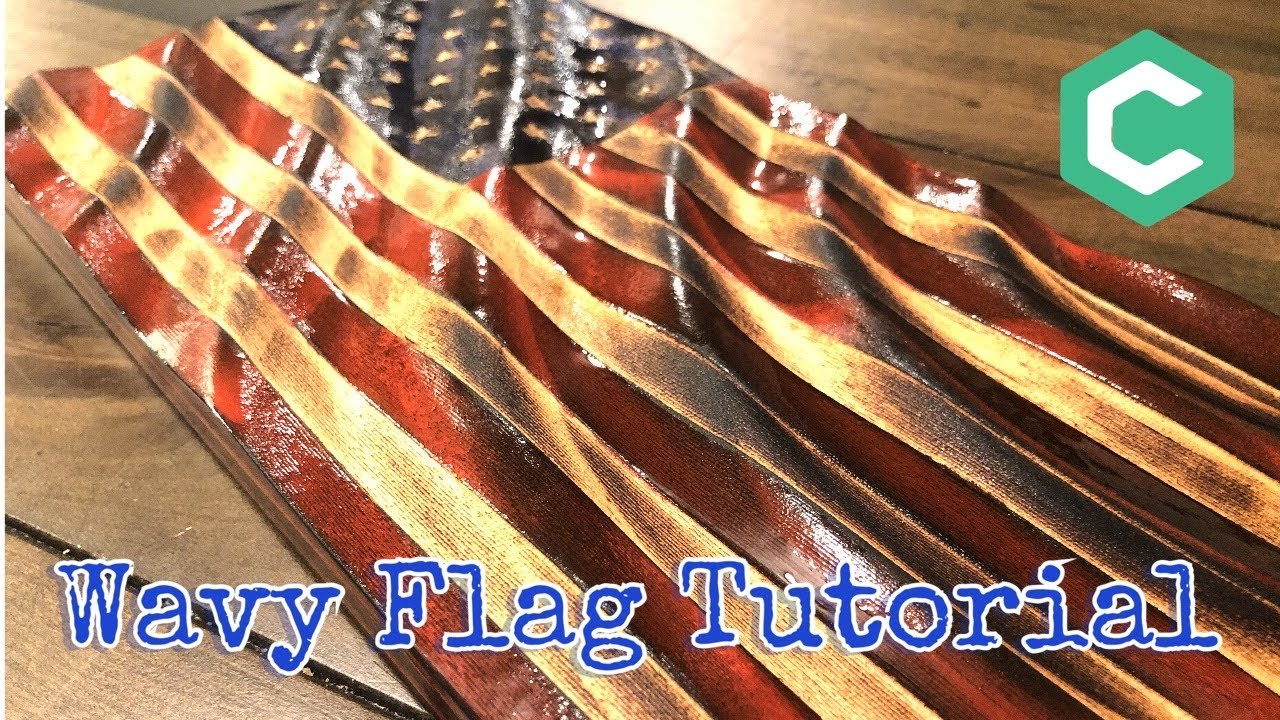
How to Make a Wavy Flag on an X-Carve CNC Router
Автор: IDrewWood
Загружено: 2019-10-10
Просмотров: 45995
In this video, I take you through a How To of making a Wavy American Flag using a 3D model purchased from Etsy. I show you how to import the model into Vcarve, adjust the model dimensions based on the material dimensions and how to apply the Stars and Stripes to the model so that they follow the contours of the waves. I also show how I set the toolpaths and what bits I used. The last half of the video shows me making the actual flag, using walnut and finishing it with walnut colored Danish Oil and Minwax Semi-Gloss Spray Polycrylic.
Total Time: 3 hours machining, 1 hour to sand and apply finish. The Danish Oil sat for 72 hours before applying the top coat.
Total Dimensions: Roughly 24"x13" (not exact measurements, but close). This was made using 26" walnut cutoffs from a previous project.
Below are links to the products I used to the make this flag
Link to Wavy Flag Model:
https://www.etsy.com/listing/67514406...
Link to Stars and Stripes SVG File:
https://etsy.me/2onoqKe
Affiliate Links:
1" Cove Bit
https://amzn.to/2tGCzUU
.25" Ballnose Carbide Ball Nose
https://amzn.to/2sW4oZb
1/8" Whiteside Downcut Bit
https://amzn.to/2QhrAZJ
Amana Tools 60* V-Bit (Spektra Coated)
https://amzn.to/34VYWCG
Dremel Polishing Wheels
https://amzn.to/2MprXAs
Walnut Danish Oil
https://amzn.to/2Mpslio
Minwax Semi-Gloss Polycrylic
https://amzn.to/2QjlNmj
Heavy Duty Keyhole Hangers
https://amzn.to/2shktIS

Доступные форматы для скачивания:
Скачать видео mp4
-
Информация по загрузке: