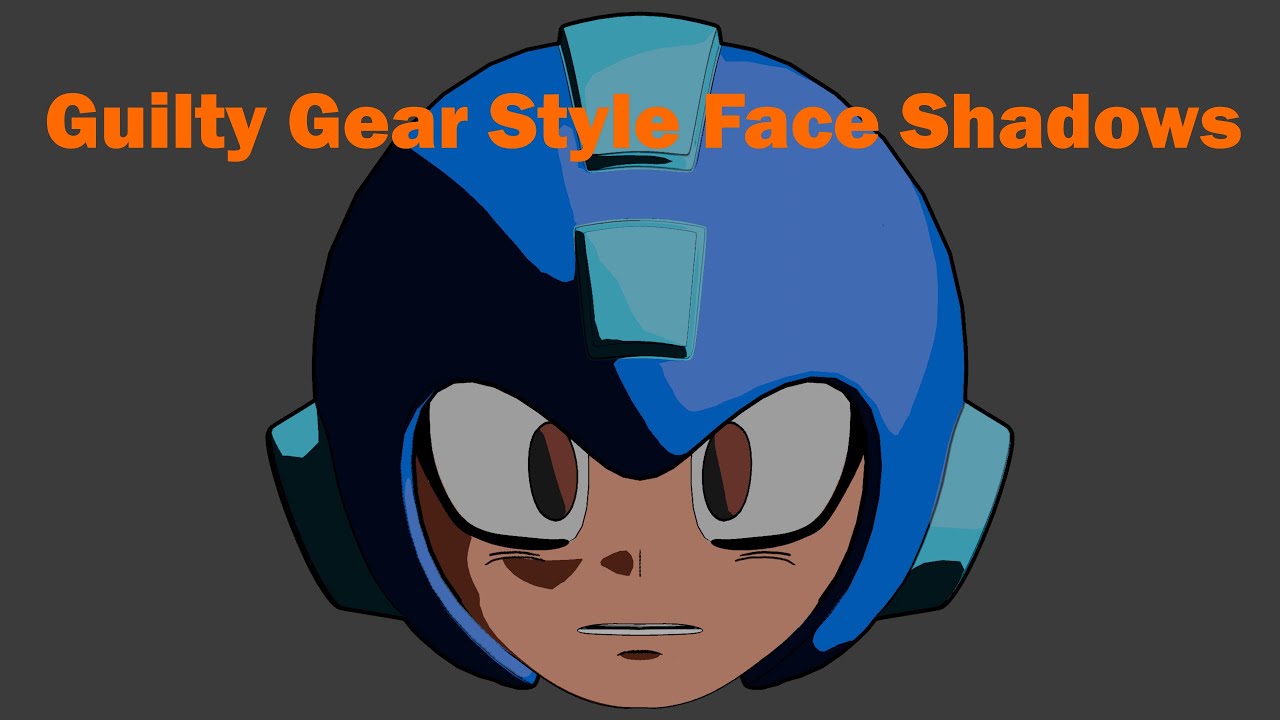
Anime Face Shading in Blender | Guilty Gear Cel Shading & Normals Tutorial
Автор: The1AndOnleeArtist
Загружено: 2025-08-11
Просмотров: 738
A step-by-step Blender anime face shading tutorial in the Guilty Gear Xrd/Strive style using hand-modified vertex normals. I cover the key shapes—Rembrandt triangles and nose side shadows—to get clean, stylized, expressive results without shadow maps or shader nodes.
The process focuses on custom vertex normals, face topology for anime shading, and practical tips for Blender 3D workflow. This is not a shader or shadow-map tutorial—just normal editing and mesh setup.
Want to follow along visually? The Reddit post below includes all screenshots from the video, and there’s a link to the Mega Man rig devlog where this face model started.
🔹 Reddit post (screenshots): / screenshots_of_the_mega_man_head_model_i_m...
🔹 Mega Man rig devlog: • Mega Man 3D Rig Showcase | Guilty Gear Xrd...
Music Credits:
1️⃣ Clown Man Stage – Mega Man 8 (Capcom)
2️⃣ Frost Man Stage – Mega Man 8 (Capcom)
3️⃣ Wily Stage 2 – Mega Man 8 (Capcom)
4️⃣ Wily Stage 3 – Mega Man 8 (Capcom)
5️⃣ Wood Man Stage – Mega Man 8 (Capcom)
6️⃣ Sword Man Stage – Mega Man 8 (Capcom)
7️⃣ Funky Radio – Jet Set Radio (SEGA)
Hashtags:
#Blender #Blender3D #AnimeShading #CelShading #VertexNormals #3DModeling #3DAnimation #Stylized3D #GuiltyGear #GuiltyGearStrive #MegaMan #MegaManRig #CustomNormals #CGArt #DigitalArt #ArtShowcase #RembrandtTriangles #FaceShadows
Доступные форматы для скачивания:
Скачать видео mp4
-
Информация по загрузке:


