DIY Knock-Over or Three-Legged Stools | Minimalist
Автор: HonestWork Designs
Загружено: 2020-05-02
Просмотров: 2781
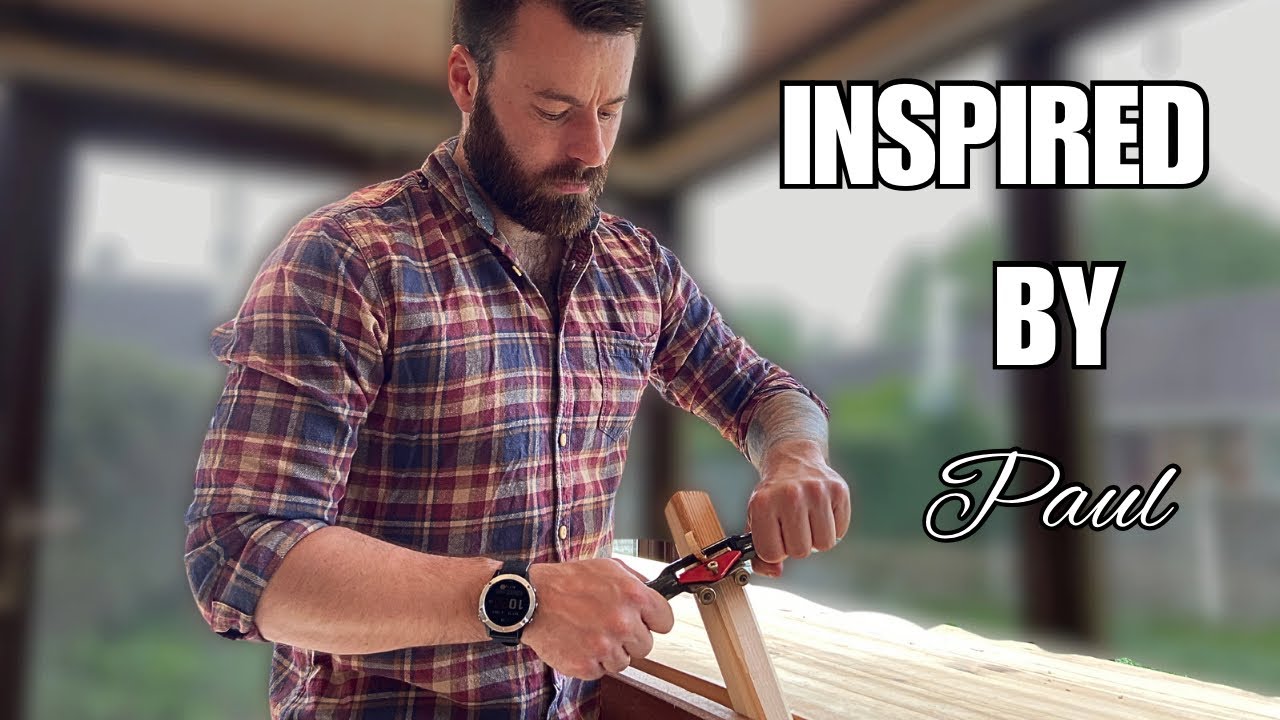
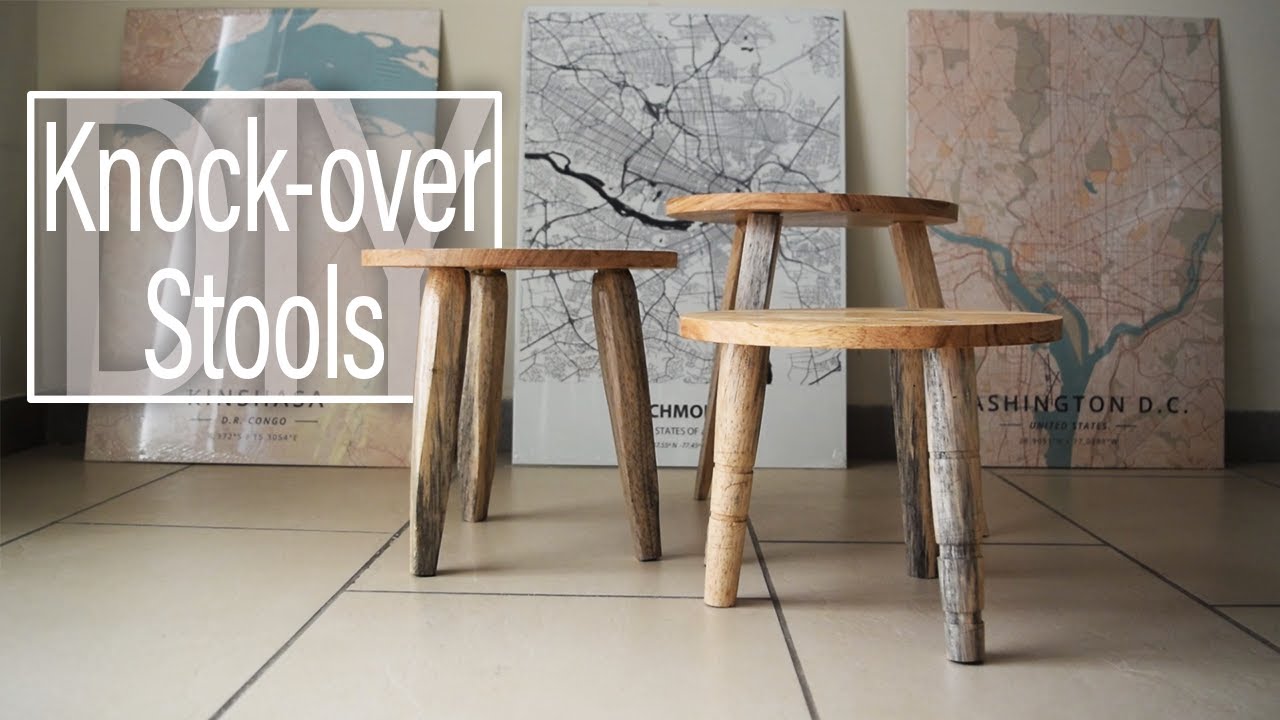
To continue practicing my turning skills, and practice some proper splined, through tenons, I thought I'd make a few knock-over, three-legged, milkmaid stools.
Enjoy!
To support "the show:"
Like
Subscribe
"Ring the Bell"
Follow me: / honestworkdesigns
Music Credits:
Entropy
Gregory David
https://player.epidemicsound.com/
Buttercup
Dylan Sitts
https://player.epidemicsound.com/
Lemon Wedge in the Sky
Sarah, the Illstrumentalist
https://player.epidemicsound.com/
*TRANSCRIPT OF VOICE OVER*
How to make, or how I made, Knock over stools
Let’s get into it
I decided I wanted to make a set of 3 different tiered display stools
I started by jointing and planing the raw lumber for all 9 legs and the stool tops
Once they were square, I trimmed the legs down into 3 sets of equal lengths
Then found the center point on every leg.
And honed down the corners to eliminate some work on the lathe
Originally, it was my intention to turn all nine legs in different ways, but my grossly undersized gouge would not have made it.
So I settled for only turning one set.
I know I know, past-Hailey should have removed the faceplate. Present Hailey thanks you guys for that insight as I learn more about this new tool.
Once I had it fairly round, I honed the tennon for the leg to table top joint.
After that, I measured 3 inches from the shoulder and started a taper.
To hide some mistakes, I mean to add some visual interest, I cut a few deep varying lines.
Then sanded them down.
For the next set of legs, I decided I liked how the cropped corners looked and wanted to keep them but give them a taper.
I used my taper jig.
I still used the lathe to create the tenon though,
And round off the tapered bottom a bit
The last set I decided to square off
And you guessed it, add a taper.
I again used the lathe to create the tenons
With the legs roughed out, I started on the circular stool tops.
I laminated three squared planks together
And once they had cured, found the center point for the router’s circle cutting jig.
Then elevated the piece on a few scraps to keep my bit away from my work bench.
And set up the jig
Using a straight gouge, I gradually cut away the circle about a ¼” at a time.
Knowing my next project would need a pair of “hollowed out” wooden circles, I decided to make the most of the offcuts here and actually cut my first pass wide enough so that my second circle cut would provide both the stool top and the scraps I’ll use next.
Since I didn’t have a compass handy, I settled for a pencil tied to a screw to mark the circumference of where I’d like the legs placed.
The used the same jerry rig to mark the exact spots for the mortises
Using an inch frostner bit and a 15 degree slanted mount, I cut the mortises into the stool tops
WIth those ready, I flipped back to the legs to drill the relief for the tenon splines at the base of the tenons.
Then used the bandsaw to cut the slot for the spline
Thinking it would give me a better connection, I rounded the shoulder of the cropped corner legs,
And used the miter gauge to cut matching angular shoulders on the squared leg set.
With all the cuts done, I sanded down all the pieces.
While I do that, I’d like to invite you to like, subscribe and ring the bell. I’m already working on more DIY projects and shop upgrades that I love sharing with you guys.
Once all the pieces were ready, it was time to assemble them!
With the tenons tight, it was time for finish.
And that’s a wrap.
Thanks for watching! For more DIY projects and shop upgrades, like, subscribe, and ring the bell! And I love hearing from you guys, so feel free to leave me a comment below.
Until next time
Доступные форматы для скачивания:
Скачать видео mp4
-
Информация по загрузке: