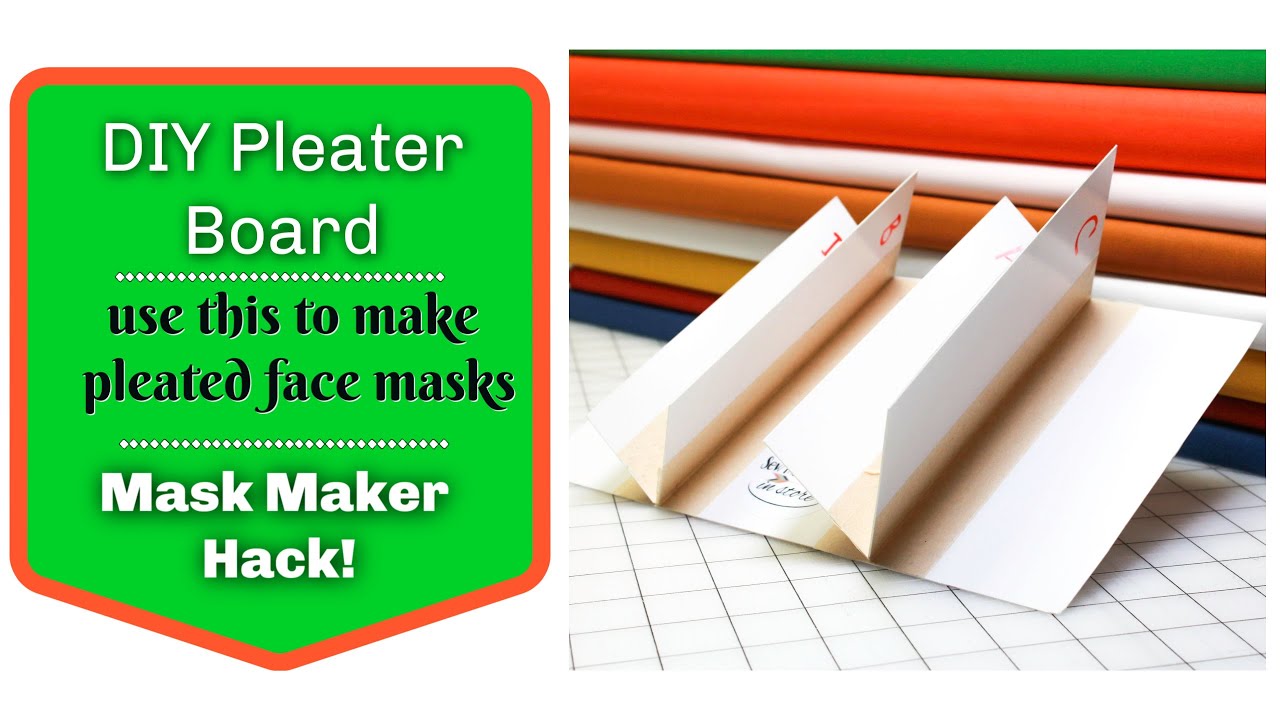
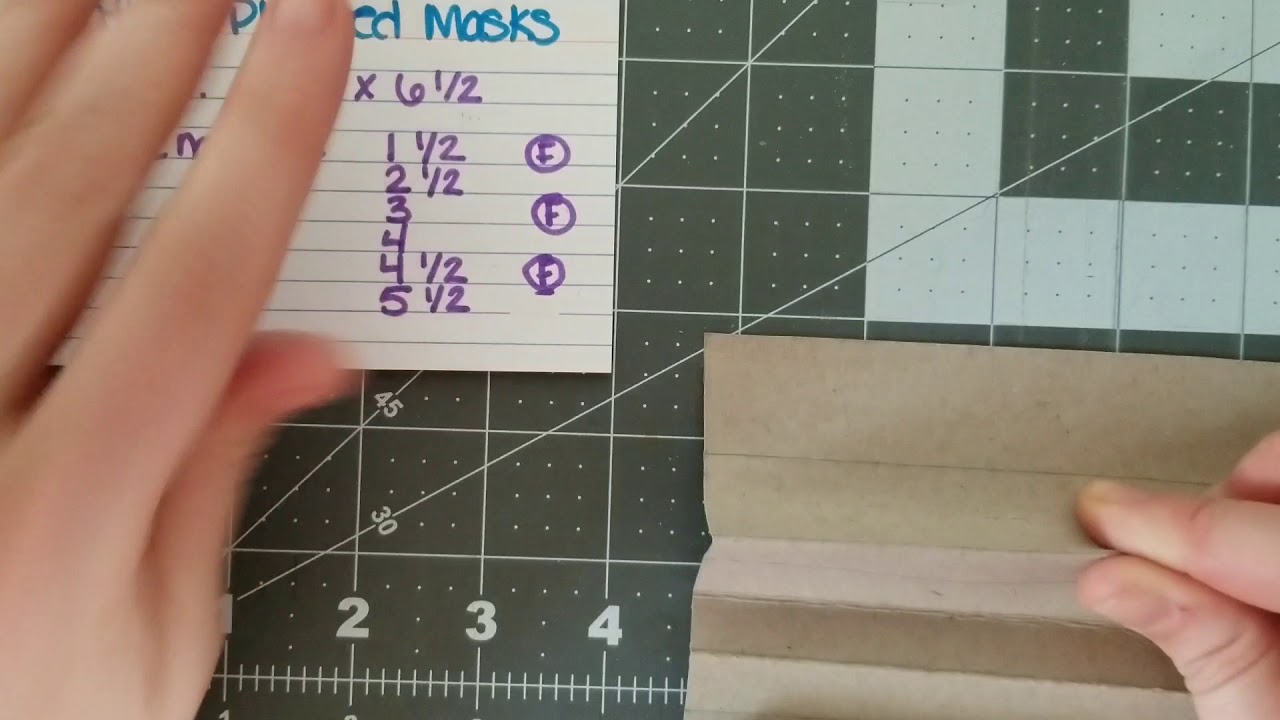
Mask Pleats - Cardboard Jig
Автор: patricia macarthur
Загружено: 2020-04-15
Просмотров: 35752
Pleating made easy!
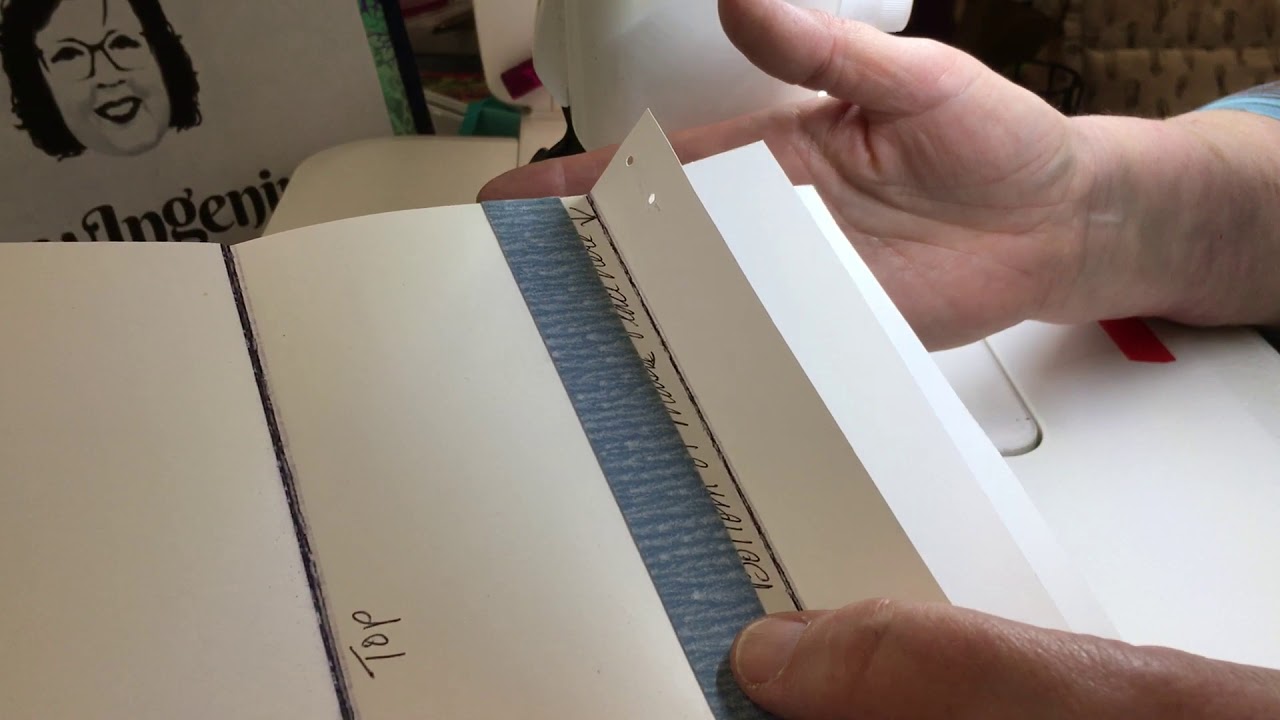
Though I use a cereal box in the video, other options I have used are poster board, manila folders, tissue boxes, ice cream sandwich box and last but not least - my favorite: the cardboard on the back of the Manuscript Tablet purchased for my child's school work at the Dollar Tree! It has the best thickness and holds up the best!
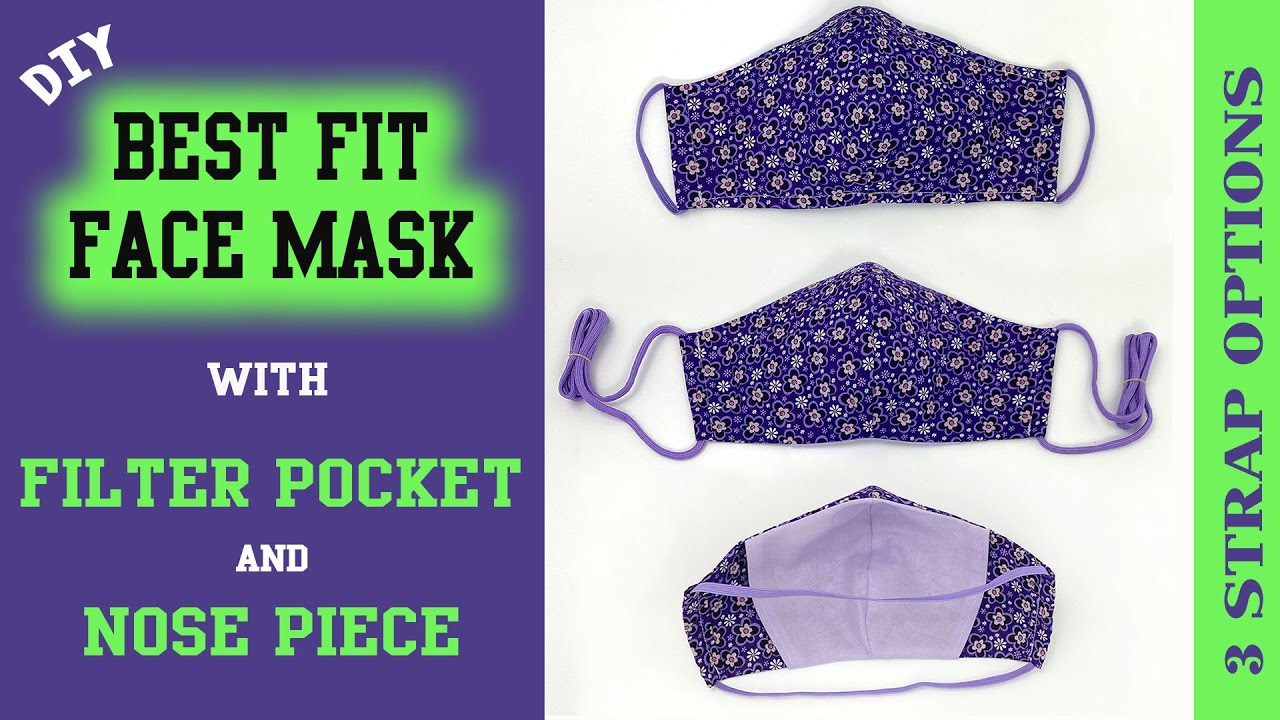
The masks I make include an option to add a filter and a nose wire. Because I don't provide these materials with my donated masks, I leave these parts open/accessible on the mask for users to add materials, if desired.
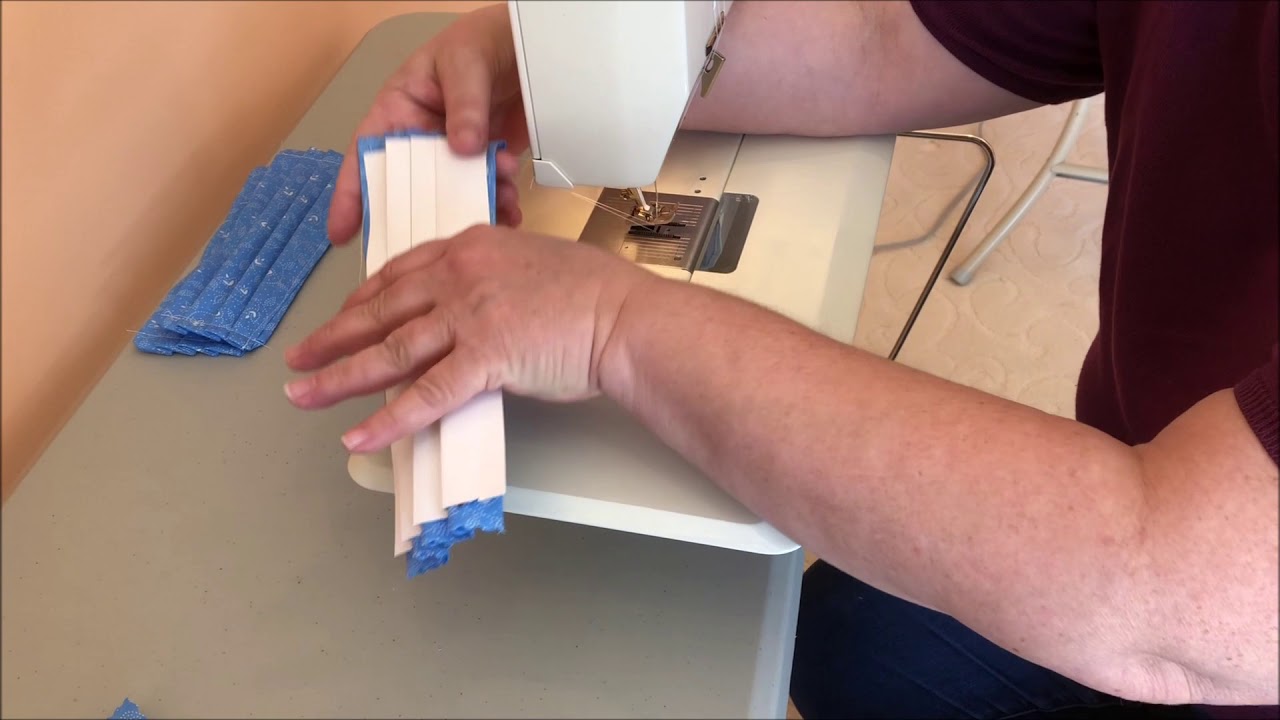
Most mask patterns call for the elastic to be sewed into the fabric before pleating, and then turn the fabric inside out. However, if the elastic breaks the mask is rendered useless, unless the mask can be repaired by someone who knows how to do so (most users do not).
To deter this, I prefer to tac the elastic after pleating and finish the mask by sewing edging on each side. There are several different ways the edging can be sewed, it's at the sewers preference. Some find this process to be a bit time consuming ( I agree) and can jam up machines and/or give your machine problems due to the thickness of the fabric however I find the masks look better, last longer/more durable and overall fit better - based on feedback received and personal opinion.
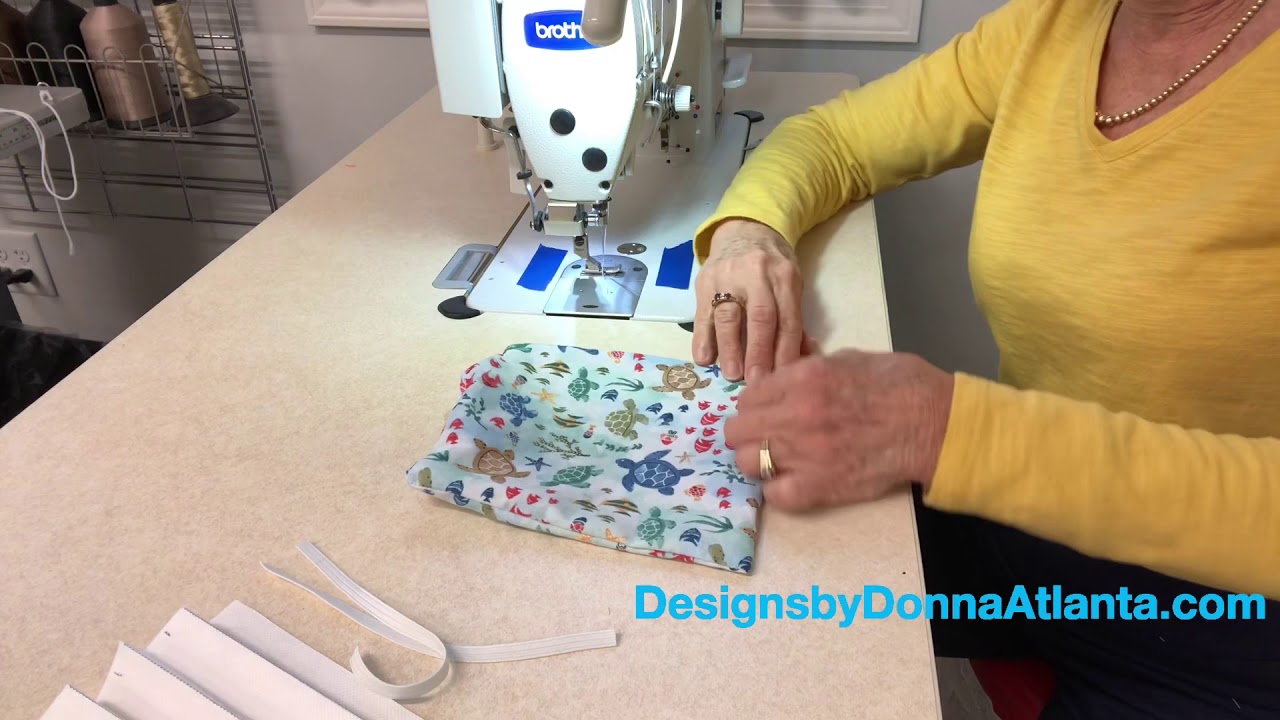
After I've completed sewing the pleats, I tac the elastic to the backside and add edging to each side of the mask. The edging creates a small opening (loop) for a user to use in case the elastic is too big/small (can be ripped/cut out) or if the elastic breaks, the user can insert other ear tying options into the loop for continued use (ribbon, cord, elastic, etc).
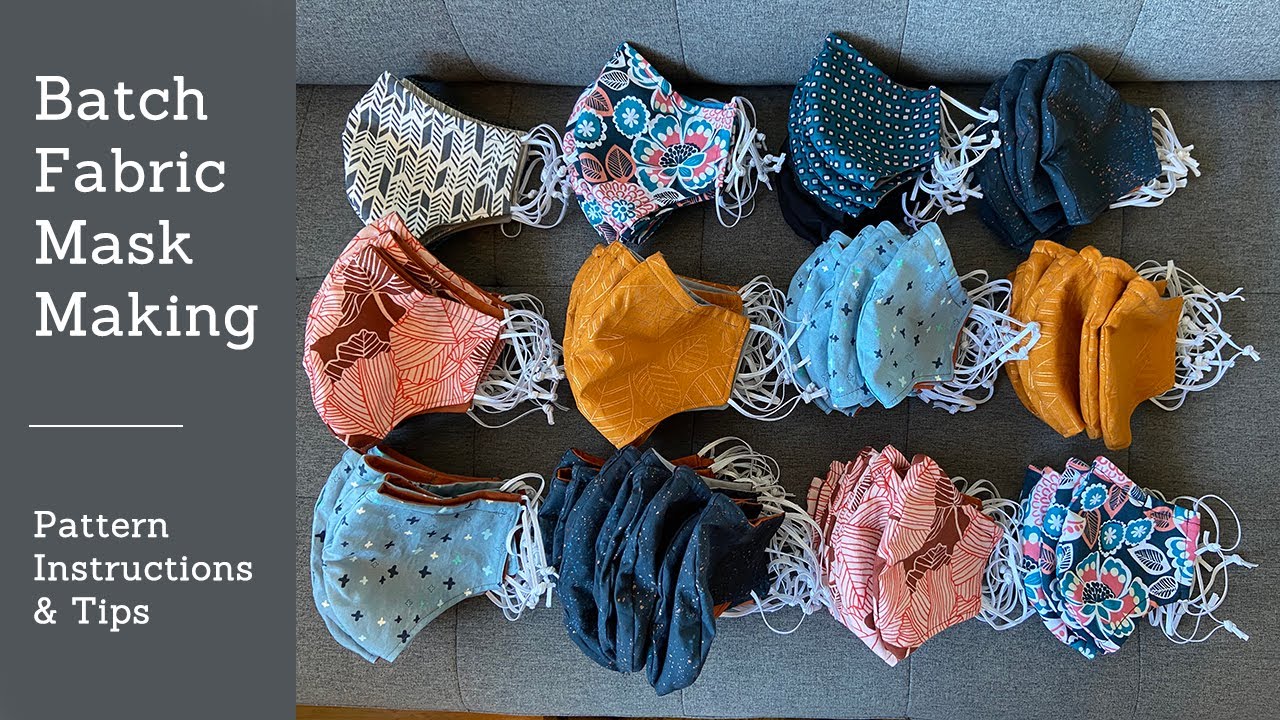
Lastly, a lot of you have asked about my measurements. Based on a variation of three videos (I've posted below), I've created my own mask and dimensions, which have been incredibly popular in my area. I've listed these below for you to reference. These, of course can be modified if needed, etc.
As always, feel free to leave a comment and I'll gladly get back to you! :)
Mask Dimensions:
Elastic: (2) 7.5 inch pieces
Edging: (2) 2X6 inch pieces
Fabric:
Mask w/One Solid piece w same fabric on front and back = 8 inches W X 16 inches L
Mask w/Two Different Fabrics: Main Fabric: 8 inches W x 9 inches L
Back Side: 8 inches W x 6 inches long
** Because I do not have a serger, I fold down 1 inch on both the main fabric and back fabric. Doing so allows me to create a nice seam for my nose and filter pockets.
My ideas, measurements and progress were derived from the three videos below. These are not my videos and I have no affiliations with the publishers. I take no credit for their work and only used their videos as reference.
Video 1: Adding a simple nose wire and filter slot
• How to sew a simple pleated face mask (wit...
Video 2: Main video for my jig dimensions and mask template
• How to Sew a Simple Face Mask Tutorial
Video 3: Serger options and alternate edging type:
h • The 15 Minute Mask
Доступные форматы для скачивания:
Скачать видео mp4
-
Информация по загрузке: