#DIY
Автор: XLLR8ing2
Загружено: 2019-03-25
Просмотров: 4465
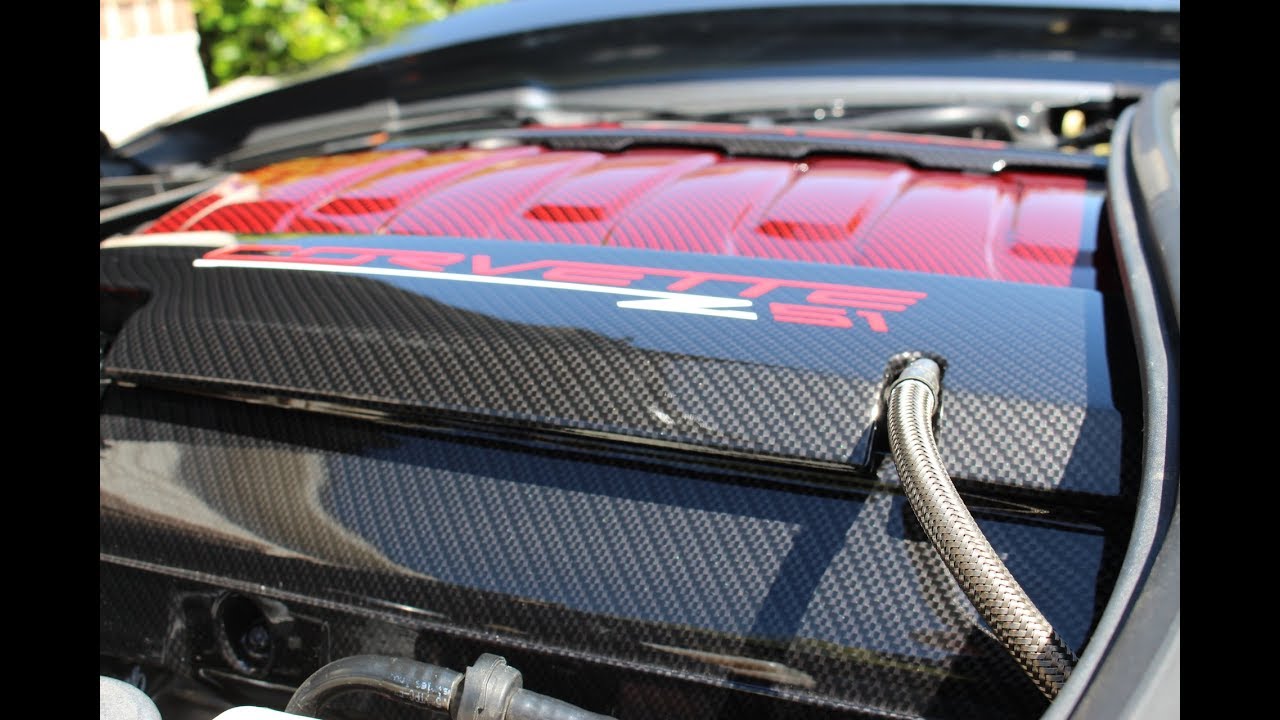
#C7 #Corvette #LED Engine Rail Light
https://rover.ebay.com/rover/0/0/0?mp... $90
Or
https://customledservice.com/shop?ols... from website directly $115
Step by step written instructions and pictures:
https://files.secureserver.net/0suBxh...
Total time less than 1 hour. Difficulty level 2. Most difficult process, use of drill applying pressure insuring no damage after drilling of the hole and that no drill shavings are left in the engine.
Tools needed: drill with 3/8 drill bit, 13 mm socket or wrench, 7/16 and 9/16 wrenches. All other accessories came with the kit
1. Remove both fuel rail covers by pulling up as shown. Then slide them towards the center of the engine then remove.
2. First, wipe down the mounting area with degreaser then alcohol swabs.Next, cut the very top off the adhesion promotor pack. Squeeze the excess fluid back into the packet as you remove the sponge. Apply a thin coat to the area where the strips mount. Let dry for a 2 minutes. Apply the strips within 1 hr
3.Test fit the strips so you have a good idea how they will fit. Start here and route the wire behind or under the large retaining hook. Remove the backing from the strip and press in place.
4.The backing is easier to remove if you score it with a razor blade as shown. Use caution and don’t cut too deep. Use the large picture above to trial fit and mount all the strips. Now use the supplied heat ducting tape to secure the wires.
5.Always use degreaser and alcohol swabs
to clean the mounting area. Use the same procedure to mount all the strips in the correct position. Secure the wires with the supplied heat duct tape.
6.Install the coil covers by aligning the retaining hooks with the V shaped area indicated by the red arrows. Once fully in place you can just push down on the side opposite the hooks to click them in place. Be sure they are secure.
7.Connect the coil cover wires together, red to red and black to black. Drop the wires down behind the engine to hide them.
8. route the wires toward the large terminal at the back of the under hood fuse box. If mounting a remote control kit, forward to that section.
9. To gain easier access to the positive connection point you can raise the large handle out of the way by releasing the locking tab on each side of the fuse box and pulling it up.
10.Pry this tab back and flip up the cover over the positive terminal at the back of the fuse box.
11. Remove the 13mm nut and connect the fused red wire. Point the red wire so it follows the factory cable so you can close the cover.
12. Drill a 3/8” hole as shown. Put a towel
under this area to catch the filings. Be careful to not drill-into things under this brace. If yours is a Z51 car be careful of the lines under this bracket.
13. Slide the switch through the hole, start the nut then plug the black wire into the bottom before tightening the nut. Hold the top nut with the 7/16” wrench and tighten the bottom nut with the 9/16” wrench. It is a nylock nut so it will be hard to tighten but it wont come loose! The leds should now lite. Test the switch operation by closing the hood and observing if the lights go off. If not you can raise the switch by placing a 3/8” washer under the top nut.
14. After mounting the led strips and the coil covers back on the car, route the wires and control box up under the cowl and attach with provided tape. You can mount the box under the cowl lip or on top of the coolant reservoir. Connect the red fused wire as directed in the switched kit instructions.
15. The long black wire has to be routed up to the ground stud located ahead and below the alternator. Secure the black wire with the provided nut and tighten. Now hide and secure all wires and use the supplied cable ties to se-
cure them. Always re check wires and strips after a while to be sure they are all secure. You can install 1/4” wire loom over any exposed wires to hide them better.
https://www.ebay.com/itm/252196020316

Доступные форматы для скачивания:
Скачать видео mp4
-
Информация по загрузке: