Beauty Portrait Retouching with Dodge and Burn in Photoshop | Retoucher Kateryna Lebedynska
Автор: Kateryna Lebedynska
Загружено: 2020-04-25
Просмотров: 4021
If you’re new to the channel: welcome ~ I’m Kateryna and I'm a beauty & fashion retoucher working for magazines, brands, photographers and celebrities all over the world from my bedroom (currently 😅) in Orlando (Florida, the USA). I make new videos every week about retouching, photo manipulation, color grading, and whatever else is on my mind. Thanks so much for watching :)
✍️ MY WORKFLOW
0:00 - Intro
1:00 Step #1: Basic Cleaning Up
2:59 Step #2: Dodge and Burn
6:58 Step #3: MakeUp Retouching
8:58 Step #4: Color Grading
10:57 Step #5: Lips Retouching
11:54 Step #6: Hair Retouching
13:53 Step #7: Transformation
15:00 Step #8: Final Touch Up
⭐ CREDITS // be sure to check out these amazing artists
Photographer: Julia Kuzmenko McKim / @juliakuzmenko from Retouching Academy
Model: Jenna Puffer / @jennpuff
Music: ZEDION — Radiance: • ZEDION - Radiance [Creative Commons]
❓ WHAT THIS VIDEO IS ABOUT ❓
Hi guys! It’s Kateryna here and today is the day I post my first video on this channel.
I know there are some people watching this video saying, “Oh, she finally did it!”.
I would like to take this opportunity to thank you all for the support and confidence you have placed in me. Thank you for all of your encouraging messages and comments—they really keep me going!
Let’s do it!
So I am currently taking part in a challenge among retouchers on Facebook.
We all were given one photo for retouching and are supposed to retouch it using our skills and understanding of beauty retouching.
Then all community members will vote with their Likes under the submitted retouches.
It is so interesting to compare your version with others. This is how we are having fun these days!
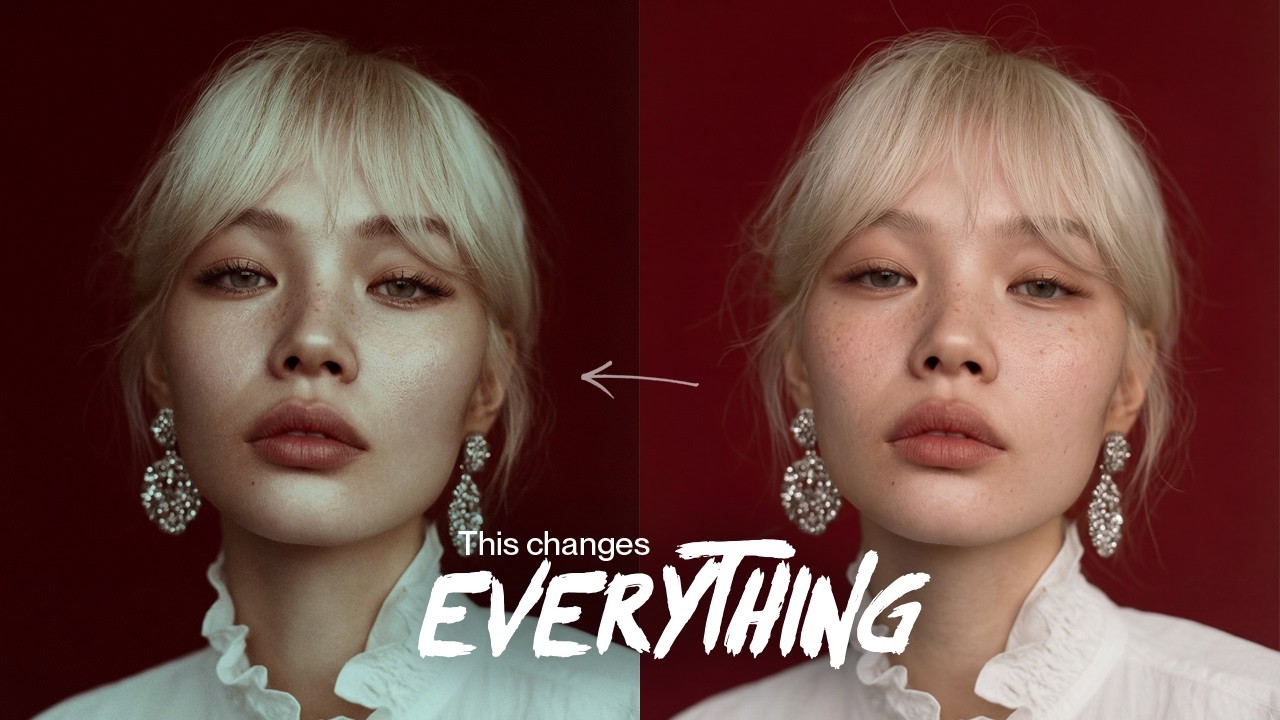
So today, I will show you how I edit this amazing photo by Julia Kuzmenko McKim.
It took me a while, so I will use time-lapse to accelerate the process.
Are you ready? ‘Cause I am just gonna do a little Photoshop.
STEP 1: Basic Cleaning Up
I always start retouching of photos with blemishes and skin imperfections. I use the Clone Stamp and Healing Brush tools to clean up distracting areas such as acne, blackheads, wrinkles, scars, fly-away hair, stray hair, in any photo.
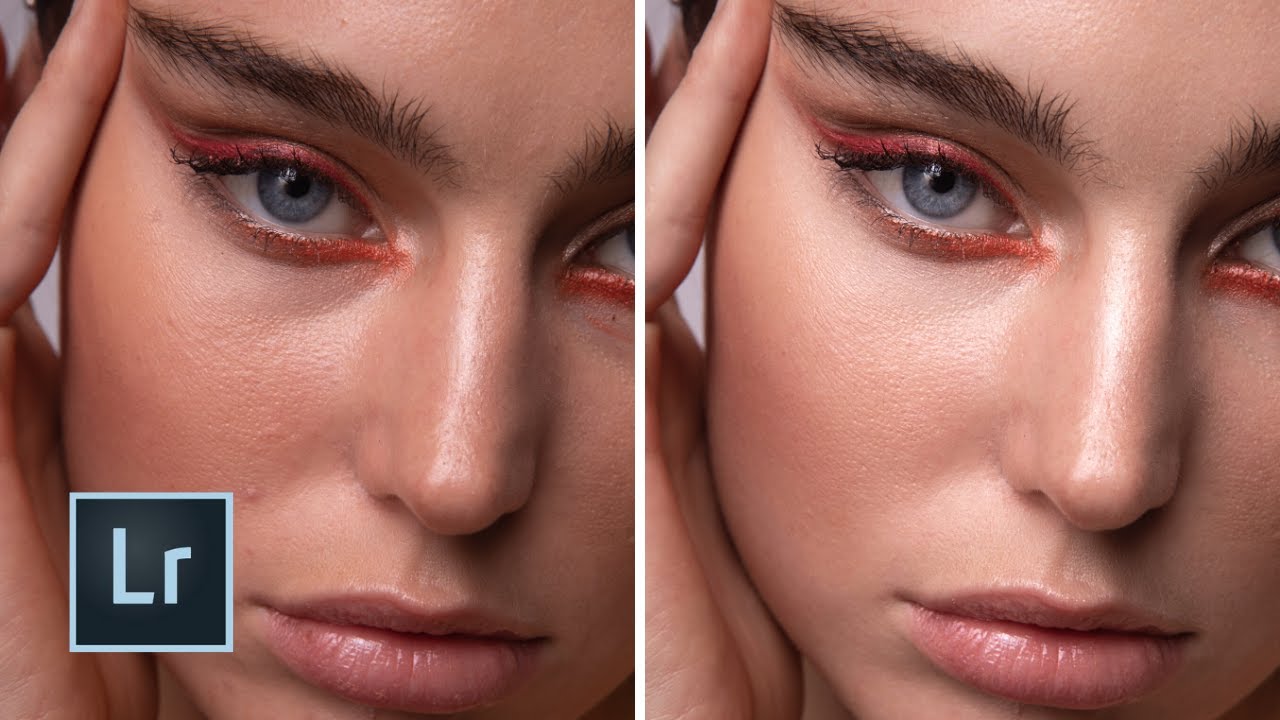
STEP 2: Dodge and Burn
This is the longest one. Now I am going to use a technique called Dodge and Burn for skin retouching. I highly recommend you to use D&B to retouch skin if you want to achieve more realistic looking results. It takes time, but the results are definitely worth it. I am starting with local Dodge & Burn (also known as Corrective Dodge and Burn) to remove spots and other skin defects.
After that, I am proceeding with global D&B (or contouring) to smooth the gradients and add more volume to the image. As you can see, I am constantly in control of the final result. I am using additional layers to compare the current result with the original photo. Some sort of before and after in real time. It helps me not to violate the anatomy of a model face and achieve a natural result.
As you can see, I saved a few photos of this and other models taken and retouched by Julia as a reference to match editing style of this beauty photographer.
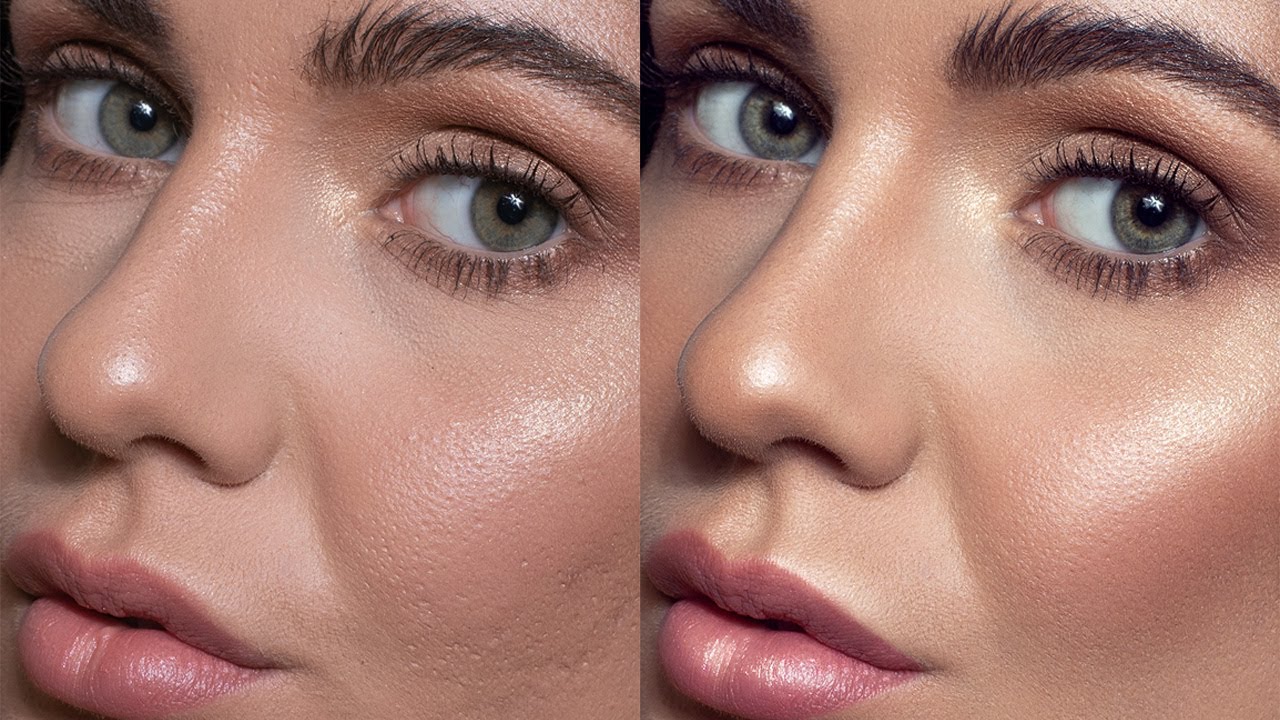
STEP 3: MakeUp Retouching
It is time to do a quick skin color matching, as well as retouch the model’s eyes and eyebrows. For retouching eyebrows, I prefer to combine Frequency Separation technique and manual drawing of hairs to correct the eyebrow shape. In addition, I would like to pay special attention to makeup. I am adjusting the color of the shadows, filling in the gaps in the eyeliner and adding saturation to the lips.
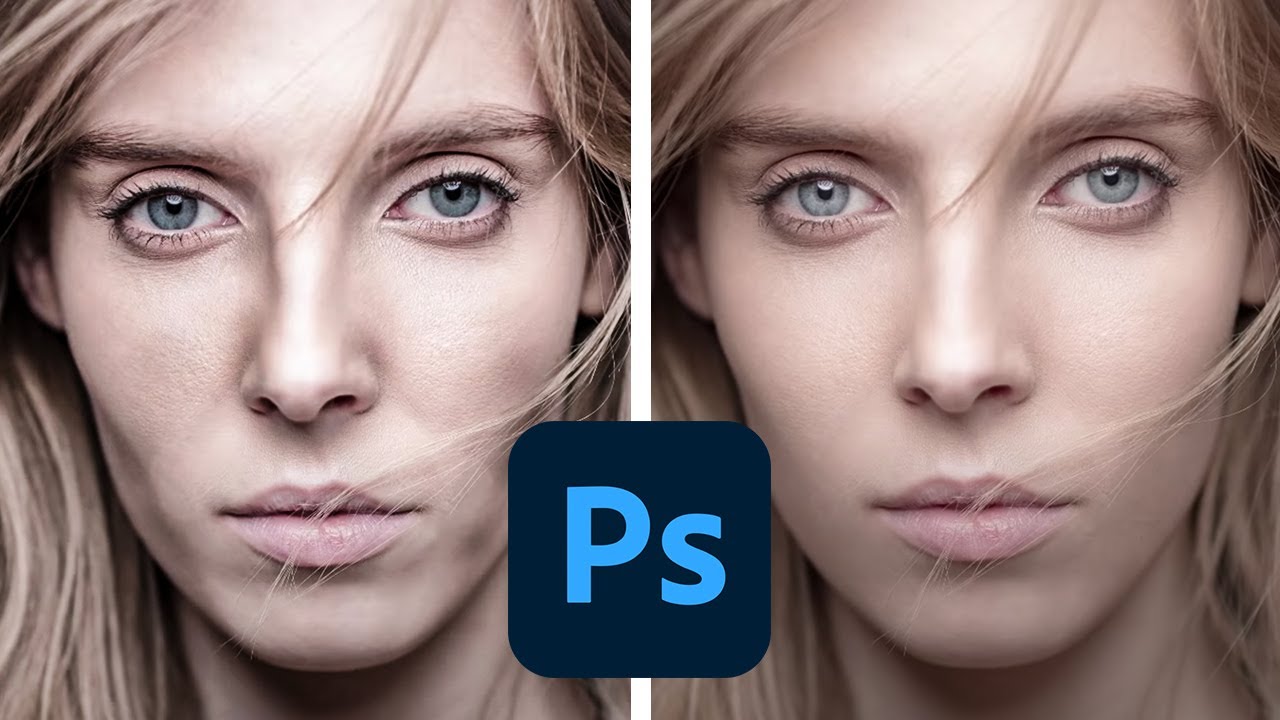
STEP 4: Color Grading Photoshop
We are almost there with the result! A few more steps and we will see it. Now I am doing light color grading and adding contrast using curves, and I am still working a bit on the skin and its texture using the D&B technique in Adobe Photoshop.
STEP 5: Lips Retouching
Today’s model Jenna has very beautiful lips! That is why I will not edit the lip shape, but I definitely need to work on the lip texture, because the applied lipstick does not look very good. I am using the Frequency Separation technique to retouch the lips.
STEP 6: Hair Retouching
It is time to for hair retouching. Some hair styles have gaps where hair doesn’t fall correctly, so I also fill in gaps in hair. It always helps to make hair look clean and shiny. Now I am retouching the hair (removing small hairs and drawing new highlights). Believe it or not, retouching hair can make a huge difference in a photo.
STEP 7: Transformation
As you can see, I am transforming the right eye and adjusting the shape of the ear, lips and hairstyle.
STEP 8: Final Touch Up
So here is the final result!
Hope you like this video, feel free to let me know about your thoughts in the comment section!
Do you want to see more retouching videos?
Leave a comment below and let me know what technique you would like to see!
Please stay safe and take care of yourself!
See you soon!
Bye-bye! ❤️
P.S. If you're reading this, comment your favorite superhero :D

Доступные форматы для скачивания:
Скачать видео mp4
-
Информация по загрузке:


![How to Dodge and Burn in Photoshop [2023 Updated Skin Retouching Tutorial]](https://imager.clipsaver.ru/prv_lrrZRr4/max.jpg)