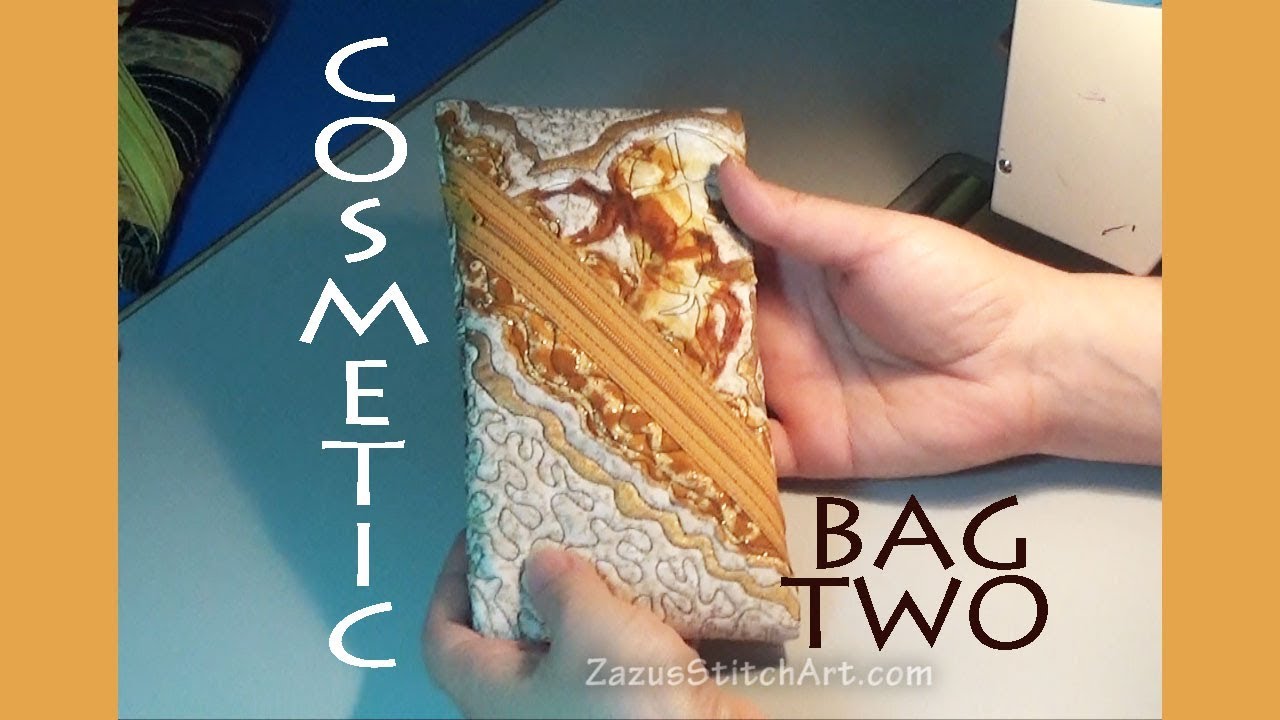
Cosmetic Bag #2 | EASIEST Zipper Ever | Easy-to-Moderate Gift | Zazu's Stitch Art Tutorials
Автор: Zazu's Stitch Art
Загружено: 2017-11-17
Просмотров: 17534
PLEASE NOTE: If it is 7-8-2022 or after, my website no longer exists. Any patterns or PDF printouts mentioned in this video are no longer available. Sorry for any inconvenience. Currently I am still on Facebook: / zazusstitchart
and here on YouTube: / zazusstitchart
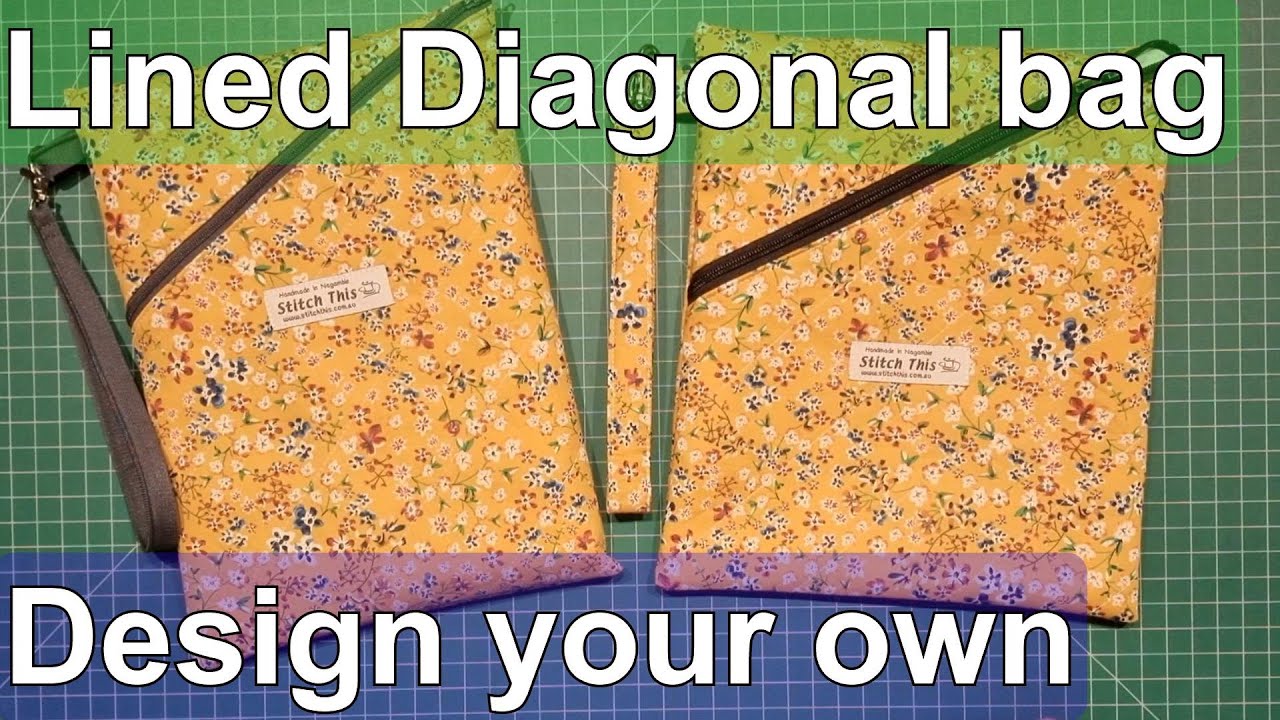
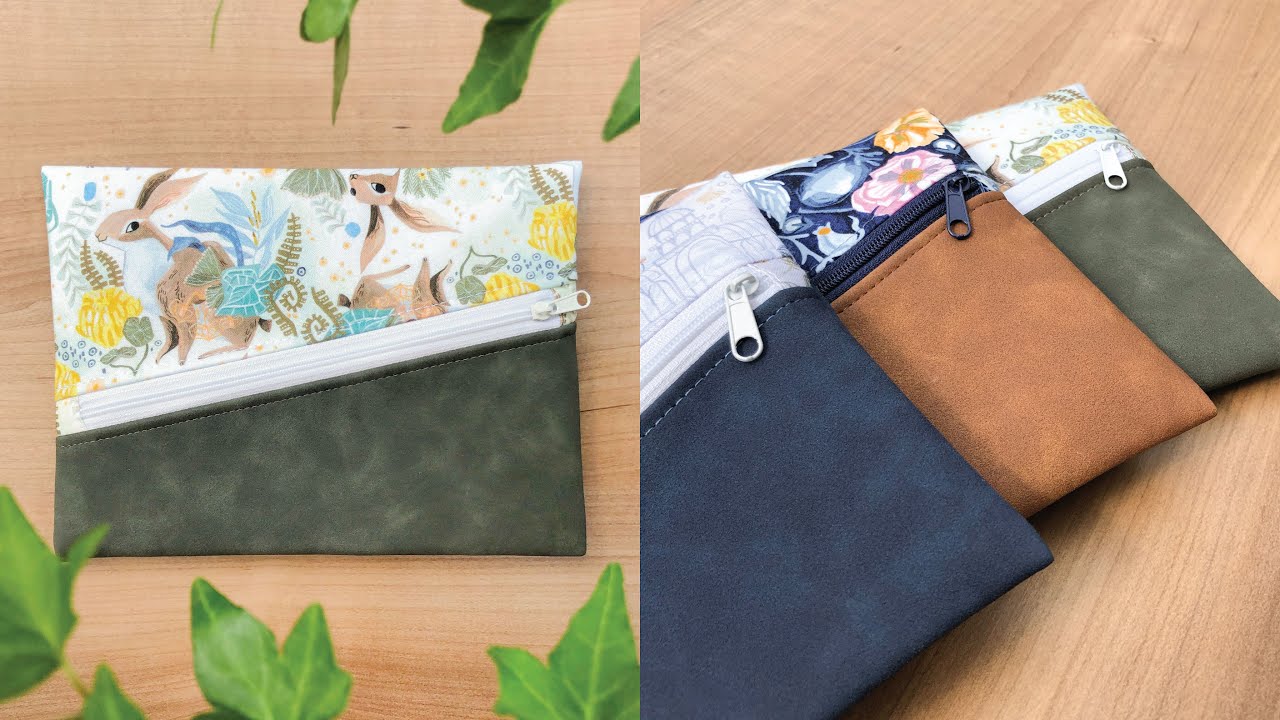
Featuring a diagonal surface zipper installation, cosmetic Bag TWO is a re-creation of a fun little make-up case I made in high school and used for decades, until it fell apart. I made 4 prototypes to arrive at this new design. It also features bound seams and talk about construction that results in perky designs. The surface design for this item will be available exclusively on Patreon. Patronage starts at only $1 per month: https://www.patreon.com/user?u=4946699
0:00 Project Intro
0:22 MATERIALS LIST for the diagonal zipper bag
Any QUILTED piece about 5.5 x 17 inches. Top / Batting / Backing: Mine started at 6 x 18, before I did the surface design and final trim.
12 - 14 inch zipper.
Binding tape about 1 7/8 x 20 inches.
0:40 Prototypes
1:32 I removed 3/4 of an inch of batting to make the ends as thin as possible.
1:58 We'll put in zipper the easy way I tried, which includes shortening it at both ends. I try not to put it right in the corner. This is a recreation of a bag I made in high school.
2:39 Stitch zipper down with edger foot.
3:37 Trim out behind zipper leaving 3/16-inch margin.
4:56 Zigzag those edges.
5:28 Second row of topstitching - I love that the zipper tape doesn't take over my design. I was worried.
6:16 Close the bottom of the bag, stitching next to where the batting was removed and then zigzag that end. (A bound bottom seemed too bulky every way I tried it.)
7:13 Press this seam over and then stitch sides at 3/8-inch, with this seam pressed over. Be sure not to trap you zipper head off the edge of the bag. Primp the fabric as you go, so everything is positioned properly as the needle comes to it.
8:04 Trim zipper off with junky scissors and talk about turning out, primping, positioning fabric and zippers as you work.
10:20 Binding the side seams makes the bag perky, but it is a personal choice.
10:42 Cut seam tape on the mat at 1 7/8-inches and press with 1" bias tape maker.
11:57 Clip corners before or after first stitching. Using a 3/8-inch seam allowance for the whole process, stitch on the binding, then wrap ends and stitch again from the other side.
13:30 New sewing room to be called "The Doghouse." Turn out and firmly but gently push corners all the way out.
14:20 Modeling the make-up case with pens...
14:51 Whip these up from anything pre-quilted. I will post my surface design video for this piece on Patreon within a day or two. Please consider becoming a patron, starting at $1 per month. I hope to interact with patrons and workshop projects there: https://www.patreon.com/user?u=4946699
15:13 Get 10% of Zazu items on Etsy, PLUS free domestic shipping for a liited time: https://www.etsy.com/shop/ZazusStitchArt Patrons get a 20% off discount, PLUS free domestic shipping.
Please like.
Subscribe.
Comment.
Ask questions.
Raw Edge Applique No Fusing | # 1 • Raw Edge Applique No Fusing | # 1 tea cozy...
Raw Edge Applique | # 2 Intuitive Sewing Basics: • Raw Edge Applique | # 2 Intuitive Sewing B...
Raw Edge Applique | # 3 Finishing: • Raw Edge Applique | # 3 Finish Bind | tea ...
To check out my fiber art techniques playlist: • Fiber Art Techniques | Zazu's Stitch Art
Art Bag OUT Recycled IN Jeans-lined Tote Series: • Art Bag OUT Recycled IN Jeans-lined Tote S...
To learn more about my favorite tools for the techniques I do, please watch 12 Pro Tips to go from Homemade to Handmade: • 12 Pro Sewing and Quilting Hacks | Make It...
My best pro sewing tip: • Pro Sewing Hacks: #14 | Pinless Mitered He...
My most popular gift project: • Hem Fabric Napkins Like a Pro with pinless...
Доступные форматы для скачивания:
Скачать видео mp4
-
Информация по загрузке: