Ep. 163 FINISHING THE BIG ANGELIQUE TULIP MOSAIC, ONE FLORAL MOSAIC PENDANT & A NEW MOSAIC SAMPLER!
Автор: Mazzoni Mosaics
Загружено: 2023-07-17
Просмотров: 2063
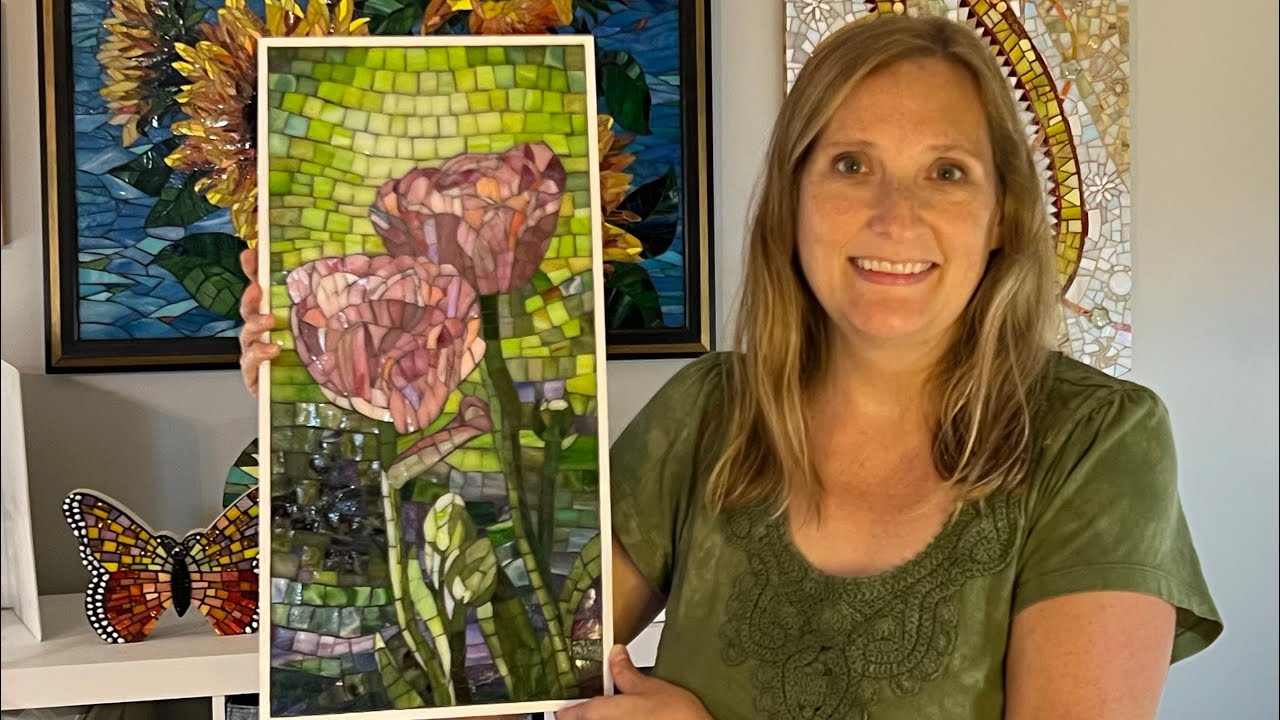
Ep. 163 FINISHING THE BIG ANGELIQUE TULIP MOSAIC, ONE FLORAL MOSAIC PENDANT & A NEW MOSAIC SAMPLER!
Thumbnail photo credit: Paul Mazzoni
Pendants for sale on Etsy: https://etsy.me/39S4eUv
Hey Everyone! Welcome to my studio.
0:19 I kick off with my big tulip mosaic, working from the bottom up on the background. I'm using a variety of pretty purple and teal stained glass that is a bit darker than the stems so they read. I fill in around the buds in the middle and then work on the darker shades on the left side. My adhesive for this indoor project is Weldbond.
2:06 Next, I work on ONE pendant in this video. I had ordered new filati petals from DiMosaico.com and pulled some green and blue for the backgrounds. This one has daisies and zinnias, similar to some I've made in the past. I made a few more this week, but did not record the process for all of them.
2:40 Back to the tulips, I fill in more around the flowers. Lots of squinting involved to pick up the general tones and shades of the background.
4:26 Now that I've gotten to the top portion of the background, I re-evaluate how I want to proceed. I decide to keep it all light green and skip the dark corner. I start pre-cutting each row and then gluing one row at a time. I was watching the movie TAR starring Cate Blanchett while finishing up! That Lydia Tar character was a real stinker!
5:59 YAY!!!! I put in the last piece!!!
6:06 I show my original mosaic sampler, and show a couple substrates that are prepped and ready to go. Cutting the smalti into a million little pieces was SO much work. I decided to try some tiny micro tiles that are just the right size to use. I purchased a variety of colors from Kismet Mosaic. https://www.kismetmosaic.com/search?q...
I also have some pretty little faceted cube beads I bought on clearance at Hobby Lobby. They are about 1/4 the size of the micro tiles and come in a little dial wheel dispenser.
8:47 Using thinset in a baggie, I pipe a bit onto each square and start adding my micro tiles. Can you guess what I'm making?!? I think the hardest part is that I don't have any orange or brown! I finished this mosaic so quickly! And I did use the faceted beads. They add a bit of sparkle and interest to the fat little tiles. It is an interesting look, quite different than the smalti. I have to show it off with my sunflower in the garden when I'm done.
10:11 Now it's the next day, and I am ready to grout the big Angelique tulips. I tape off the edge that I painted in a different episode. I end up using THREE grout colors - sanded black, gray and a mix of the two for a medium gray. Note: I mixed the grouts together before slaking.
11:30 I spread it by hand, not taping separate areas, but keeping it organic. After spreading and the initial wipe off, I try to wait about 20 minutes for the grout to haze over before cleaning. YAY! I finished the whole thing!!!
That's Putting It Together Ep. 163. Thanks for watching! See you next time.
WATCH NEXT: Ep. 143 HOW I FINISH THE AUTUMN BEAUTY SUNFLOWER MOSAIC AND ST. MARK GETS A MOSAIC WING! • Ep. 143 HOW I FINISH THE AUTUMN BEAUTY SUN...
COME SAY HI:
Instagram: / mazzonimosaics
Facebook: https://www.facebook.com/profile.php?...
Pinterest: / _created
Website: https://mazzonimosaics.webs.com/
Etsy: https://etsy.me/39S4eUv
MOSAIC IN PERSON CLASSES (Atlanta metro area)
Spruill Center for the Arts: https://www.spruillarts.org/
The Art Place Mountain View: https://www.artplacemarietta.org/
Доступные форматы для скачивания:
Скачать видео mp4
-
Информация по загрузке: