How to load media roll into the Brother TD2020 TD2120N or TD2130N
Автор: Brother Office USA
Загружено: 2016-02-04
Просмотров: 25246
Learn how to set up your Brother TD-2020, TD-2120N, TD-2130N with custom paper sizes.
Model Shown is TD-2020
Models covered:
TD2020
TD2120N
TD2130N
For more videos, tutorials, and FAQs visit our support site at: http://brother-usa.com/support
Table of Contents:
Black marked media sensor setting 01:09
Die cut label sensor settings 01:33
Continuous media settings - less than .985 inch 01:45
Continuous media settings - more than .985 inch 01:58
Download / install the software 02:34
Open the Printer Setting Tool 03:08
Standard media sizes 03:20
Adding a custom size media roll 03:44
Advanced settings 04:01
Transcript:
If the printer is powered on, press and hold the power button until the printer turns off. Pull up on either of the cover release
levers and open the top cover.
Check to ensure that the protective orange guard has been removed from the tear bar.
Open the media guides by lifting up on the green adjustment lever and moving the media guides all the way outward.
Insert the media role with the print side facing up and the loose end feeding from the top of the roll.
Move the media guides inward to fit the width of the loaded media roll. Be sure to leave just enough room for the roll
to turn freely but no more. Excess space between the roll and the media guides may cause tracking and or jamming issues.
There are two types of media sensors in the sensor assembly, one to sense gaps or notches between label and tags, and the
other one two sense black marks printed on the underside of the media. It is very important that the sensors are in the correct position depending on the type of media loaded.
For media with printed black marks on the underside, the media sensor assembly should be positioned so that the center
line indicator on the sensor assembly is approximately centered within the print black mark with at least .16 inch or four millimeters of printed black-mark area on either side. If the sensor
assembly is locked into position it will require little force to unlock it.
For labels without printed black marks, the position of the sensor assembly depends on the type and the width of the media roll.
For die-cut labels of all sizes position the sensor assembly so that the triangle symbol on the sensor lines up with the left triangle symbol on the printer body. The sensor assembly will lock into position.
For continuous media that is less than .985 inch or 25 millimeters wide, position the sensor assembly so that the triangle
symbol on the sensor lines up with the right triangle symbol on the printer body. The sensor assembly will not be locked in position.
For continuous media with the width of .985 inch or 25 millimeters or greater, the sensor assembly is positioned the same as for die-cut labels, so that the triangle on the sensor lines up with a left triangle symbol on the printer body.
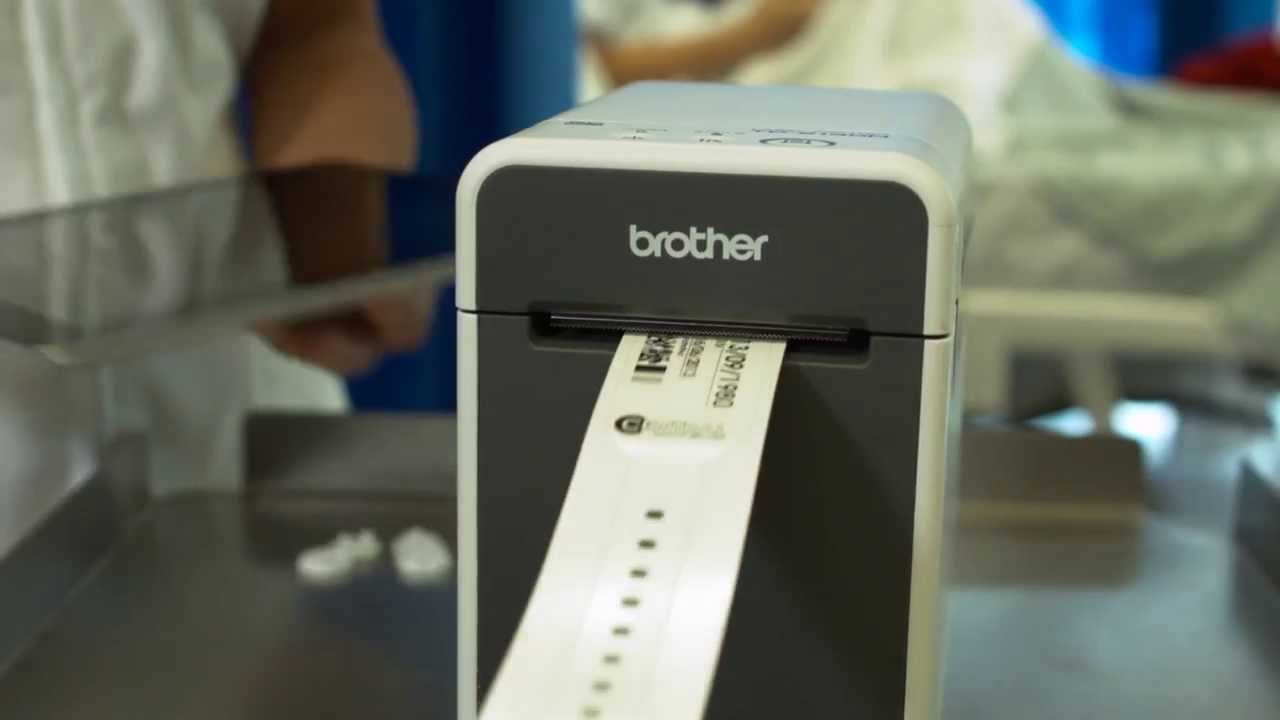
Feed the free end of the media role under the purple media tip guides and over the printhead so that the end of the media is resting in the center and slightly outside of the printer.
Close the top cover. Press down in the center until it snaps into place.
If you are loading a roll of media for the first time you'll need to program the media size into the printer using either the
Windows printer driver for the Printer Setting Tool.
Administrator rights are required.
The first step for connecting the printer to a Windows computer is to install the printer driver software from the original installation DVD or download from support.brother.com. Do not
plug the printer into the computer before the driver is installed.
Next connect the printer to the computer using the USB interface and turn on the printer by pressing and holding down the
power button.
Then load the Printer Setting Tool utility software application from the original installation DVD or download from support.brother.com.
Open the Printer Setting Tool by clicking All Programs/ Label & Mobile Printer/ Printer Setting Tool
Confirm the correct model is selected.
Select the paper size setup button and enter the media size and type information. The Windows Printer Driver comes preloaded with nine common media sizes but you can add your own custom sizes.
If your media size is listed, select the RD roll media size and click on the "Option" button
Click on "Register Paper Size with Printer" to register that RD roll media size into the printer. If your media size and type are not listed, select the "New" button to program your media size and type settings.
Enter the name of the media size to be added.
Select the paper type.
Enter the media specifications.
Click "Advanced Printing Adjustments" for making any advanced settings.
Click the "Add" button to save your media size to the list and to the Windows Printer Driver.
Verify that your media sizes now on the list. Select that media size and click on the "Option" button. Click on "Register Paper
Size with Printer" to register that media size into the printer.

Доступные форматы для скачивания:
Скачать видео mp4
-
Информация по загрузке:


![Исправление проблемы с принтером Brother в автономном режиме [3 метода]](https://imager.clipsaver.ru/ondCIzYRprY/max.jpg)