11) Incollaggio delle fasce superiori e inferiori
Автор: Davide Sora
Загружено: 2016-12-24
Просмотров: 13852
Indice dei video : http://davidesora.altervista.org/vide...
ENGLISH TRANSLATION of the written notes in the video, in order of appearance :
00:04 - Gluing of upper and lower ribs
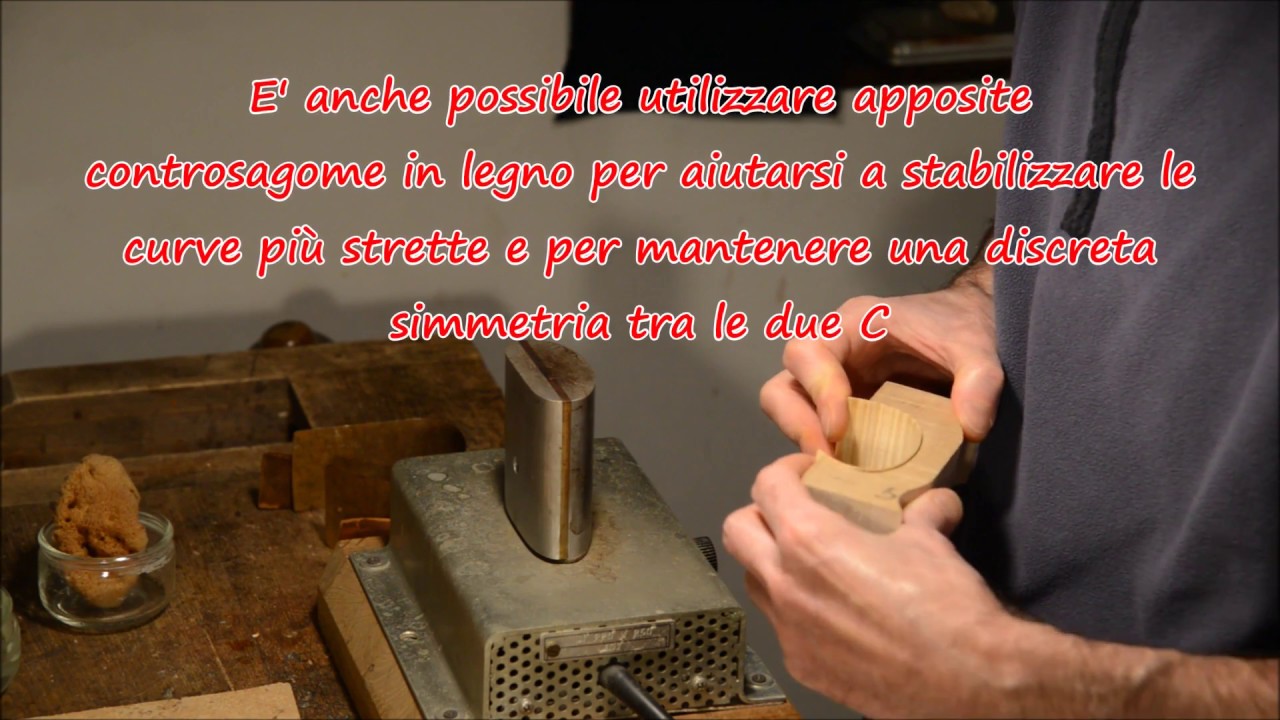
00:11 - Prepare four pairs of counterblocks with cork-lined curves matching with those of the blocks, placing them in the right order
00:33 - Apply a layer of paraffin or soap on the edge and on either side of the form to avoid accidental gluing, taking great care not to contaminate the gluing surfaces of the blocks
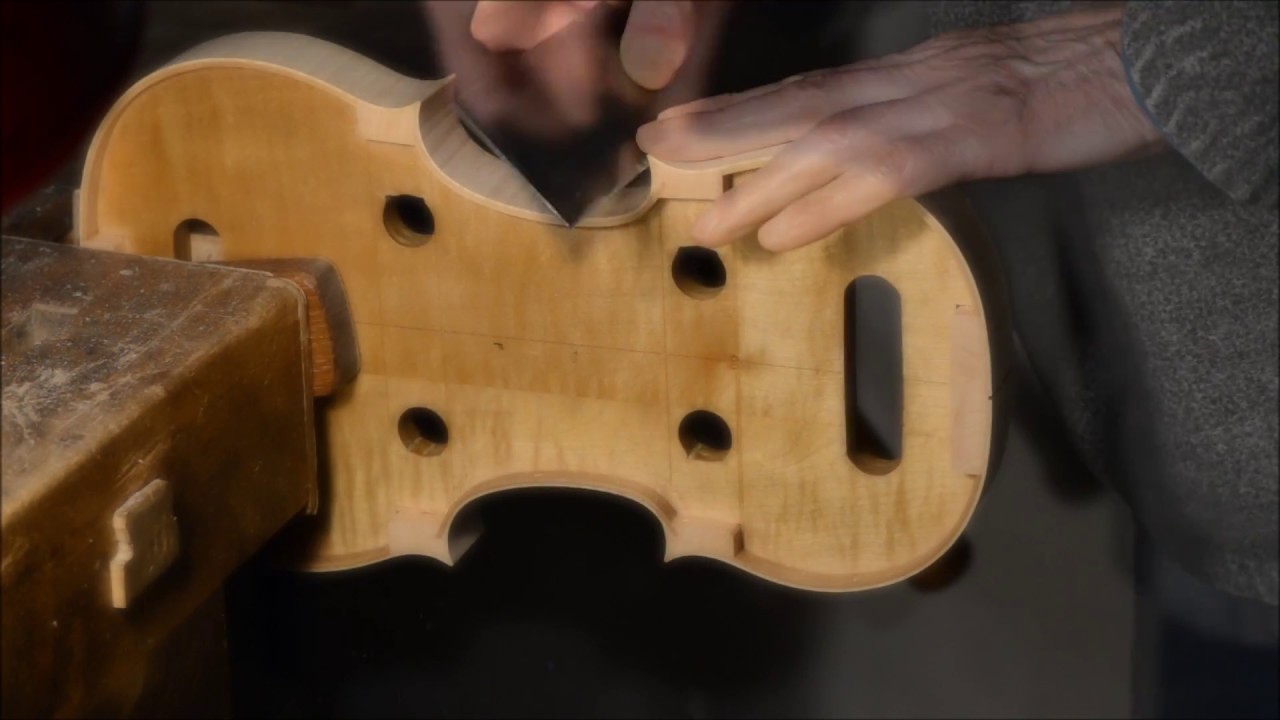
01:48 - Check and finish with care the seam between the lower ribs, by observing the passage of light to locate the points to be corrected
02:33 - Carefully remove the inner corner
02:51 - Use magnifying glass to see if the seam closes well
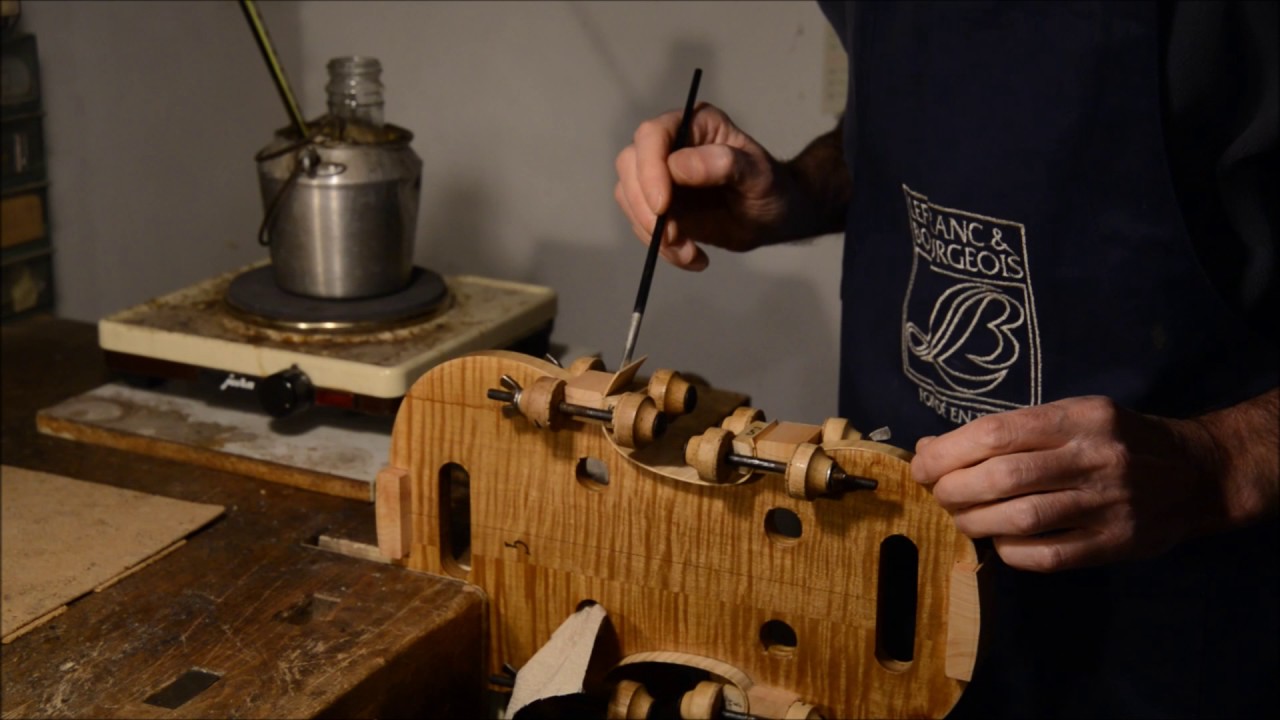
03:02 - Use hot hide glue not very diluted to prevent excessive absorption, bringing it to a temperature of about
72°C. Proceed with the gluing of ribs starting at the lower block
03:17 - Clamp the ribs on the block without glue, positioning them carefully on the centerline
03:45 - Verify that the position is also correct at the corner block
03:56 - Clamp also the second rib to check proper placement
04:20 - Remove the rib to be glued leaving the other clamped to the block, so that it can be used as reference for the positioning during gluing
04:37 - Apply two coats of abundant glue on the block covering the surface evenly
05:06 - Transfer the glue on the rib, and apply other glue covering the surface evenly
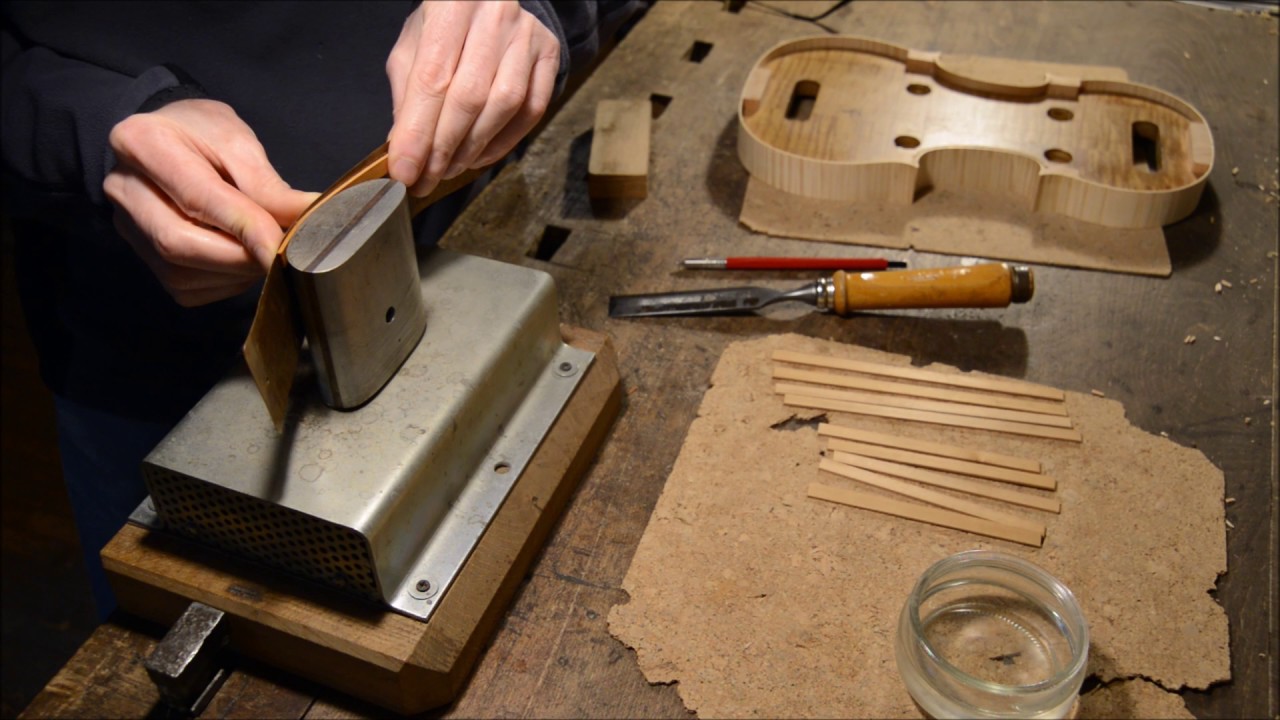
05:25 - Wetting the outside of the rib to counterbalance warping due to the absorption of the glue
05:36 - Apply one last coat of glue saturating well the surfaces so they are uniformly shiny
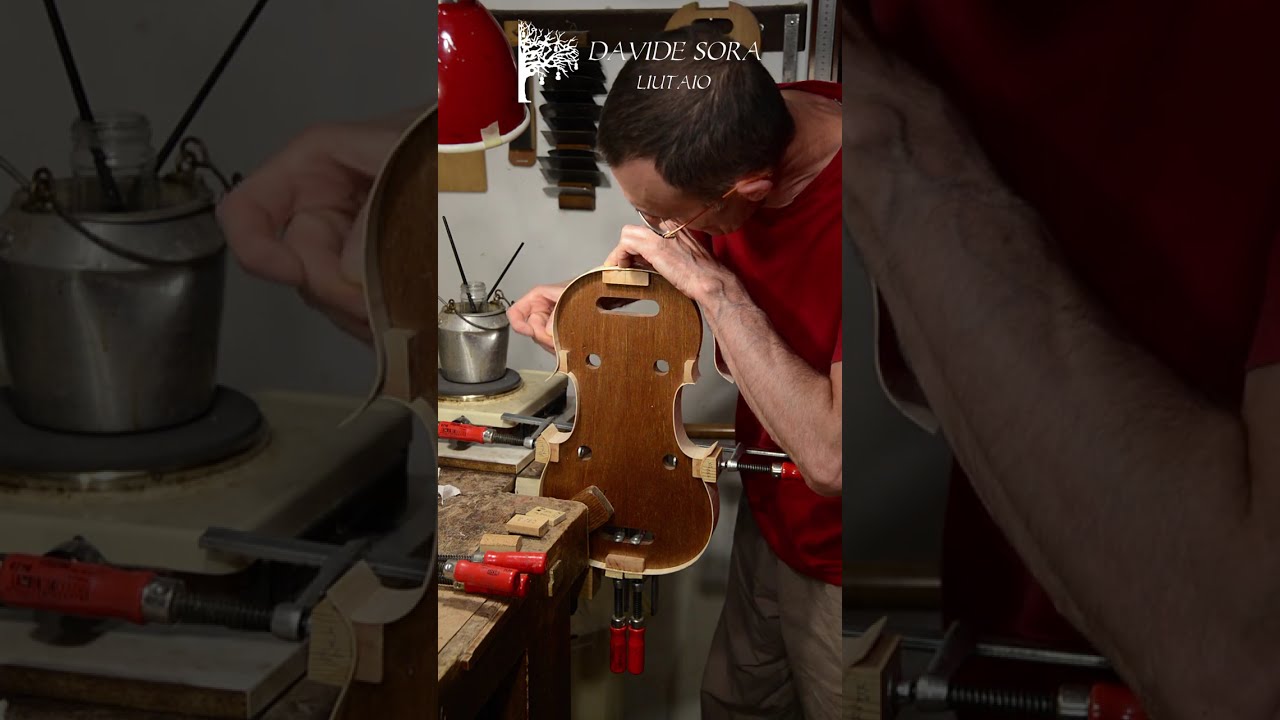
06:07 - Carefully place in relation to the other rib and fasten with counterblock and clamp
06:55 - Put glue on the seams between rib and block
07:05 - With the brush slightly damp clean just the inside of the rib from any excess glue
07:16 - Remove the second rib and complete the gluing at the lower block
09:46 - Glue the ribs also to the corner blocks following the same procedure
10:11 - Glue on the rib
10:23 - Glue on the block
11:21 - Check that the rib is decently adherent to the form on both sides
11:34 - Glue also the second rib at the corner block
13:10 - Use two special wooden shims to tighten the form in the vice without damaging the ribs
13:24 - Clamp the ribs at the upper block with reference to the center line without worrying about the central seam
15:11 - Wait at least eight hours before removing clamps
15:19 - http://www.davidesora.it/
Index of videos : http://davidesora.altervista.org/vide...
.

Доступные форматы для скачивания:
Скачать видео mp4
-
Информация по загрузке: