iScaf ® - Sloping Ground - How to create sloping ground on multiple scaffold walls
Автор: Scaffolding Software
Загружено: 2015-02-23
Просмотров: 2148
iScaf® - How to create sloping ground on multiple scaffold walls with your scaffold
00:00 Intro
00:33 Checking the setup
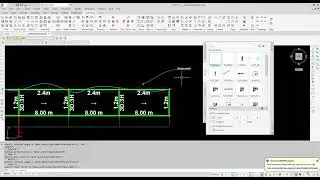
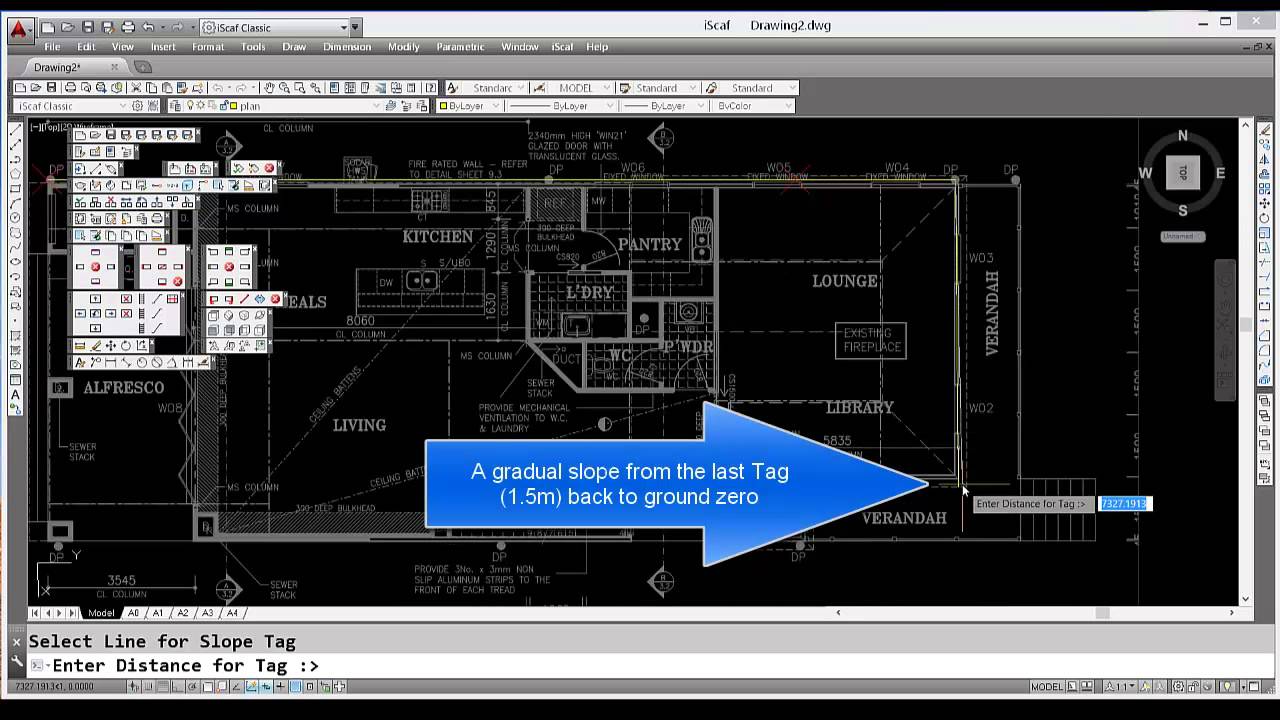
00:52 Adding the slope tag
01:44 Adding the third slope tag to make a step up on the slope
02:36 Adding the last slope tag for the polyline
02:56 Drawing a second set of sloping ground
04:05 Updating the auto-building setting to multiple walls mode in setup
04:47 Creating 2D plan using BuildPlan
05:54 Quick showcase of editing the wall
06:18 Explaining sloping ground in 3D
07:22 Turning the 2D plan into a 3D using Build3D
8 mins 13 seconds I would now like to add sloping ground To do this I click on the actual add slope tag icon on the toolbar.Click on that, select the line for the slope tag.So in this example I'm going to start offat minus four meters.Of course this is all relative, if I go back to the iScaf setup command by the pulldown menu or the toolbar,it's all relative because the top lift heightor the top deck will be at 6.5 meters and the jacks at the bottom wouldnormally sit at zero. Sloping ground will override this, so once again I click on the slope tag click on the line and I say we're going to have a slope,basically we're gonna have a starting position, of minus four meters, I'm going to type in one to make it onemillimeter away from the wall because the rule is you cannot have aslope tag at the end of a line, so that is now -4.I press spacebar at another slope tag remember that spacebar always repeats the last command and I'mgoing to keep that at minus four and up to about this position here.As you can see that's about 18 meters along if I wanted to I can actuallytype in eighteen meters. If I want the slope to actually then just step right up to, maybe,minus 1.5 again spacebar, select the line, we're now at -1.5 and putting two slopetags close to each other means they'll actually either step up or step down, in thiscase step back up to -1.5 so this is going to be a eighteen meters and onemillimeter so here we have the tags as shown I press spacebar again and we decide tojust slope back to 0, so 0, and that'll be pretty much towards theend this line on the right here, and there is our sloping groundNow I can actually draw walls pretty much anywhere I wantand have separate sloping ground. For example, I'll just draw pretty muchany other line anywhere where I want and do something like thisI'm gonna have a wall pretty much going just around the cornerso again press enter to finish the line and once again I'm going to add some slope tags: soagain slope tag of 0. I might desire to actually slope all the way up, above the ground. I mightactually go to 2 meters now it's going be to two and we're going to go a little bit abovethe ground and the we are going to slope on this wall here and you make it quite steepwe're going to make it go maybe minus 7 and just click there again. Remember I can type thedistance or I can manually click. Now the trick toall this is to go into the actual set up and with Scaffold type is auto, buildingthe slope tags will work on a closed building structure.Multiple walls iswhat we doing here is well we have separate walls indifferent positions on the drawing in other words, it is not a closed full building perimeter so weselect multiple walls and we click OK.We can now build the plan according to these lines based on multiple wallsso we click on build plan and we window the first set of walls,right click and then window a second time to make sure the sloping ground isselected I'm going to press spacebar now and I'm going to do the same thing to be repeated for the other two walls,build plan, and I we know this time I need sort of window it in two steps to get around those other bays thereso I have windowed those other ones and I'll do the same thing again to make sure that I can select sloping ground. Makesure that is selected and right click. I can continue to edit these bays as I normally would so I can replace I can and add a bay, so I might put a 1 meter bay in there, press spacebar replaced that one, might put a one meter bay in there and continue the editing as normal. When I look at the view in 3d by clicking on this view 3d option, you can actually see our sloping groundrepresented as a red line so I can scroll this around have a good look to make sure it's doingwhat I expected and in this case it certainly is so it starts at minus - four metres, it stays at minus four metres then it steps up immediately to minus 1.5meters and then back to 0 going around that corner and for this line we go from zero to 2 and then -7, so as part of ourgood habit, we should do and normal save so we will now select the toolbar option to "save as",give this a name and then we build 3d.The scaffold is now following the sloping ground that we defined on our drawing.Use multiple walls if you havewalls in different parts to the drawing which are not joined or use auto building if you have lines that are all joined together forming closed building perimeter.
Доступные форматы для скачивания:
Скачать видео mp4
-
Информация по загрузке: