Copper Peacock Feather || Embossing Using a Stencil
Автор: ESMERIC ART - mIXED mEDIA aND pEWTER aRT
Загружено: 2022-02-17
Просмотров: 2211
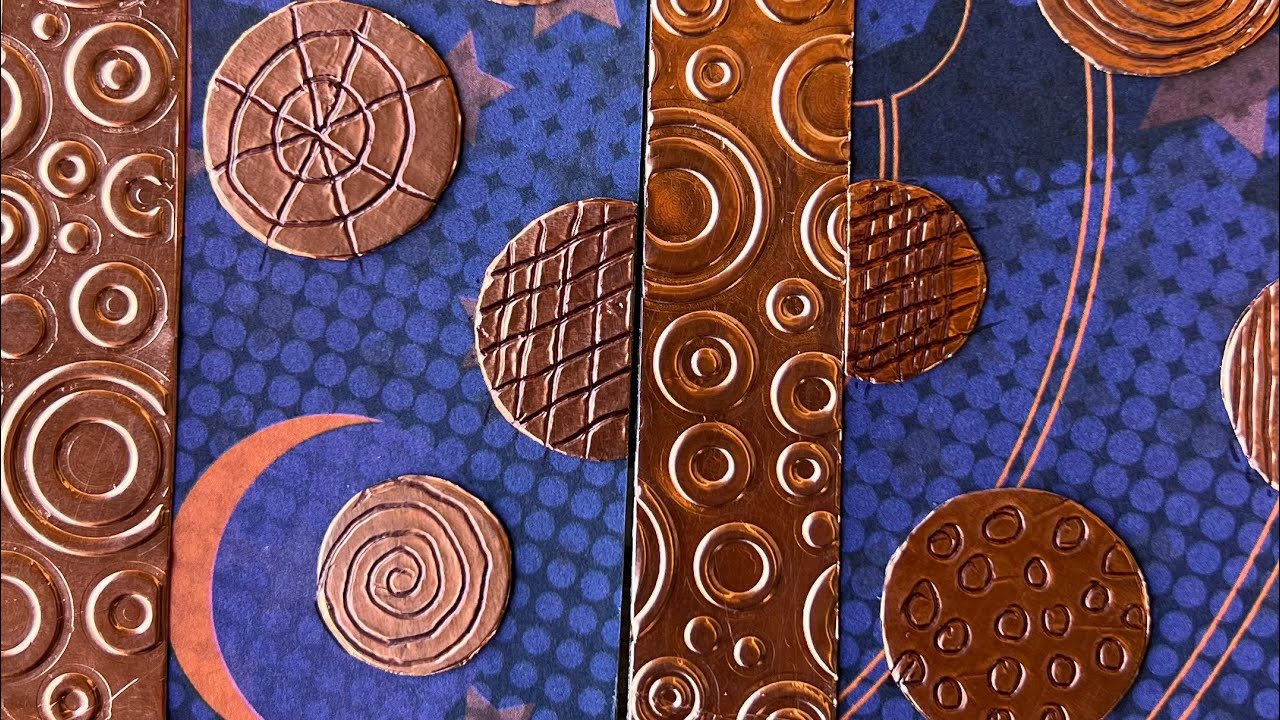
This video shows how to use a stencil with metal embossing step by step. The peacock feather used in this tutorial is a two-part stencil, meaning two sections to the stencil.
With the metal embossing done, the video will show steps to add it to a mat before adhering the copper peacock feather to a notebook. You can also use a different blank or substrate for the metal embossed peacock feather.
_________________________
Supplies Needed:
• Notebook, or another blank/substrate
• Cardboard to use as a mat
• Additional paper to add to cardboard
• Your metal of choice (copper used in the video) – https://bit.ly/Pewter-Aluminum
• Peacock feather stencil – available soon in the Esmeric Art Online Store
• Tools
o Metal embossing work surfaces - https://bit.ly/MetalEmbossingTools
o Teflon tip tool - https://bit.ly/MetalEmbossingTools
o Plastic eraser tool - https://bit.ly/MetalEmbossingTools
o Stylus - https://bit.ly/MetalEmbossingTools
o Paper stump - https://bit.ly/MetalEmbossingTools
o Beeswax or filler
• General
o Pencil
o Ruler
o Painter’s tape
o Glue or Sookwang adhesive sheets - https://bit.ly/MetalEmbossingTools
_________________________
Connect With Esmeric Art:
Website and Online Store: https://bit.ly/EsmericArt-WebandOnlin...
Instagram: https://bit.ly/EsmericHomeAccentsArt-...
https://bit.ly/EsmericArt-Instagram
Pinterest: https://bit.ly/EsmericArt-Pinterest
Facebook: https://bit.ly/EsmericArt-FaceBook

Доступные форматы для скачивания:
Скачать видео mp4
-
Информация по загрузке: