DIY Router Table with Inserts - HW|Designs
Автор: HonestWork Designs
Загружено: 2021-05-04
Просмотров: 6594
For more behind-the-scenes content and to support the channel: / hwdesigns
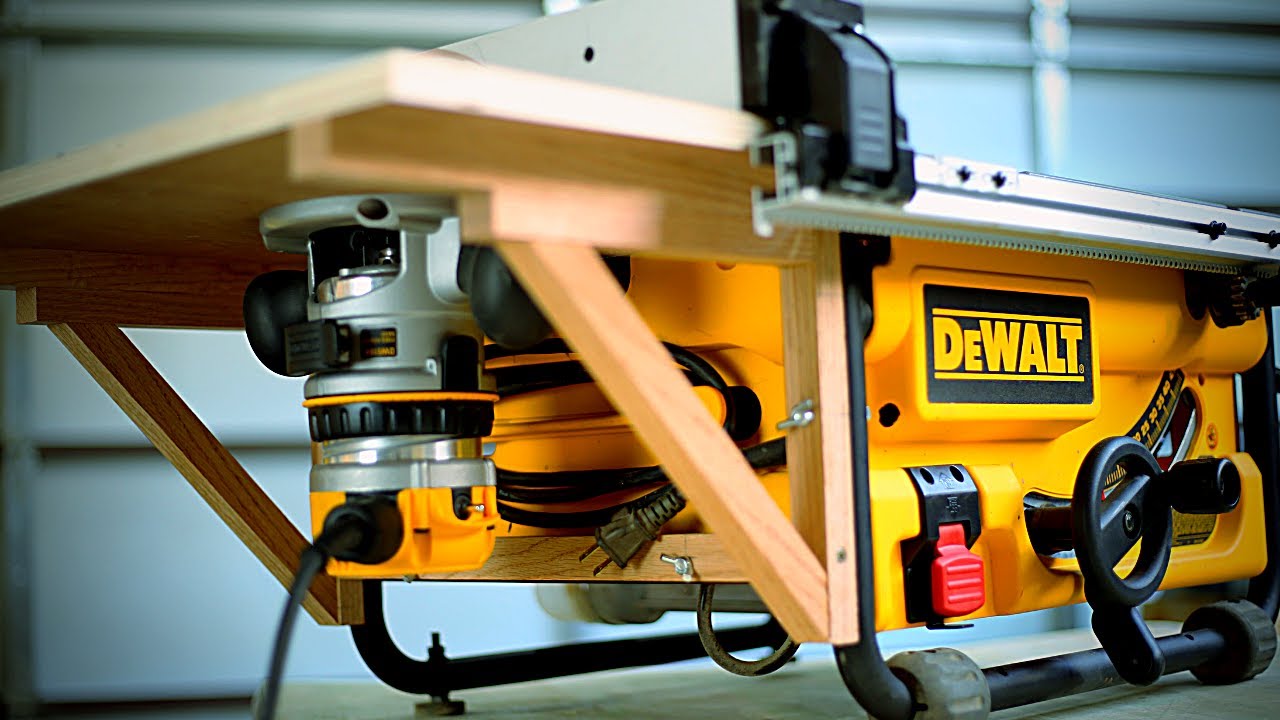
Next upgrade for the shop - a router table! Though I had a bench top router table, I didn't like where it was set up in my shop, nor it's dilapidated state - so I made this new one to include inserts for my trim router, as well.
Hope you enjoy!
To support "the show:"
Like
Subscribe
"Ring the Bell"
Follow me: / honestworkdesigns
Music Credits:
It used to be us
Many Moons Ago
https://player.epidemicsound.com/
Overjoyed
Many Moons Ago
https://player.epidemicsound.com/
On the train to Paris
Many Moons Ago
https://player.epidemicsound.com/
*VOICEOVER TRANSCRIPT*
How to make or how I made, a router table.
As a quick recap from last episode, I built the base using 4x4 legs and 2x4 frames
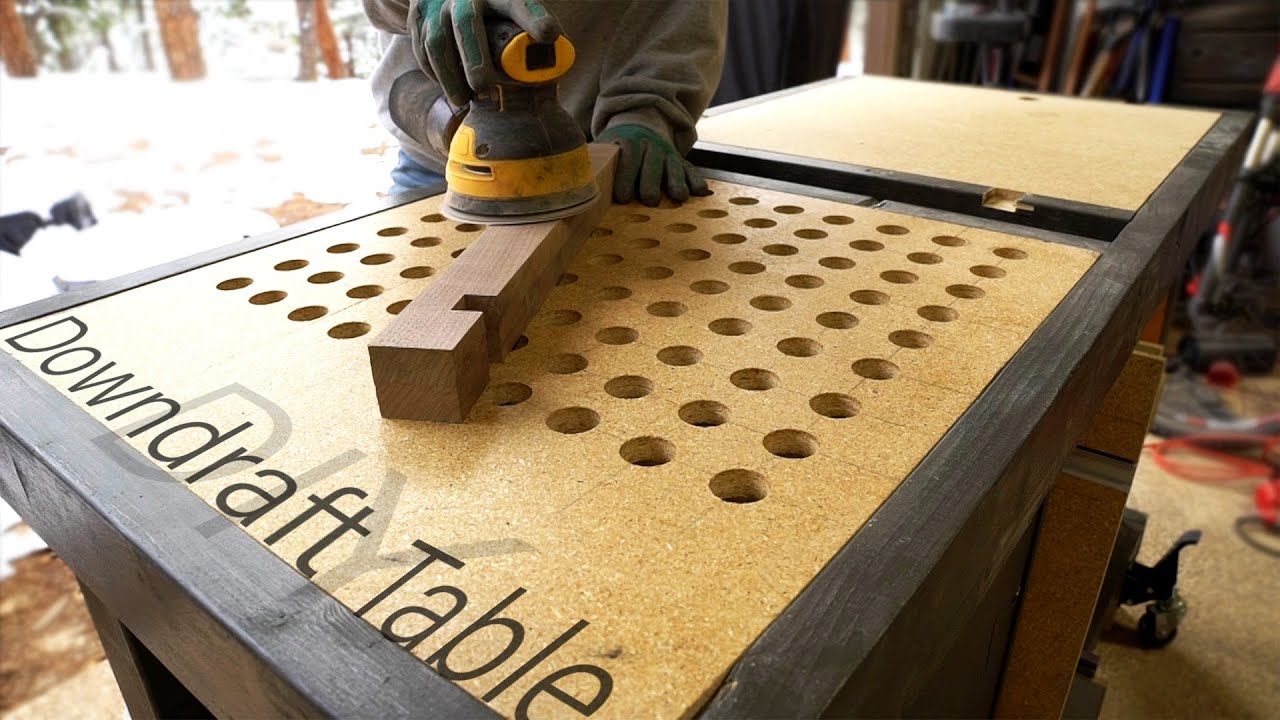
And used particle board and plywood to build out the lower cabinet structure and downdraft table - click the link in the top right for that full DIY
Okay, on to the new stuff, I started the router table side of the work bench by cross bracing the interior side of what would be the router table surface.
Then, used ¾” ply to frame out the lower cabinet.
I secured it in place by both anchoring it to the legs on the outer face,
And used pocket holes into the base to secure the interior face
Next came the drawer for all the router bits and bolts
I did a very basic ply drawer
Using a finishing nail gun to create the box.
Then, I measured and marked the height at which the drawer hardware would be anchored - ensuring there was enough clearance for the router to hang below the table surface.
I used some guide screws as an extra pair of hands
Then placed the drawer hardware.
I secured the mirroring hardware to the drawer, then slid it into place
After that, I whipped up a quick drawer face
And a few floating dividers I’d used to keep the trim bits away from the big router bits, and all the bolts hardware in their own separate tray.
I chose to enclose the drawer, as it’d be sitting just below a mega dust maker, and I opted for two separate panels so I wouldn’t have to find a spot for a big annoying panel any time I wanted to find a bit.
Next I turned to another organizer piece.
I don’t know about you, but any time I want to swap a bit, finding the dang wrenches in the drawer is like finding Waldo.
So I used the drill press to sink a few slots into this 2x4”
Then anchored it between the legs of the bench.
Lost no more!
And for the heck of it, I gave the workbench a make over. Because why not?
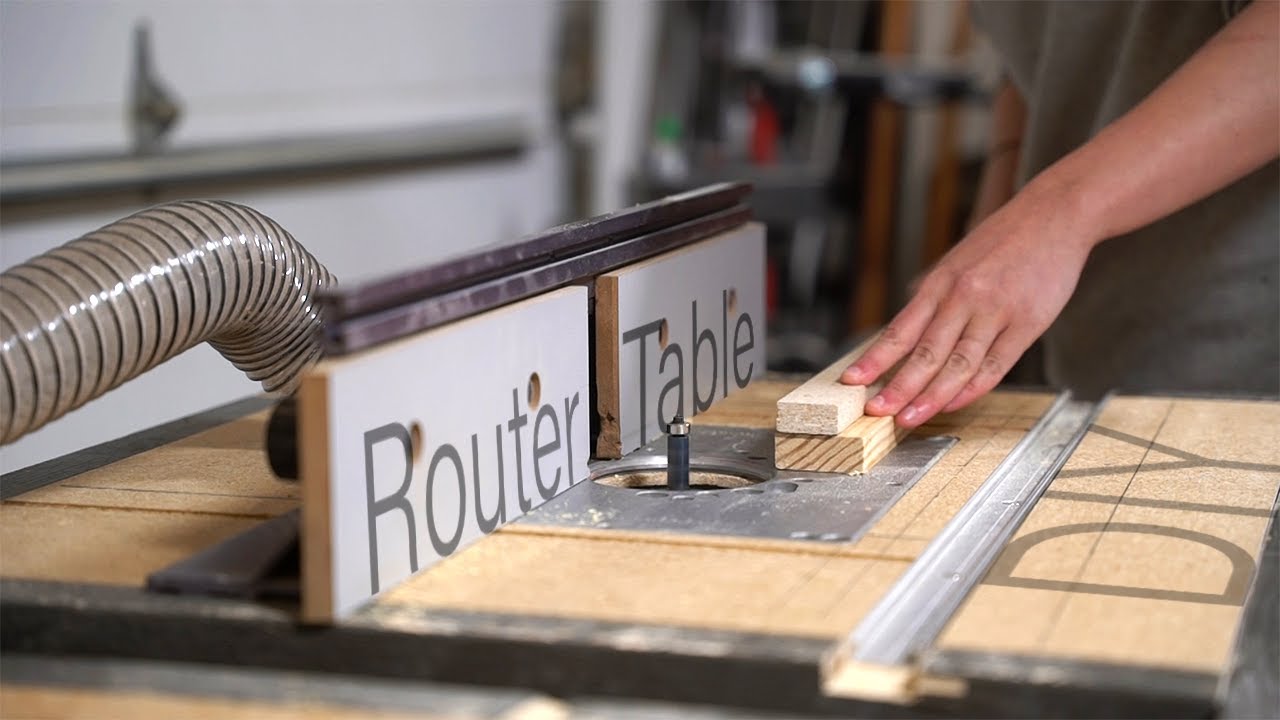
Time for the table top inserts.
I cut 3 pieces of particle board down to size, one for just a plain work surface, and two others I’ll turn into router inserts.
For the first router insert, I started by finding center, and then marking off the router insert plate I stripped from an old, bench top router table.
Then to set up my routing guide, I measured and marked a perimeter 1 ⅜” away from the edge of the insert plate edge.
I used particle board offcuts to may my guide,
then, in three passes, cut the outer edge of the insert plate recess.
Using two identical off cuts, i created a router sled to clear the rest of the recess
Time for a test fit!
With a nice snug fit, i marked the interior circle
Then used a forstner and jig saw to clear the way
After that, I marked and drilled space for the anchoring bolts
And space for table top height adjustment port
With those all roughed in, I anchored the insert plate into place
Then use a similar fencing technique to clear a path for the miter gauge track
Another test fit, but not anchoring it yet.
First, I needed to cut the dovetail tracks for the fence.
Again, stripping another piece for the old bench top router table, I marked the pre drilled holes on the fence to establish the placement of the tracks
Then, fenced the cut line, and in three passes with the straight bit, cut a relief, before swapping in the dovetail bit for the final pass
It tested the dovetail bolts - perfect.
With all the cuts in, I gave the surface a quick, high gloss coat just to seal it and maybe help relieve a small amount of friction
Once that dried, I screwed in the miter gauge track
Placed the fence and dust collection
Anchored the router housing
Set the bit height
And voila!
Using pretty similar methods, I made an table insert for my trim router too - but if you want to check out how I made this nifty little miter gauge or just see more behind the scenes footage, join us over on patreon - we like to have a good time.
Next time - I finally get rid o f these beat up bench tops, and swap them for a proper woodworking bench!
Until next time
Доступные форматы для скачивания:
Скачать видео mp4
-
Информация по загрузке:


![DIY Jigs Workbench [MicroJig Compatible] | HW|Designs](https://imager.clipsaver.ru/lOF0fXfMX8g/max.jpg)