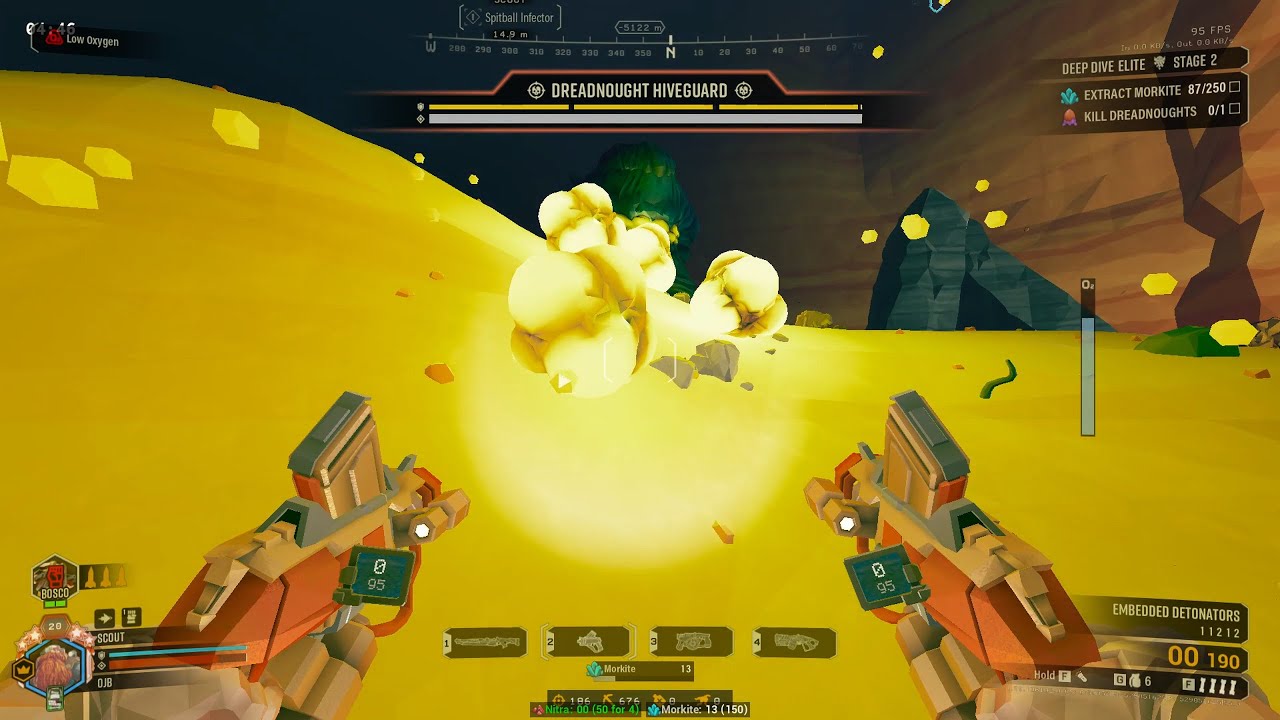
DRG 6x2: radioactive salvage (true solo scout)
Автор: ojb
Загружено: 2025-01-28
Просмотров: 1280
No bosco, one iron will revive. Featuring minimal clips m1000 + shaped shells boomstick + IFGs in Radioactive Exclusive Zone.
---
Gotta drop humility for a second and say this is a pretty nutty run, and one of my better scout performances. There are a lot of close calls (and more than a handful of mistakes), but I was able to pull through by some miracle. I think mechanically speaking, this may be one of the most demanding runs I've ever uploaded - and compared to other videos on this channel, this is honestly near the upper end of difficulty despite being "only 6x2".
This run is the result of two goals:
Get a win on REZ on m1k/boomstick/ifg
Show how I approach stingtails/stalkers in pheroless salvage
The first goal was long in the making - I've tried and failed to make this happen many times. It turns out not having a solution to radioactive praetorians + radioactive exploders (i.e. cryo) makes the bubbles extremely intense, to the level where I hadn't quite realized the severity of those impacts until I ended up failing so many times over the course of several months of scattered attempts. In hindsight, I should have replaced deep pockets with the rad resist perk, but it never crossed my mind lol.
The second goal was fresher, and a result of @Spurrrg asking me how I handle stingtails/stalkers in runs like these. The real answer is just remove them, dumby. Barring that, the solution is to just get lucky. There are some build and playstyle choices that can make stingtails less problematic (cryo/drak are soft answers, and double barrel is more of a hard answer), but at the end of the day each can easily take a large amount of HP from you with nothing you could have done to prevent it.
My stingtail strategy is essentially to wait for an opening to spam hipfire shots. Because their armor plates are stupid, their hp pools are stupid, their weakpoint is stupid, their wiggles are stupid, their size makes them hide in crowds, and their often silenced sound cues make playing in open areas difficult, the strategy essentially boils down to a few things. Let yourself get grabbed, and grapple out - forcing the cooldown. Hold on to dash more passively than usual, because a random stingtail grab you had no idea was coming can remove your air control the instant you did, and it's better to retain it just in case the silent stingtail fuckery happens. Don't bother aiming - focus shots are pointless - just spam.
For minclips m1000, I have the general rule of thumb where I expect to use 12-15 bullets to kill a single stingtail. That is noticeably more than a full clip, but it accounts for the difficulty in landing these shots and the high chance that many shots just randomly bloom into the invulnerable tusks and get wasted - these are hipfire shots, so the additional spread is a factor, but a lot of this difficulty is just the way they move and wiggle, making it difficult to hit the follow up shots through broken armor. This high amount of required investment is really why I rank drak as the standout soft solution - you get electricity to diminish the wobble slightly, you don't have to deal with reloads, and hitting the tusk is not as big of a downside when the damage is in smaller increments.
I will say that m1k blowthrough provides a decent advantage when the stingtail inevitably hides itself in the mess of enemies that surround you mid bubble, however, my usual strategy is to get height and be grappling above anyway, so this is maybe not as impactful in a lot of situations. Also, just because your m1k shot can blowthrough something, doesn't mean that you are going to be dealing damage you wouldn't have otherwise, since having the stingtail obscured makes it that much harder to avoid the tusks or sync up damage through the plates you need to break to actually damage HP.
[continued in pinned comment]
---
Loadout:
23112 Minimal Clips
21313 Shaped Shells
IFG
Perks:
Dash / Iron Will
Resupplier / Deep Pockets / Born Ready
---
Highlights:
0:00 Build
0:30 Mission start
15:07 Uplink
25:25 Refuel
32:46 Final stats/json

Доступные форматы для скачивания:
Скачать видео mp4
-
Информация по загрузке: