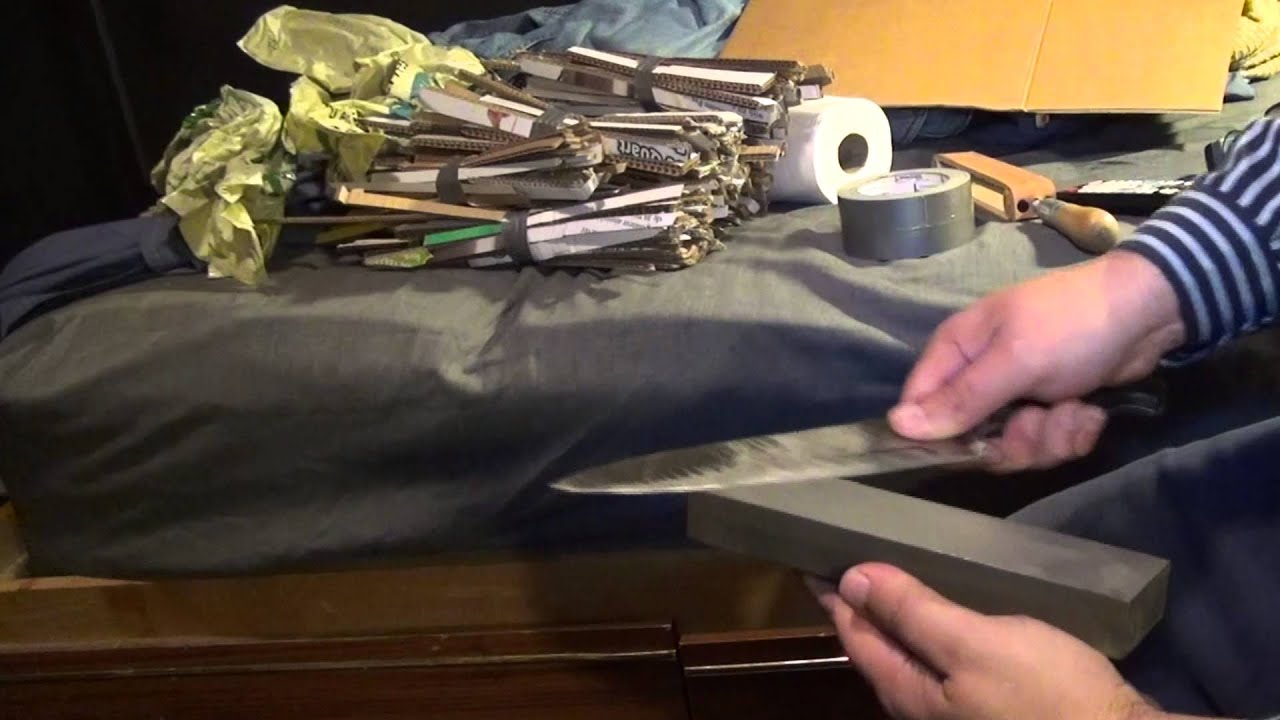
Plateau Sharpening - Three Step Method By Cliff Stamp (AV Corrected) [ READ THE DESCRIPTION! ]
Автор: Wolf K
Загружено: 2022-11-28
Просмотров: 6869
A corrected version of this video, original is below.
Video by Cliff Stamp / all Text by me.
Original • Basic three step knife sharpening : destre...
–––
In Memory of Cliff Stamp.
Introductory Note:
Use the stones you already have. You don’t need any specific equipment for this method.
Bevel shaping is best done on a coarser stone due to speed. Take it to whatever finish you want while shaping it. So, if you want a mirror polish then polish it before apexing. Once the bevel is how you want it then do the apexing last; ideally on the grit you want the apex to be so it only needs doing once.
—3 Step Plateau Method—
(1) Destress the edge:
Very lightly pass the cutting edge directly over a # 200-800 stone a couple of times (any stone will do, really). The edge should be dull and reflect light at this point. The thin section reflecting light should be uniform and without flaws such as micro-chips.
Note:
If the apex has micro-chips or heavy damage you’ll need to remove it all. Do so with the above method until it reflects light cleanly and uniformly.
(2) Bevel Shaping:
Shape the secondary bevel to degrees far lower than you want the degrees of the final apex/cutting edge. Don’t touch the apex in this step, you’ll be getting close to the apex and the idea is to stop shaping the secondary before a burr forms. If a burr forms then you’ve removed too much metal and this defeats the purpose of this sharpening method. A burr is never formed with this sharpening method, but if it is it’s so minimal that it’s barely worth mentioning.
Additional Info-
[ Burr Removal Technique:
— clean and ideally flatten the stone.
— increase the apex angle significantly (double it).
— do 1-3 light passes per side (crosshatch the grit pattern).
— reduce the apex angle to the original and then back-bevel.
If the edge had a visible burr, repeat this twice, if it didn't have one, do it anyway. It is very simple and produces consistent results.
– Cliff Stamp ]
Notes:
What angle you use is up to you; however, the lower the degrees of the secondary bevel the better and easier the knife will cut and pass through the material as the behind the edge/apex thickness plays a huge role in ease of cutting.
The very apex/cutting edge angle is never the same as the secondary in this sharpening method.
It’s essentially just blending the secondary into the primary (knife stock) so it decreases in angle and thickness. I reduce this angle to the minimum it will allow. It’s always a very shallow convex shape.
(3) Apexing/Applying The Cutting Edge:
All light reflection should be gone at this point and so you can raise the angle to the desired degrees of the cutting edge/apex and do enough passes per side to form the apex. How many passes per side will depend on: steel type, abrasive type/grit, pressure applied, blade length, experience, etc, etc. You don’t want to use a lot of pressure to apply the apex or you’ll ruin it. On a simple carbon steel 2-3 passes per side should be sufficient to form quite a clean apex/cutting edge. Further ultra light passes (less than the knifes weight) can be made to refine the apex if necessary. Using a crosshatch pattern will further refine the apex quite significantly.
Notes:
If the apex is formed well but not as clean as you’d like then raise the angle just a little (about 1° – 2°, which is barely noticeable) and make a few ultra light passes per side to further refine the apex/cutting edge. Crosshatching helps here as well.
If you’ve done this to further refine it then you’ll need to back bevel. Back Beveling is lowering the angle to just slightly lower than the original apexing angle and making a few passes per side to remove the micro-shoulder you’ve just created via raising the angle to refine the apex.
——
General Notes:
A burr only forms when you’ve abraded the knife so much that the edge has become weakened, collapsed, and folded over on itself.
Never form burrs, there’s simply no reason for it. It’s like cutting 6 slices of a tomato because you want 4; pointless!
The only cutting edge on a knife sharpened with the plateau method is the micro bevel. It’s so small that it’s barely perceptible and is usually only perceptible due to light reflecting at a different angle.
The smaller the apex bevel and the thinner the secondary is the less force required to cut; the less force required to cut = less required pressure placed on the apex to initiate the cut, which = a stronger apex in actual use, which = the less force applied to it the longer it will last and thus this method also increases edge retention due to lesser pressures applied to the very apex when cutting.
Knives dull via the following methods:
Abrasion (wearing)
Deformation (rolling)
Fracture (chipping)
And a combination of the above.
(Also corrosion has a role)
– Wolf K
![Plateau Sharpening - Three Step Method By Cliff Stamp (AV Corrected) [ READ THE DESCRIPTION! ]](https://imager.clipsaver.ru/mLmyZbgV7JY/max.jpg)
Доступные форматы для скачивания:
Скачать видео mp4
-
Информация по загрузке: