DIY Custom Shadow Boxes: How to Design Your Own!
Автор: Jennifer Maker
Загружено: 2019-12-02
Просмотров: 616294
Get the free shadow box template (Design # 167) at https://jennifermaker.com/custom-shad...
Last spring I made a garden-themed shadow box and shared it freely with everyone, and so many of you have made it! Thank you! Since then, I've seen many more variations on shadowbox themes and folks keep asking for MORE. But here's the awesome thing -- you can design your own custom shadow box, with just the imagery you want ! So for Day 2 of The Great Maker 25-Day Gift-Away Challenge, I am showing you how to design a custom shadow box in Cricut Design Space!
I appreciate every subscriber. It's free and easy to subscribe -- just click here: http://bit.ly/sub2jennifer
CUSTOM SHADOW BOX MATERIALS LIST (contains my affiliate links):
65 lb 12″ x 12″ white or light colored paper — I think 80 lb paper is too thick and won’t allow the light to shine through well - https://amzn.to/2XXsWMf
Clear adhesive 3D Zots or something else to space your layers - https://amzn.to/2T7btNE
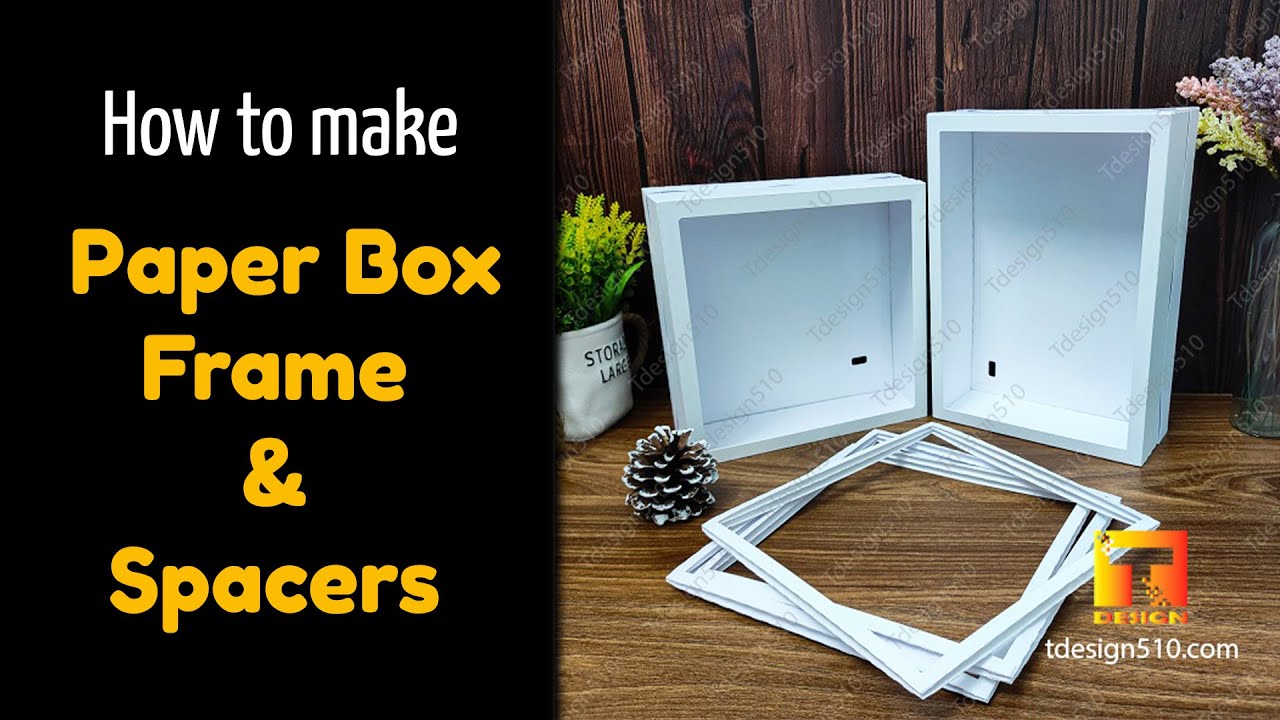
Optional 8" or 9" Shadowbox display frame - https://amzn.to/2UJcu0b
Optional LED light strip at least 36″ long - https://amzn.to/2Th2Q3t
Optional A Cricut Access subscription - http://shrsl.com/1zn52
A way to cut the project (I used the amazing Cricut -- https://jennifermaker.com/which-cricu...)
My free SVG cut file, Design # 167 (available in my free resource library at https://jennifermaker.com/library)
In order to design a custom shadow box, it helps to understand how shadow boxes work. Essentially, you stack many layers of cardstock, with each layer having different elements cut out from the center. Then when you shine a light from behind the layers, it comes through in varying degrees of brightness, creating a lovely 3D effect.
The secret is to always have three things: a FOCAL POINT, FRAMES, and a BACKGROUND.
A shadow box's focal point, usually at the center, is the element you want to stand out. It's often the silhouette of a person or people, an animal, a character, a building, or something else meaningful. It isn't likely to be large, but the eye will be drawn to it. For the best results, your focal point should be clearly defined without other layers overlapping it.
Frames are the elements at the edges (top, sides, and bottom), like trees, flowers, other less-important buildings and animals.
A shadow box's background appears behind the focal point and frames. It can be as simple as a plain, uncut piece of cardstock, or you can add extra layers behind that for depth, like a sun, moon, stars, or even a reflection.
Look closely at the shadowbox I designed. The focal point is the people on the swing, the frames are the foliage around it, and the background is the sun.
Layer order for a shadowbox, from front to back:
First layers are typically the frames, and there are usually at least two of these layers (more layers will give you more depth).
The focal point layer comes after the top frame layers.
The background is at the back of the layers.
The simplest shadow box design, and the one I recommend you begin with if you're new to this, is simply two layers of frames with a single focal point layer and a solid, uncut background layer. From there, you can introduce more elements and more layers, just be sure to keep that central focal point nice and clear.
Topics covered in this video on designing a 3D light up shadowbox:
00:00 - Design Your Own Shadow Box
00:45 - Supplies and Tools
01:49 - Shadow Box Key Elements
05:18 - Get My Free Frame and Templates for Custom Shadowboxes
06:50 - Measure Your Shadow Box Display Frame
07:17 - Upload the Shadow Box Template to Cricut Design Space
07:27 - Tip: Check for Updates on Cricut Design Space
10:40 - Design Your Shadow Box Focal Point
16:11 - Add The Frame Layers to the Shadow Box Design
20:55 - Prepare and Cut Your Shadow Box Layers on Cricut
21:43 - Tip: Check Out My Tips for Cleaner Cuts on Cricut
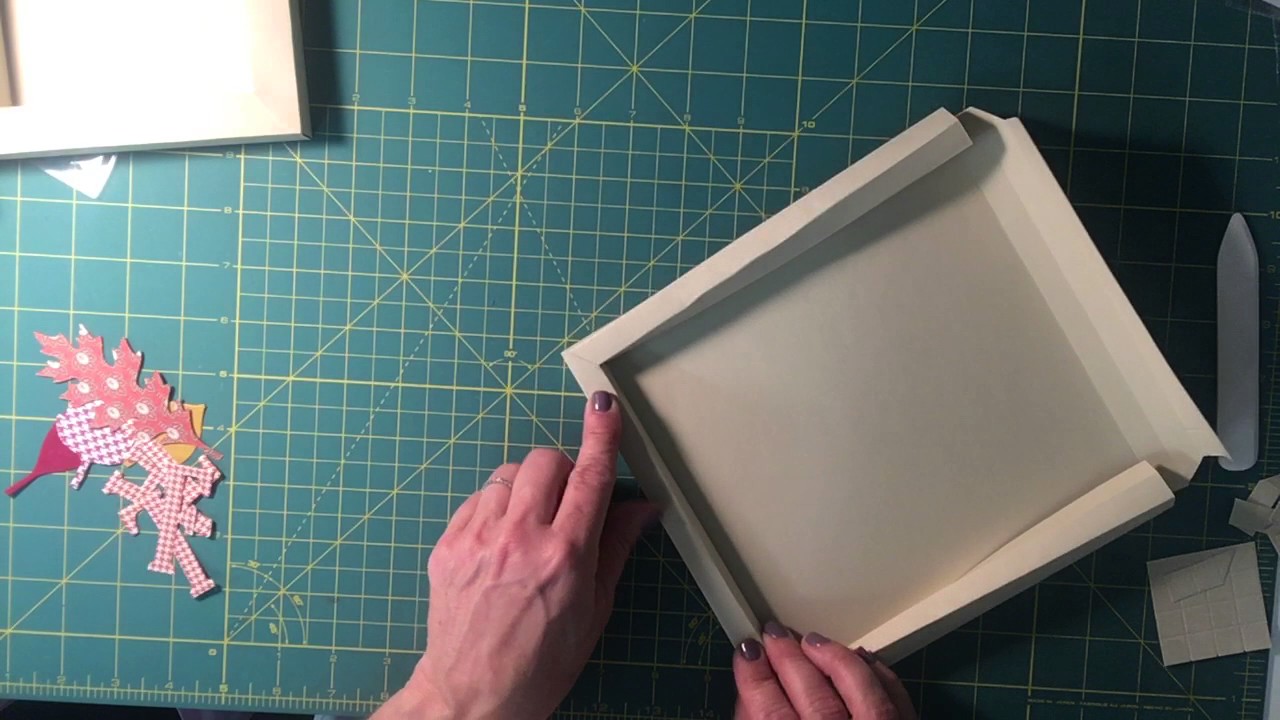
22:44 - Frame Your Shadow Box Design
23:13 - Add Optional LED Lights to Your Shadow Box
24:03 - Design an Intricate Shadow Box with More Layers
32:05 - Create Frames for an Intricate Shadow Box
47:10 - Add Reflection Layer to the Design
50:20 - Add a Moon to the Shadow Box Design
54:39 - Cut and Assemble Your Shadow Box Layers and Frame
56:06 - Closing Notes and Link to More Information
#cricut #cricutmade #designspace
============
Follow me at:
Blog: https://jennifermaker.com
Facebook Page: / jennifermakercrafts
Facebook Group: / cricutcraftersandmakers
Instagram: / jennifer.maker
Pinterest: / jenuinemom
Please subscribe to my channel at / jennifermaker for more video tutorials to craft a life you love!
Credits:
Introduction: PixelBytes (my child!)
Music: Cute by Bensound (licensed, royalty and copyright free)
Videography: Jennifer Marx on a Panasonic Lumix FZ-1000 DSLR 4K camera
Design: A Jennifer Maker original!

Доступные форматы для скачивания:
Скачать видео mp4
-
Информация по загрузке:


![Карты Shadow Box! [Включая 5x7 дюймов — без специальных штампов]](https://imager.clipsaver.ru/kGE0OqfQ30g/max.jpg)