Quick Restoration 3 - Lori's Kamaka Ukulele
Автор: Topp Ukuleles
Загружено: 2023-02-11
Просмотров: 3997
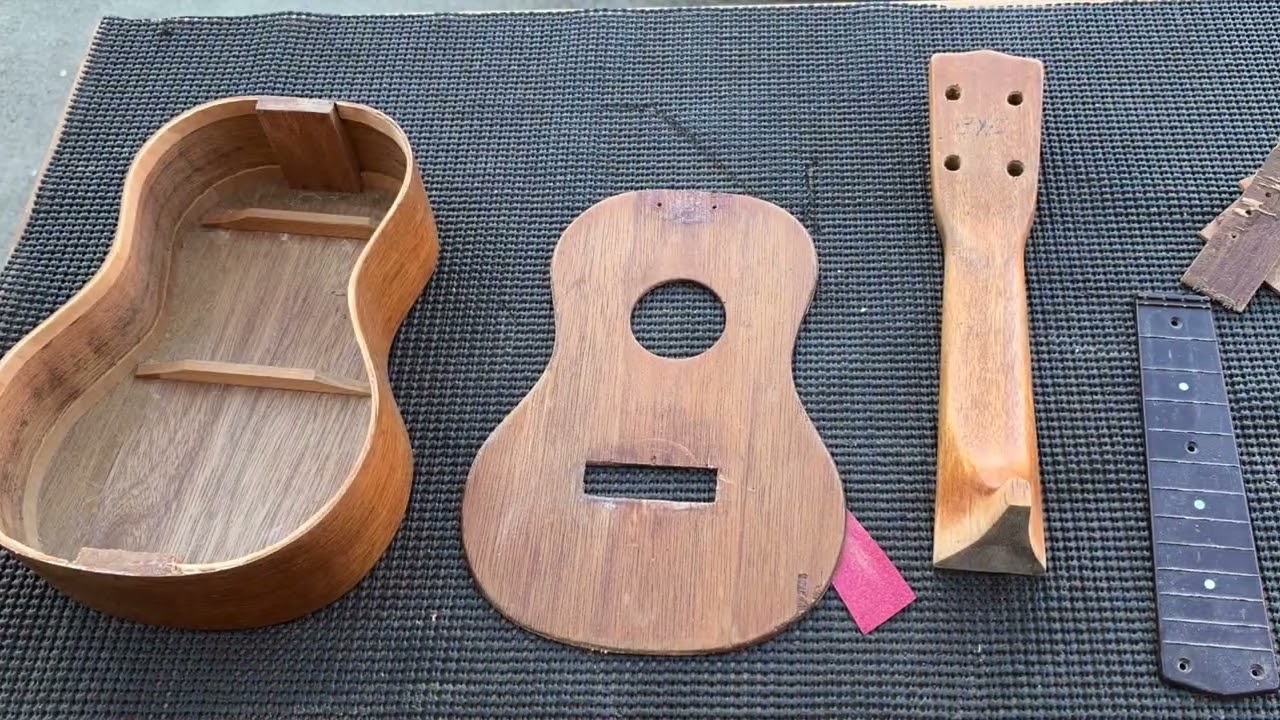
This soprano Kamaka Ukulele is about 60 years old, and the heat and humidity of Hawaii have weakened the glue holding the bridge on. It has also caused the soundboard to separate from the side. This is very similar to the ukulele that I restored for Stan in a previous video.
I reattached the bridge and glued the soundboard to the side. I gave the ukulele a gentle cleaning, by removing some paint spots and wiping it down with a gentle soap solution. The frets and fretboard were cleaned and shined up along with the tuning pegs. Once the uke was back in one piece and cleaned up, I gave it a fresh coat of wax and new strings.
I added a new introduction video with my new makers mark for Musical Meditations. The “brand” that I use for the ukuleles that I make is Musical Meditations with a Buddha-like figure playing an ukulele. Topp Ukuleles is just the name of my YouTube channel, and I know it can be confusing. My good friend, Mark, commissioned a new, professionally made, maker's mark and the new intro video shows it as a transition from the old one.
I learned a lot during this restoration. The first thing was about using hide glue for ukulele repairs. The bottle of Titebond hide glue that I used was past its freshness date.
http://titebond.com/product/glues/9e9...
It is a great glue, but the shelf life is 12 to 18 months and my bottle of hide glue was over two years old.
The first time I reattached the soundboard to the side with hide glue it failed and opened up. Because of the age of the glue and the softness of the glue on the reattached bridge, I reattached both with a fresh bottle of hide glue.
The bridge is now solid, but again the glue joint between the soundboard and the side failed. I prefer to use hide glue when making and repairing ukuleles, but it was not working, so I went with stronger wood glue, Titebond III.
http://titebond.com/product/glues/e8d...
The third time was the charm and the soundboard is securely attached to the side again.
I was able to use the new bench top and auxiliary bench that I built in my last video on this project and they worked great. I was able to use the front vice on the auxiliary bench to hold the Dremel anchor from Stew Mac. This is not an endorsement, nor is this a compensated review. I just liked the way the anchor freed up my hands to polish the parts of the tuning pegs.
https://www.stewmac.com/luthier-tools...
Finally and most importantly, when I was cleaning and polishing the pieces of the tuning pegs, one of the tiny screws that hold the button to the shaft was pulled out of my fingers and lost in the clutter of my workshop. I was able to get a replacement from Kamaka Hawaii. Thanks, Tony for your help.
http://www.kamakahawaii.com/

Доступные форматы для скачивания:
Скачать видео mp4
-
Информация по загрузке:


![[4 месяца съемок] Пристальный взгляд на ведущего японского мастера акустической гитары.](https://imager.clipsaver.ru/GsNBlomEs1k/max.jpg)