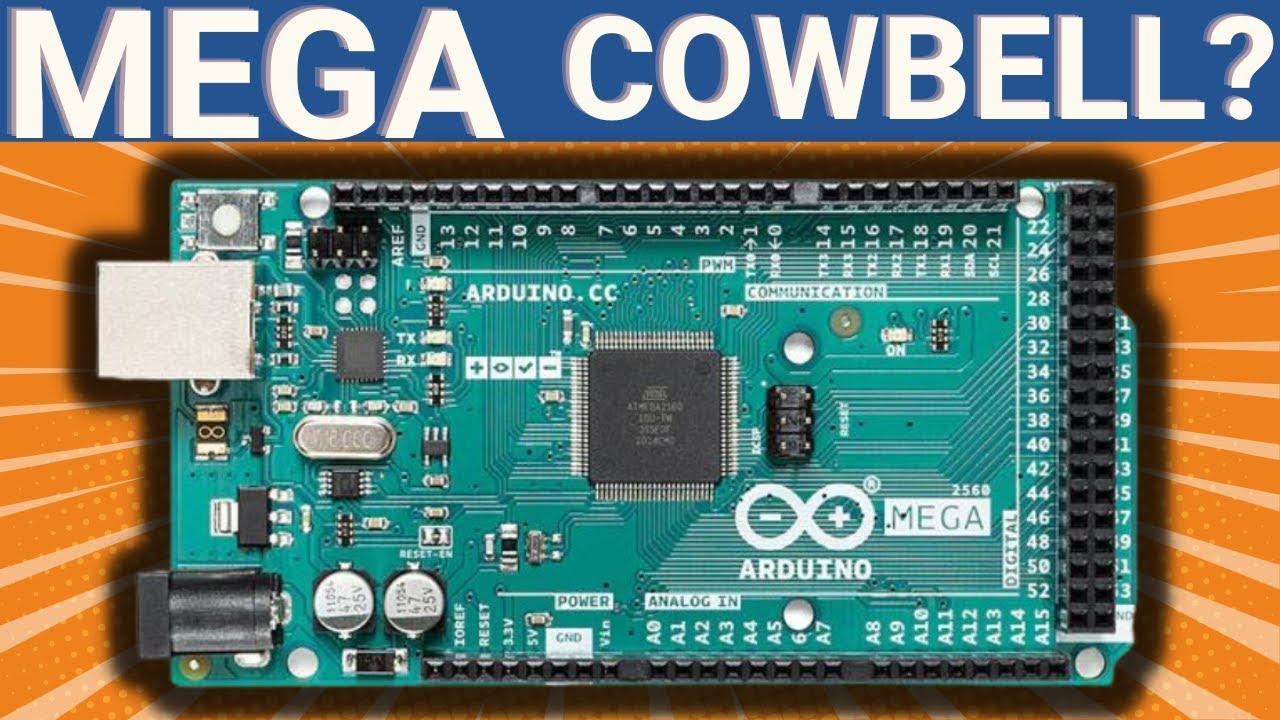
Looking at the Mega 2560 multiple serial ports
Автор: SP TECH
Загружено: 2023-07-24
Просмотров: 3106
The Arduino Mega 2560 is equipped with multiple hardware serial ports, which allows for simultaneous communication with multiple external devices or modules. It provides four hardware UART (Universal Asynchronous Receiver/Transmitter) serial ports labeled as Serial, Serial1, Serial2, and Serial3. These serial ports can be used for various communication tasks, such as sending and receiving data to and from other microcontrollers, sensors, GPS modules, Bluetooth modules, and more.
Here's a brief overview of each hardware serial port on the Arduino Mega 2560:
Serial (Serial 0): This is the default serial port on the Mega 2560, and it is typically used for communication with your computer via USB. When you upload a sketch to the board, the Arduino IDE uses this port to send and receive data. You can also use it for serial debugging or communication with other devices.
Serial1: This is the first additional hardware serial port. It operates independently of the default Serial port and provides separate TX (transmit) and RX (receive) pins. To use this port, you can use the following commands in your Arduino sketch:
cpp
Copy code
Serial1.begin(baudrate); // Initialize Serial1 with the desired baud rate
Serial1.print("Hello, Serial1!"); // Send data through Serial1
char data = Serial1.read(); // Read data from Serial1
Serial2: This is the second additional hardware serial port on the Mega 2560. Like Serial1, it has its TX and RX pins for independent communication with external devices.
Serial3: This is the third additional hardware serial port, offering even more options for communication. It operates similarly to Serial1 and Serial2, with its own dedicated TX and RX pins.
To use multiple serial ports, make sure to initialize each port with the begin() function, specifying the desired baud rate. You can then use the corresponding print(), println(), write(), and read() functions to send and receive data through each serial port.
Remember to cross-check the specific pins associated with each serial port on your Mega 2560 board, as they may vary depending on the board version or manufacturer. Always refer to the official documentation or datasheet for your specific board to ensure correct pin assignments and compatibility.

Доступные форматы для скачивания:
Скачать видео mp4
-
Информация по загрузке: