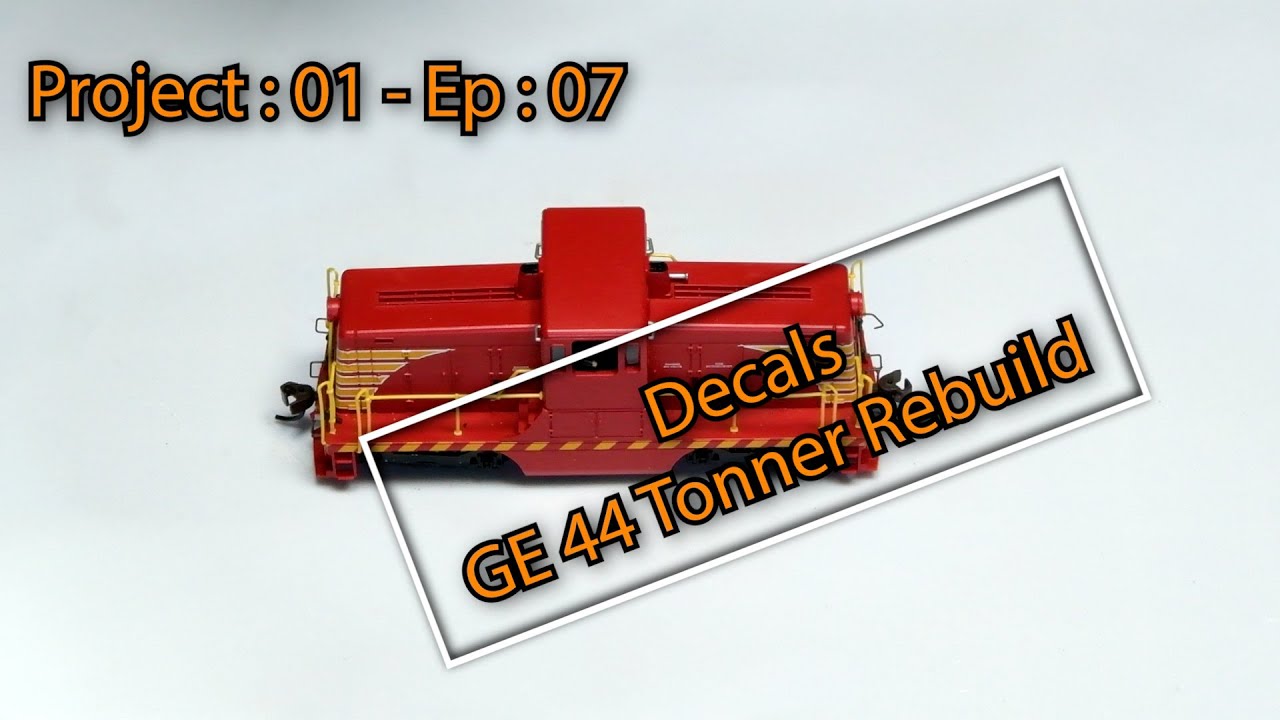
3D Printing a Body Repair - (Trolley07)
Автор: Leaping Cat Model Works
Загружено: 2025-09-12
Просмотров: 4
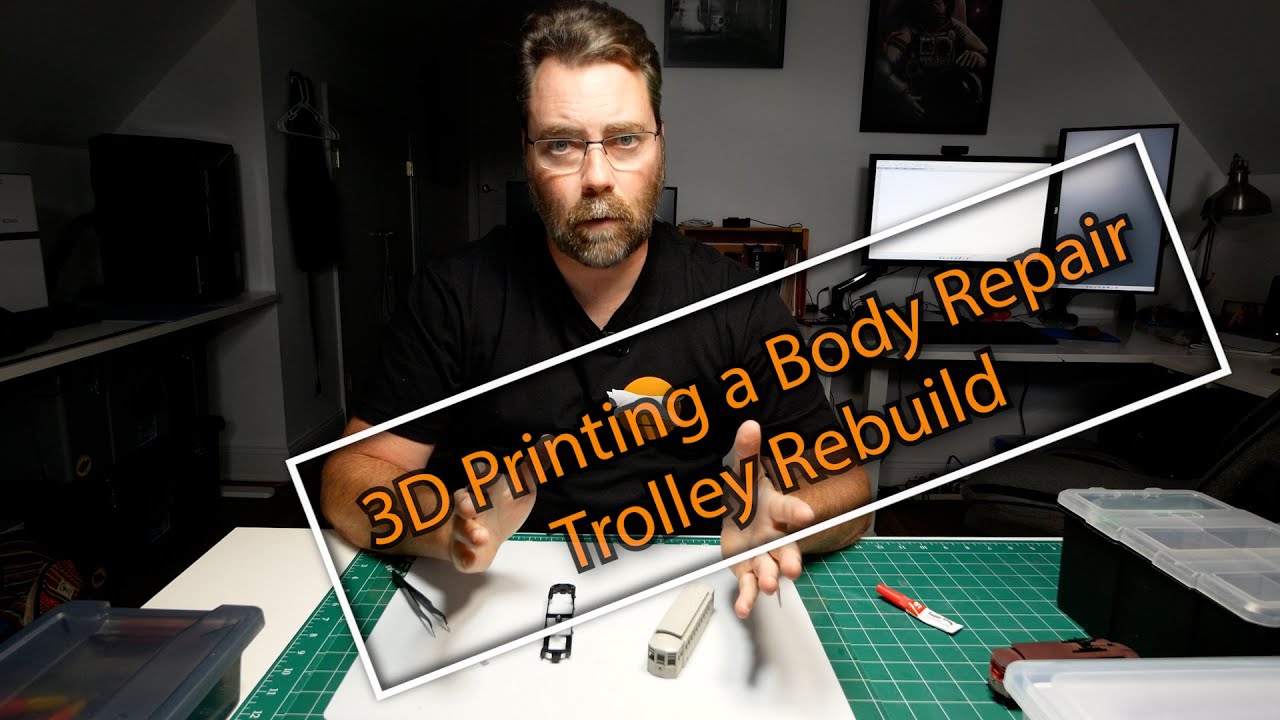
Welcome back to the trolley rebuild project! In this episode, I focus on repairing the body of a mid-70s AMH trolley. Using Fusion 360 and my 3D printer, I designed a replacement part to fill in a broken section of the shell and bring the model back into shape. Along the way, I share tips for prepping, gluing, and test-fitting parts before moving on to primer and paint.
In this video, I’m jumping back into the trolley rebuild project after taking a little break. The focus today is on body modifications for a mid-70s AMH trolley. I walk through repairing a broken section of the body shell and show how I designed and 3D printed a simple replacement part in Fusion 360 to clean up the appearance.
Along the way, I talk through the repair process—separating the body components, fitting the 3D-printed insert, and gluing it into place with CA glue (with the help of trusty tweezers). I also share some thoughts about prep work for primer and paint, as well as what’s coming next: adding the cowcatcher (or “people catcher”) to the front.
There’s even a guest appearance from one of my cats, because what’s a workshop without a little cat supervision?
If you’re into model railroading, 3D printing, or just enjoy watching projects take shape piece by piece, you’ll find something here to connect with. Be sure to subscribe, drop a comment, and share your own tips and experiences.
👉 Sign up for my newsletter at leapingcatmodelworks.com
for updates and more behind-the-scenes content.
#modelrailroading #hoscale #hoscaletrain #trolleyrebuild
Доступные форматы для скачивания:
Скачать видео mp4
-
Информация по загрузке: