STM32 Microcontroller Tutorial 3: Blink an External LED and Send Pules - Write Program in C Language
Автор: Aleksandar Haber PhD
Загружено: 2024-02-04
Просмотров: 4011
#stm32 #cubeIDE #microcontroller #electricalengineering #mechanicalengineering #controltheory #mechatronics #robotics #arduino #rasbpberrypi #aleksandarhaber #freetutorials #freeengineeringcourses #freeengineering #embedded_systems #industrialrobotics #c++ #cprogramming #pythonprogramming #nucleostm #nucleo #microcontroller
It takes a significant amount of time and energy to create these free video tutorials. You can support my efforts in this way:
Buy me a Coffee: https://www.buymeacoffee.com/Aleksand...
PayPal: https://www.paypal.me/AleksandarHaber
Patreon: https://www.patreon.com/user?u=320801...
You Can also press the Thanks YouTube Dollar button
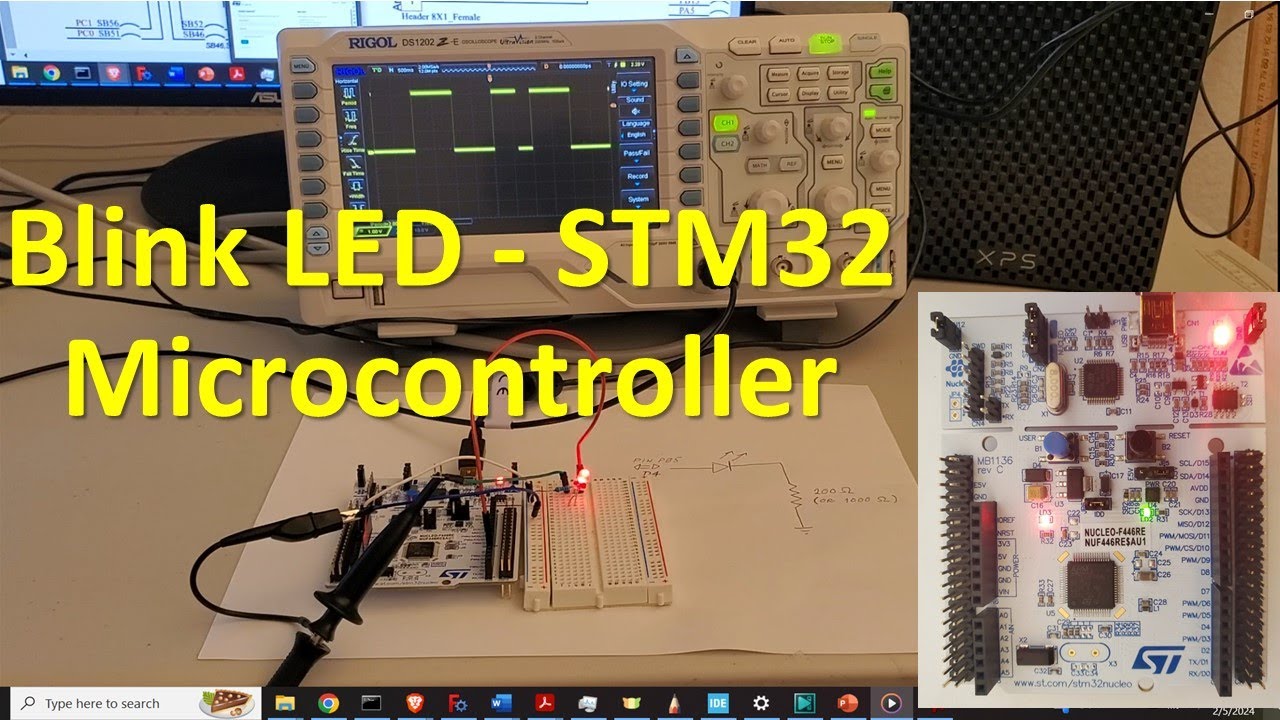
In this STM32 microcontroller tutorial, we explain how to implement a C program in an STM32 microcontroller that will send digital signals to GPIO pins. The controlled GPIO pin will produce HIGH and LOW voltages that will blink an external LED. This is a “Hello World” coding example for STM32 microcontrollers.
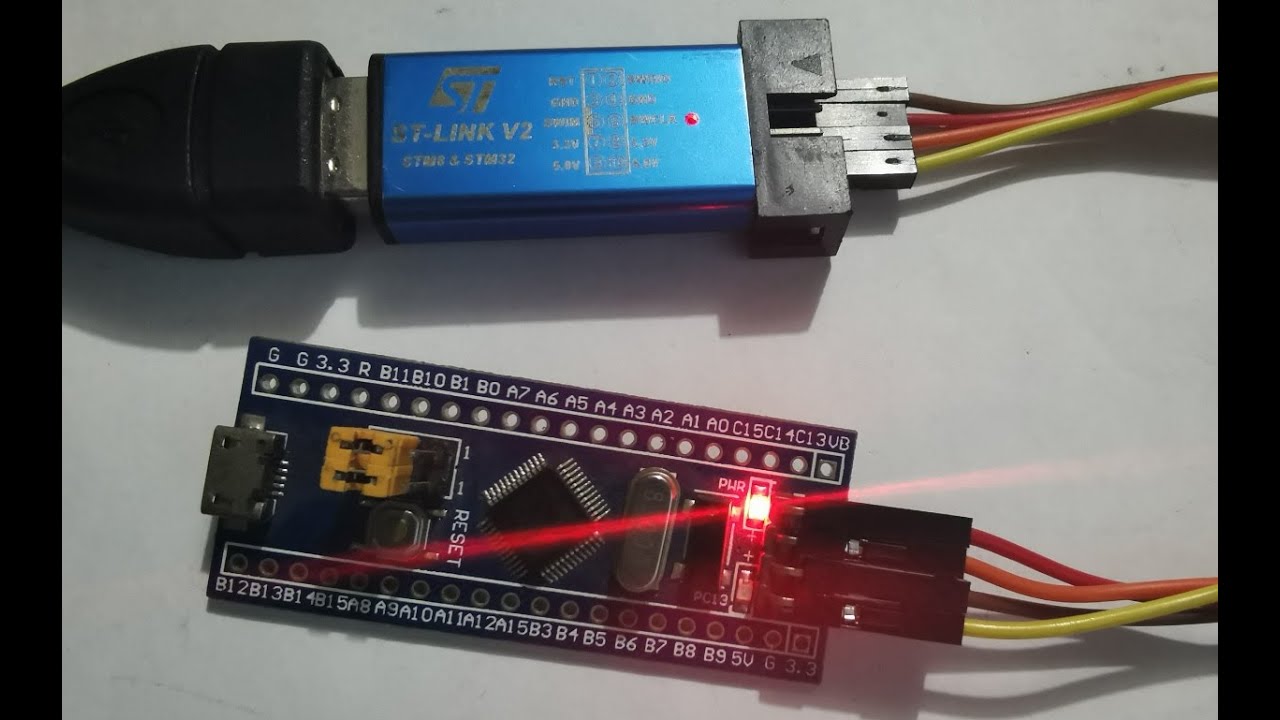
The experimental setup consists of an LED, microcontroller, and a resistor. We are using a Nucleo-64 STM32 board. However, everything explained in this video tutorial can be generalized to other types of STM32 boards and microcontrollers, as long as you can find the corresponding board schematics. The external circuit consists of an LED that is attached to the PIN PB5 or equivalently, PIN D4 of the STM32 microcontroller. The PIN sends either 3.3 V or zero, with a pulse width of 1 second. That is, the voltage is 3.3 for 1 second and then, it is zero for 1 second. These periodic pulses produce LED blinking. The LED is connected to the ground by using a 200-ohm resistor. You can also use for example 330 or 1,000 ohm resistor. The voltage pulses are generated by the STM32 microcontroller.
Доступные форматы для скачивания:
Скачать видео mp4
-
Информация по загрузке:


![Installing the STM32 USB Bootloader, Easily! [SEE DESCRIPTION]](https://imager.clipsaver.ru/wGbiT6IxGP0/max.jpg)