Популярное

Музыка Кино и Анимация Автомобили Животные Спорт Путешествия Игры Юмор

Интересные видео

2025 Сериалы Трейлеры Новости Как сделать Видеоуроки Diy своими руками

Топ запросов

смотреть а4 schoolboy runaway турецкий сериал смотреть мультфильмы эдисон
dTub
Скачать

ELEGOO Neptune 4 MAX (Plus) Y Axis Upgrade Linear Rail Installation Guide Animation Version

Автор: TBSTRON3D

Загружено: 2023-11-11

Просмотров: 9965

Описание:

TBStron3D provides you with the simplest upgrade solution and the most comprehensive installation guide.

Neptune 4 Plus Upgrade Kit Link: https://strong3d.myshopify.com/produc...

Neptune 4 Max Upgrade Kit Link: https://strong3d.myshopify.com/produc...

Upgrade operation steps.
1.Remove the platform board and unscrew the nuts by hand, then store them for later use.
2.Remove the screws holding the central fixed heated bed and take the heated bed plate down. Store the springs and pillars for later use.
3.Remove the screws securing the synchronous belt fixing plate, and store the screws for later use.
4.Remove the Y-axis rear panel and set it aside.
5.Carefully unplug the Y-axis accelerometer.
6.Take out the Y-axis slider board from the extrusion.
7. Remove the 6 POM wheels from the slider board.
8. Attach M4*8 screws and M4 T-nuts to the long beam separately .

(For ease of viewing, the components in the Z-axis direction have been hidden. It is not necessary to disassemble the Z-axis during actual installation.)

9.Secure the Y-axis rear baffle to the profile.
10. Secure the long beam onto the profile (it is recommended to install the left side first). In the front and back directions, the distance of the long beam from the rear of the machine is 25mm for MAX and 23mm for Plus. Alternatively, use the notches on the top of the long beam and the position of the machine screws as a reference for positioning. In the vertical direction, the bottom of the long beam should be flush with the machine shell, aligning the top with the profile of the machine .
11.Use M3*6 screws to fasten the linear guide to the long beam.
12. Method 1: Attach the brass screws to the slider, then use M3*6 screws to fasten the support plate to the brass screws. Method 2: Place the silicone washers (two thick ones + one thin one) on the slider, then use M3*12 screws to fasten the support plate to the screws. Method 2 is recommended.
13.Place circular silicone washers above the threaded holes in the support plate.
14.Use M5*8 screws to secure the slider board to the support plate, paying attention to the direction of the slider board (the accelerometer should be on the left rear of the machine). First, thread the screws into the two small holes in the slider board and then install the other screws.
15.Tighten the synchronous belt fixing plate.
16. Then plug in the accelerometer's cable.
17.Reinstall the heated bed plate on the slider board, making sure not to forget the pillars and springs.
18.Install the hand-tightened nut on the fixed screws of the heated bed.。
19.Then place the platform board back onto the heated bed plate.

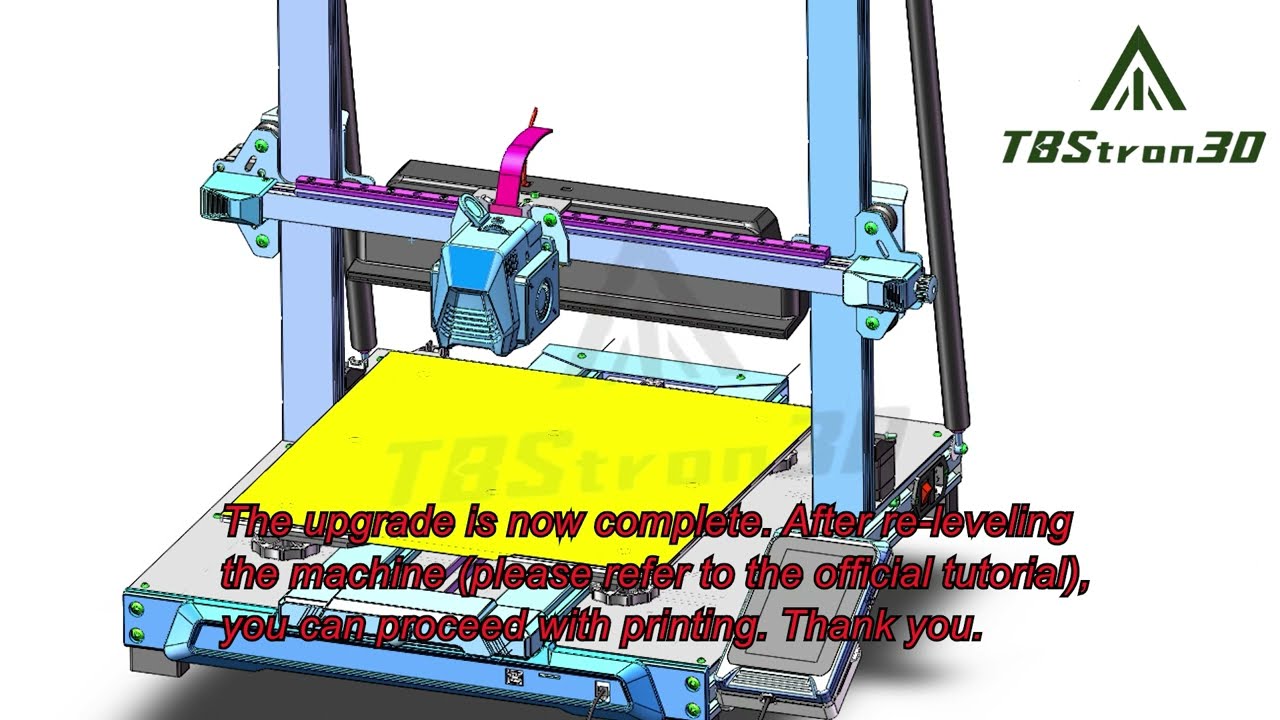
The upgrade is now complete. After re-leveling the machine (please refer to the official tutorial), you can proceed with printing.

Thank you.

ELEGOO Neptune 4 MAX (Plus) Y Axis Upgrade Linear Rail Installation Guide Animation Version

Поделиться в:

Доступные форматы для скачивания:

Скачать видео mp4

  • Информация по загрузке:

Скачать аудио mp3

Похожие видео

Stepping into Precision: Neptune 4 Plus Y-Axis Linear Rail - Part 2

Stepping into Precision: Neptune 4 Plus Y-Axis Linear Rail - Part 2

Neptune 3 4 MAX New Y Axis Linear Rail Upgrade Installation Guide

Neptune 3 4 MAX New Y Axis Linear Rail Upgrade Installation Guide

Линейные направляющие для Neptune 4 Plus и Max: Часть 2 — Установка комплекта оси X

Линейные направляющие для Neptune 4 Plus и Max: Часть 2 — Установка комплекта оси X

Stepping into Precision: Neptune 4 Plus X-Axis Linear Rail - Part 1

Stepping into Precision: Neptune 4 Plus X-Axis Linear Rail - Part 1

Upgrading to Linear Rails a Waste of Money? - An Evidence Based Answer

Upgrading to Linear Rails a Waste of Money? - An Evidence Based Answer

⚡️СЕНСАЦИЯ ИЗ АБУ-ДАБИ! Вот о чем реально договорились разведки! Итоги переговоров РФ и Украины

⚡️СЕНСАЦИЯ ИЗ АБУ-ДАБИ! Вот о чем реально договорились разведки! Итоги переговоров РФ и Украины

Замена колёс POM на Elegoo Neptune 4 Max. Как заменить колёса POM под рабочей платформой.

Замена колёс POM на Elegoo Neptune 4 Max. Как заменить колёса POM под рабочей платформой.

Рельсовые направляющие 3D принтера или линейные валы 1

Рельсовые направляющие 3D принтера или линейные валы 1

Роботы, Которых Никто Не Ожидал Увидеть на CES 2026

Роботы, Которых Никто Не Ожидал Увидеть на CES 2026

ELEGOO  Neptune 4, Neptune 4 Plus, Neptune 4 Max X Axis Linear Rail Upgrade Installation Guide

ELEGOO Neptune 4, Neptune 4 Plus, Neptune 4 Max X Axis Linear Rail Upgrade Installation Guide

Linear rails on an Elegoo Neptune 3 Max!?!?! (Part 1: X & Y)

Linear rails on an Elegoo Neptune 3 Max!?!?! (Part 1: X & Y)

Потери России и Украины в период СВО. Разбор и анализ.

Потери России и Украины в период СВО. Разбор и анализ.

I've Fixed Z Banding on my 3D Printer...FOREVER

I've Fixed Z Banding on my 3D Printer...FOREVER

Обновления и еженедельное обслуживание Elegoo Neptune 4 Max

Обновления и еженедельное обслуживание Elegoo Neptune 4 Max

Anycubic Kobra 3 Y Axis Upgrade Linear Rail Installation Guide

Anycubic Kobra 3 Y Axis Upgrade Linear Rail Installation Guide

Linear rails for the Neptune 4 Plus & Max: Part 4 - Installing the Z-axis kit

Linear rails for the Neptune 4 Plus & Max: Part 4 - Installing the Z-axis kit

Z Axis  Dual Synchronous Belt Upgrade Installation Guide

Z Axis Dual Synchronous Belt Upgrade Installation Guide

Neptune 4 Pro New Y Axis Linear Rail Upgrade Installation Guide

Neptune 4 Pro New Y Axis Linear Rail Upgrade Installation Guide

Серьёзно, ЛУЧШИЙ вариант модернизации 3D-принтера за 2 доллара!

Серьёзно, ЛУЧШИЙ вариант модернизации 3D-принтера за 2 доллара!

Neptune 4 Max siêu ngon nhưng ....

Neptune 4 Max siêu ngon nhưng ....

© 2025 dtub. Все права защищены.


  • Контакты
  • О нас
  • Политика конфиденциальности


Контакты для правообладателей: infodtube@gmail.com